
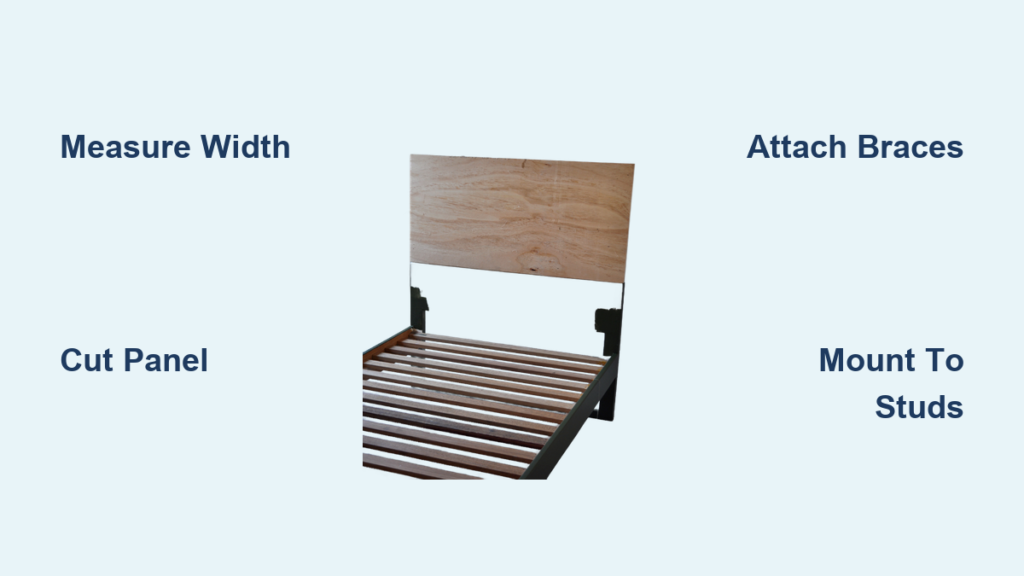
Your bed frame fits perfectly, yet the headboard looks lost against the wide wall behind it. This common design flaw makes the room feel unbalanced and leaves empty space that begs for a solution.
You can fix this by learning how to extend a headboard using simple woodworking techniques. This guide details the exact measurements, materials, and mounting steps to create a custom, wide panel that anchors your bedroom style.
Calculate Exact Dimensions for Your Bed Frame

Accurate measurements are the foundation of a professional-looking extension. Guessing the size often leads to a piece that looks too small or overwhelms the wall space entirely.
Determine the Ideal Extension Width
The standard rule for extending a headboard is adding 6 to 12 inches beyond each side of the bed frame. This specific range creates visual balance without making the bed look massive. Use this formula to find your total width:
* Measure your bed frame width exactly.
* Add the left extension amount.
* Add the right extension amount.
For a standard 60-inch queen bed with 10-inch extensions on both sides, you need an 80-inch wide headboard. This extra width fills the void and frames the sleeping area effectively.
Establish the Correct Height
Height depends on your ceiling height and personal style preferences. Measure from the floor to your desired top edge, then subtract the height where the headboard mounts above the mattress. Ensure the final height leaves enough clearance for crown molding or ceiling fans.
Select Plywood or Solid Wood Materials
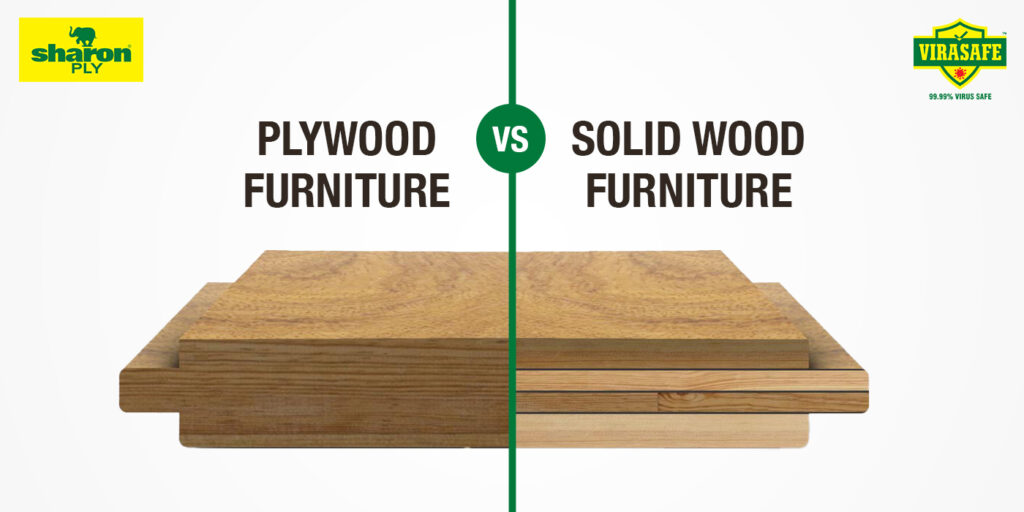
Choosing between plywood and solid wood impacts the weight, durability, and finish of your project. Both materials work well, but they serve different aesthetic goals.
Compare Wood Types for Your Project
- Plywood: This option is lighter and less prone to warping in humid climates. It offers a smooth surface that is ideal for painting.
- Solid Wood: This material is heavier and more durable. It is the best choice if you plan to stain the wood to show natural grain patterns.
Select your base material based on whether you want to paint or stain the final piece. Remember that solid wood adds significant weight, which requires stronger wall supports.
Gather Essential Tools and Fasteners
You need specific tools to cut, finish, and mount the extension safely. Having everything ready before you start prevents mid-project delays.
* Measuring tape and a high-quality level
* Circular saw or table saw
* Drill with appropriate drill bits
* Wood screws (2 to 3 inches long)
* Heavy-duty wall anchors and mounting screws
* Stud finder
* Sandpaper in 120-grit and 220-grit
* Paintbrush or staining rag
Cut and Sand the Extension Panel
Precision cutting ensures your extended headboard fits perfectly against the wall. Rough cuts or uneven edges ruin the professional look you are trying to achieve.
Cut Wood to Precise Measurements
Set up your saw with a guide fence to ensure straight, clean cuts. Mark the total width and calculated height on your board clearly. Double-check every measurement before making a cut, as errors here affect the entire installation. If you lack a saw, many hardware stores offer cutting services for a small fee.
Sand Surfaces for a Smooth Finish
Proper sanding prepares the wood for finishing and ensures a comfortable touch. Follow this two-step process:
1. Use 120-grit sandpaper first to remove splinters and smooth rough cut edges.
2. Follow with 220-grit paper to create a silky, splinter-free surface.
Do not skip the back or edges, as these become visible when the bed moves or viewed from an angle. A fully sanded surface ensures better adhesion for paint or stain.
Apply Paint or Stain Before Mounting
Finishing the wood before installation results in a cleaner job and a more professional appearance. It also allows you to finish the backside for a cohesive look.
Choose Between Stain and Paint
Your choice of finish dictates the final style of the room. Stain enhances natural wood grain, making it perfect for rustic or farmhouse designs. Paint provides a uniform, modern look that hides imperfections in the wood. Apply your chosen finish with a brush or rag, following the direction of the wood grain.
Sand Between Coats for Durability
Applying multiple coats increases durability and depth of color. For the best results:
* Let the first coat dry completely according to product instructions.
* Lightly sand with 220-grit paper between coats.
* Wipe away dust with a tack cloth before reapplying.
Apply 2 to 3 coats for full coverage. Remember to finish the backside to match the room decor in case the bed is moved later.
Reinforce Structure with Support Braces

An extended headboard has more leverage than a standard one, making structural support crucial. This step prevents warping and ensures the panel stays secure on the wall.
Install Vertical or Horizontal Supports
Attach support boards to the back of the headboard using wood screws. These braces distribute weight evenly and provide extra mounting points.
* Install one support near the top.
* Install one support near the bottom.
* Add a center brace for extensions wider than 72 inches.
Pre-Drill Pilot Holes
Drill pilot holes in the support boards where they will connect to the wall. This prevents the wood from splitting when you drive the screws. Position these holes to align with wall studs whenever possible for maximum strength.
Mount the Extended Headboard Securely
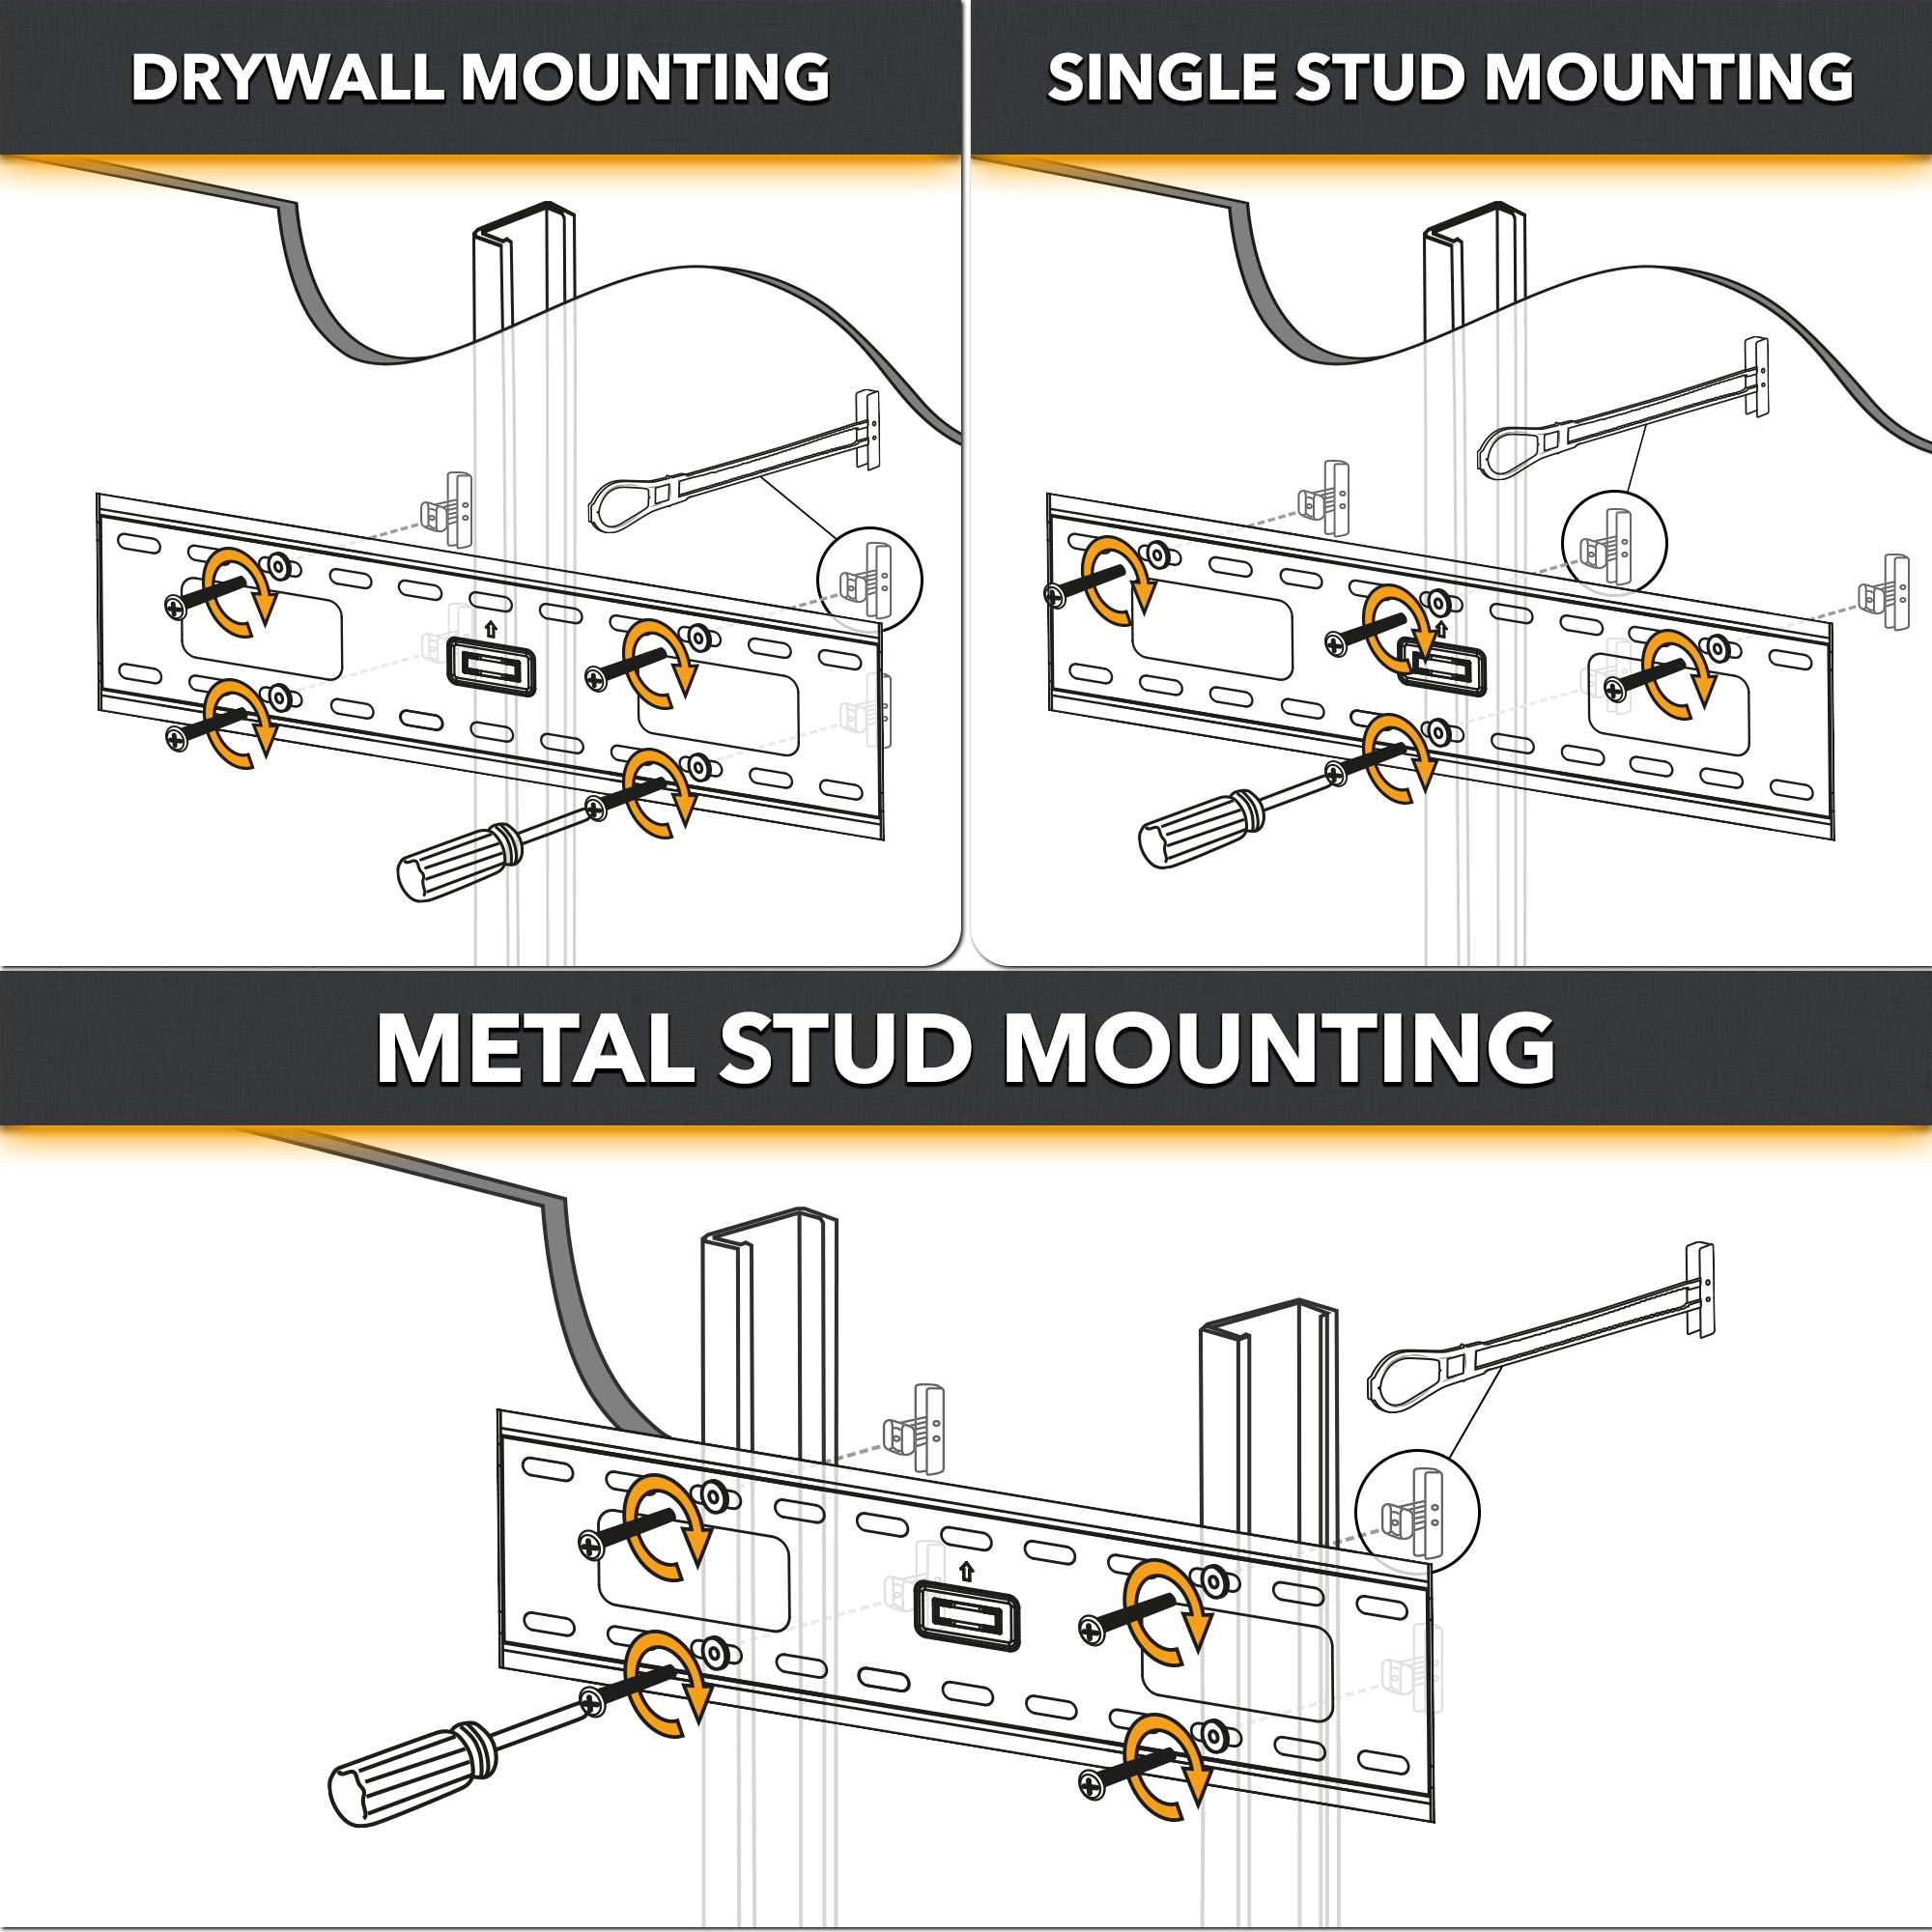
Mounting is the most critical phase of the project. A poorly mounted headboard can wobble or detach, posing a safety risk.
Locate Wall Studs Accurately
Use a stud finder to mark stud locations behind the wall. Studs provide the strongest hold for heavy wood panels. If your headboard extends beyond stud positions, use heavy-duty wall anchors rated for the panel weight. Never rely solely on drywall anchors for large, solid wood extensions.
Level and Secure the Panel
Hold the headboard in place and use a level to draw a horizontal reference line on the wall. Mark where the support braces align with your studs or anchors.
1. Lift the headboard into position with a helper.
2. Drive screws through the support braces into the studs or anchors.
3. Tighten securely without over-tightening, which can crack the wood.
Test for Stability
Once mounted, gently push and pull the top edge to test stability. There should be no wobbling or shifting. If the headboard moves, recheck screw tightness or add additional anchors immediately.
Customize With Floating Effects and Lighting
Transform your functional extension into a design feature with modern upgrades. These additions enhance the visual impact of the room.
Create a Floating Headboard Look
Mount the headboard so it does not touch the bed frame or floor for a sleek appearance. Use hidden brackets or a French cleat system for invisible support. This design makes the bed appear lighter and the ceiling taller, which is ideal for smaller rooms.
Integrate LED Lighting Strips
Install LED strips along the back edge of the headboard for ambient glow.
* Use warm white lights for a cozy atmosphere.
* Route wires down the wall to an outlet or hardwire them.
* Conceal cords with paintable wire channels.
The light reflects off the wall, creating dimension and ambiance perfect for reading or relaxing.
Frequently Asked Questions About Extending Headboards
How much wider should I make my headboard extension?
The standard recommendation is to extend the headboard 6 to 12 inches beyond each side of the bed frame. This creates visual balance without overwhelming the wall space in most bedrooms.
Can I use plywood instead of solid wood for the extension?
Yes, plywood is an excellent choice because it is lightweight, stable, and cost-effective. It offers a smooth surface ideal for painting and is less prone to warping in humid environments compared to solid wood.
Do I need to find wall studs to mount an extended headboard?
Yes, locating studs is critical for safety, especially for wide or heavy extensions. Studs provide the necessary support to handle the increased leverage, while drywall anchors alone may fail under the weight.
How do I prevent the wood from warping after installation?
Prevent warping by attaching vertical or horizontal support braces to the back of the headboard. These braces distribute weight evenly and add rigidity to the panel structure.
Is it necessary to finish the back of the headboard?
Finishing the back is recommended to ensure the piece looks professional from all angles. If the bed is moved or viewed from the side, an unfinished back can detract from the overall aesthetic.
Key Takeaways for Extending Your Headboard Successfully
Extending a headboard transforms a bedroom by correcting proportions and adding a custom design element. By adding 6 to 12 inches to each side, you create a balanced focal point that anchors the entire room effectively.
Success depends on precise measurements, choosing the right material for your finish goals, and securing the panel to wall studs. Follow these steps to build a stable, beautiful extension that elevates your bedroom style today.



