

A wobbly or detached headboard ruins bedroom comfort and can damage your wall. Learning how to fix headboard to bed properly ensures stability, safety, and a polished look for your sleeping space.
This guide details exact steps for divan bases and metal frames while highlighting critical hardware sequences. You will discover specific tightening protocols and alignment tricks to stop wobbling forever.
Prepare Your Workspace and Verify Hardware Components
Gather all necessary tools and parts before lifting heavy components to ensure a smooth installation process. A clean floor prevents scratches on wood finishes or fabric during the assembly of your bed.
Unbox and Inspect All Parts Carefully
Place the headboard on a flat surface covered with a blanket to protect the finish. Open the hardware compartment and match every item against the manufacturer checklist to avoid missing critical pieces.
* Labeled parts (A, B, C)
* Headboard bolts and nuts
* Flat washers and lock washers
* Spacer blocks for padded models
* Allen key for tightening
Missing a single lock washer can cause significant instability later. Double-check your inventory before attempting to attach anything.
Identify Attachment Points on Your Frame
Locating the correct holes depends entirely on your specific bed frame type. Divan bases often hide holes under small plastic tags that require piercing with a screwdriver. Metal frames feature pre-drilled holes along the top rails where brackets must face inward. Wooden frames may have built-in slots or require pilot holes for retrofit brackets. Ensuring precise alignment between struts and frame holes prevents stress fractures over time.
Attach Headboard to Divan Base Using Bolts
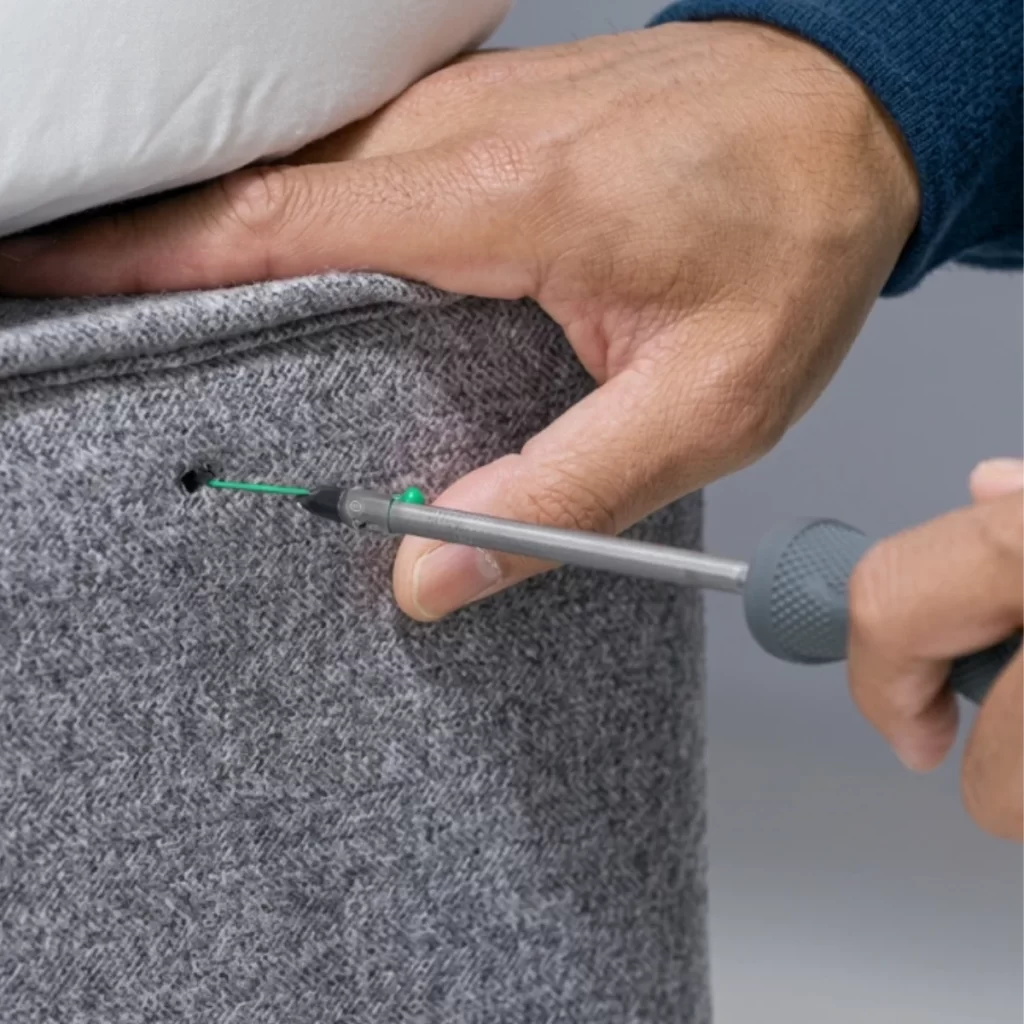
Divan beds typically utilize a direct bolt-and-strut system that allows for easy height adjustments. This method requires minimal tools but demands careful alignment to avoid tilting.
Install Bolts Through Fabric Markers
Insert the long headboard bolts into the exposed holes at the front of the divan base. If your base is fabric-covered, pierce cleanly at the marked tag locations to reveal the threaded inserts. Push each bolt through until it protrudes about one to two inches to allow room for the strut.
* Rotate gently if resistance occurs
* Avoid forcing bolts to prevent internal damage
* Ensure threads are fully exposed for connection
Slide Struts Onto Protruding Bolts
Lower the metal arms of the headboard over the installed bolts on the divan base. Most models offer multiple height settings so you can choose where the headboard sits relative to the mattress. Insert spacer blocks between the headboard back and the divan frame if you have a padded model. These blocks prevent the padding from compressing unevenly against the bed frame.
Align Full-Height Units with Floor
Position floor-standing units flush against the head edge of the divan base. Ensure the bottom edge touches the floor evenly across the entire width of the unit. Check that mounting holes line up precisely with the bolts before applying any pressure. Misalignment here leads to tilting or uneven stress on the frame structure.
Secure Connection With Controlled Tightening
Slide the struts fully onto the bolts and hand-tighten by turning clockwise until snug. Leave the bolts slightly loose initially to allow for final leveling adjustments. Once you confirm the unit is level and positioned correctly, fully tighten the bolts to lock them in place.
Warning: Over-tightening can crush fabric or strip threads. Stop immediately when resistance increases sharply.
Mount Headboard to Metal Frame With Brackets

Metal bed frames require precise hardware sequencing to ensure stability against nightly movement. Proper bracket orientation is the most critical step in this process.
Install Mounting Brackets Correctly
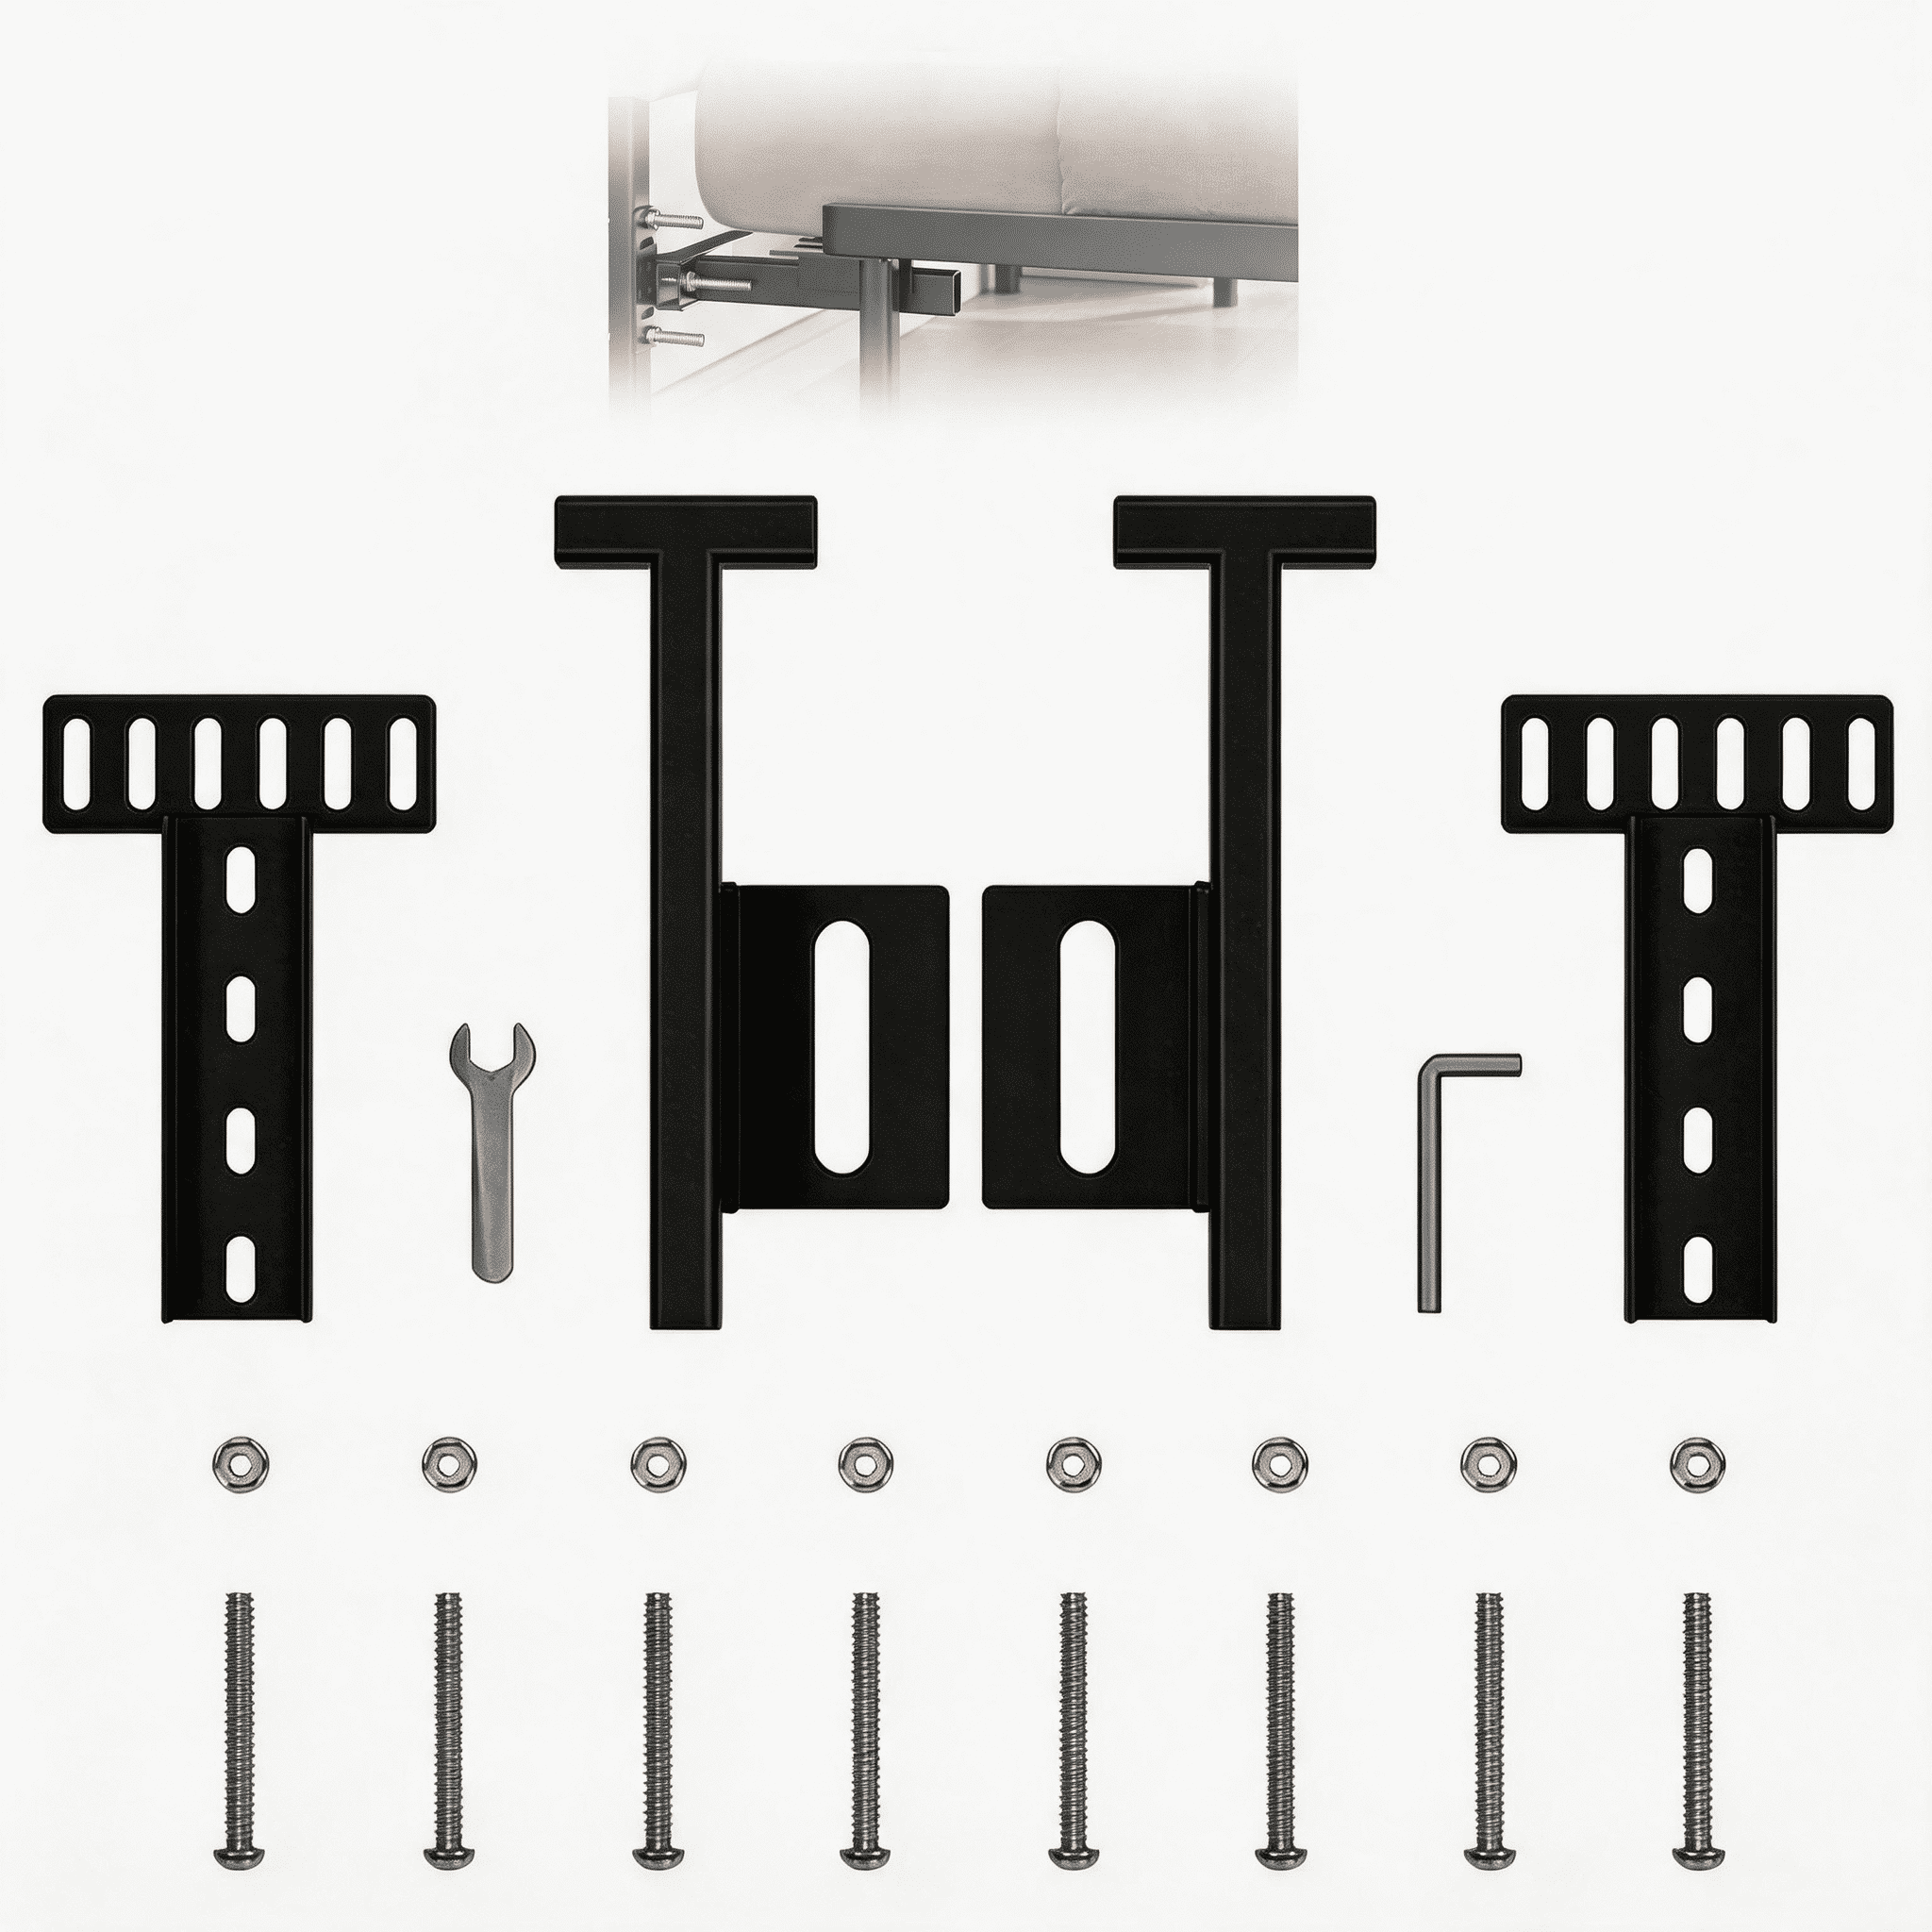
Align the brackets so their holes face the inner side of the frame rail near the edge. Use the provided screws to attach them via the top two holes first without fully tightening them. Leaving them slightly loose allows for micro-adjustments when you place the headboard. The bracket should form a U-shape around the rail with screw heads on the outside.
Assemble Hardware Sequence on Headboard
Flip the headboard face-down to access the pre-drilled holes designed for metal frame brackets. Follow the exact washer sequence to prevent vibration loosening over time.
1. Slide a flat washer onto the bolt
2. Insert the bolt through the headboard hole
3. Add a second flat washer on the backside
4. Place a lock washer against the flat washer
5. Screw on the nut but only hand-tighten
Repeat this process for the second bolt to ensure both are secure yet movable for alignment.
Mate Headboard to Frame Securely
Lift the headboard into place and center it across the frame width carefully. Align the bolts with the bracket holes and use the Allen key to hold the bolt head from inside the rail. Tighten the external nut while holding the bolt steady to prevent spinning. Tighten both top and bottom connections evenly by alternating between sides to maintain balance.
Finalize Bracket Security Completely
Return to the initial bracket screws once the headboard is fixed to the brackets. Fully tighten all screws securing the brackets to the frame to eliminate any play. This final step locks everything in place and ensures the structure remains rigid during use.
Adjust Height and Ensure Level Fit
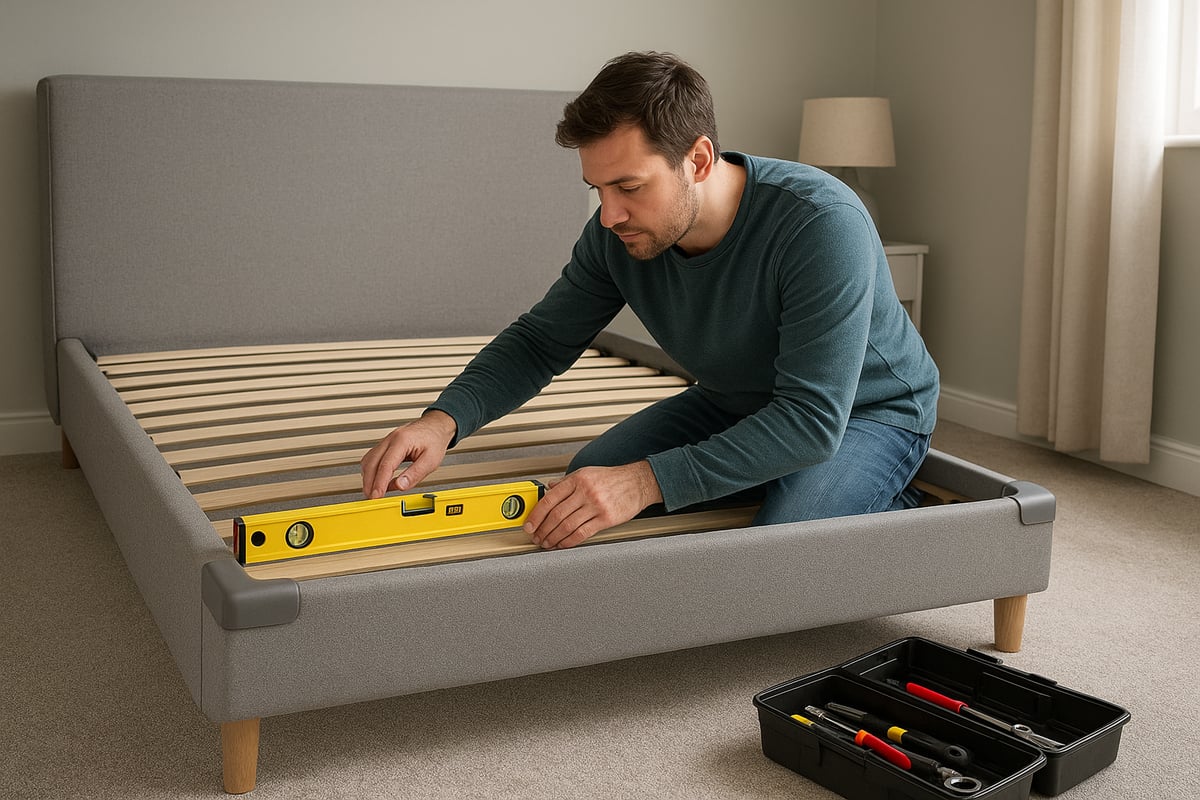
Minor misalignment affects both the appearance and durability of your bed setup. Proper vertical positioning ensures the headboard functions as intended.
Check Visibility Above Mattress
Verify that a reasonable portion of the headboard remains visible once the mattress is in place. Typically six to twelve inches should show above the mattress top for the best look. If the height is incorrect, loosen the bolts slightly and slide the headboard up or down. Recheck the visibility and retighten securely when satisfied.
Level the Headboard Precisely
Use a spirit level across the top edge to check for tilt. If one side is higher, loosen the lower side bolt and gently shift until level. Retighten both sides evenly to lock the position. An unlevel headboard exerts uneven stress that leads to warping or hardware failure over time.
Follow Proper Tightening Protocol
Correct tightening ensures longevity and prevents damage to your furniture components. Rushing this step often leads to stripped threads or crushed materials.
Execute Step-by-Step Tightening Sequence
Always hand-tighten all connections first to ensure alignment without strain. Use the correct tool like a screwdriver or Allen key to provide control and precision during the process. Tighten gradually and alternately to prevent one-sided pressure on the frame. Stop when the fit is snug rather than applying maximum force.
* Avoid crushing upholstery
* Prevent stripped threads
* Stop cracked wood or bent metal
The goal is zero wobble without excessive torque.
Perform Maintenance and Prevent Damage
A securely attached headboard should last for years with minimal intervention. Regular checks prevent small issues from becoming major structural problems.
Inspect Connections Every Few Months
Schedule a quick inspection every three to six months to ensure continued stability. Sit on the bed and gently push the headboard back and forth to feel for looseness. Use the Allen key to re-tighten any bolts showing signs of play. Keep the Allen key stored nearby since many people lose it and cannot make future adjustments.
Protect Upholstered and Wooden Surfaces
Confirm spacer blocks are in place on padded headboards to maintain clearance. Ensure washers sit flat to distribute pressure evenly across the surface. For wooden frames, do not overtighten as wood can split under excessive torque. Check for cracks near mounting points annually to catch issues early.
Troubleshoot Common Headboard Problems
Even careful installation can encounter issues that require specific fixes. Addressing these quickly prevents long-term damage.
Headboard Wobbles After Installation
Loose bolts or missing lock washers usually cause wobbling. Tighten all nuts and bolts using the Allen key and confirm lock washers are installed behind nuts. Re-secure mounting brackets to the frame and add thread-locking compound if vibration persists.
Headboard Sits Too High or Low
Incorrect strut positioning causes poor height alignment. Loosen bolts slightly and reposition the headboard up or down. Ensure visibility above the mattress remains optimal before retightening securely. The top should be level with or slightly above the mattress for best support.
Bolts Will Not Align With Holes
Misaligned brackets or obstructed holes prevent proper connection. Rotate brackets on metal frames so holes face inward and confirm plastic tags are fully removed on divans. Loosen adjacent fasteners to allow slight movement and never force bolts.
Fabric Gets Crushed or Torn
Missing spacers or over-tightened bolts often damage fabric. Install spacer blocks between the headboard and frame immediately. Back off bolts slightly and retighten gently while ensuring flat washers distribute pressure evenly.
Frequently Asked Questions About Fixing Headboards
How do I fix a headboard to a divan base?
Pierce the fabric tags on the divan to expose holes, insert bolts, and slide headboard struts onto them. Use spacer blocks for padded models and tighten bolts clockwise until snug but not crushed.
What is the correct washer order for metal frames?
Place a flat washer on the bolt, pass it through the hole, add another flat washer on the back, then a lock washer, and finally the nut. This sequence prevents loosening from vibration.
Why does my headboard wobble after tightening?
Wobbling usually means missing lock washers, loose brackets, or uneven tightening. Check that all hardware is present and tighten connections alternately to balance the pressure.
Can I attach a headboard without pre-drilled holes?
You may need retrofit brackets or to drill pilot holes if your frame lacks pre-drilled points. Ensure you use appropriate hardware for your specific frame material to maintain safety.
How often should I check my headboard bolts?
Inspect your headboard connections every three to six months or whenever you notice movement. Regular tightening with an Allen key prevents long-term instability and wall damage.
Key Takeaways for Fixing Your Headboard to Bed
Successfully learning how to fix headboard to bed relies on precise alignment and correct hardware sequencing. Whether attaching to a divan or metal frame, always use spacer blocks for padded units and lock washers for metal frames to ensure stability.
Perform regular maintenance checks every few months to keep your bed secure and wobble-free. Grab your Allen key and inspect your setup today to guarantee a safe and comfortable night’s sleep.



