
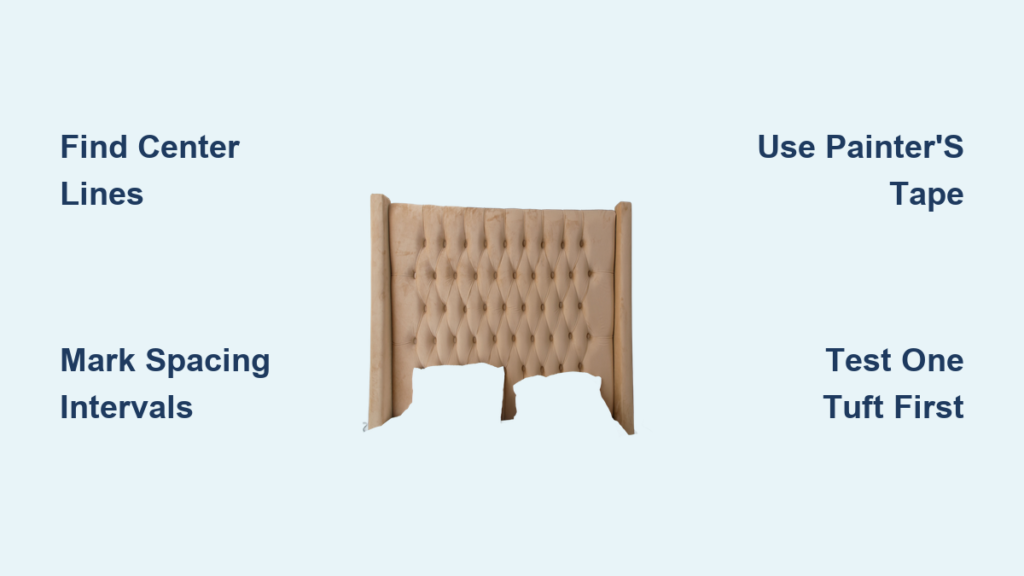
You have selected your fabric and cut your plywood, but the most critical step remains: determining exactly how to measure holes for tufted headboard projects to ensure professional results. Precise spacing creates the symmetrical dimples that transform a basic DIY job into a high-end piece of furniture.
This guide details specific spacing techniques, layout patterns, and marking methods to guarantee your tufting lines align perfectly every time. Whether you are building a queen-sized board or a custom size, these steps eliminate guesswork and help you achieve a balanced, luxurious look.
Plan Your Tufting Layout Before Drilling
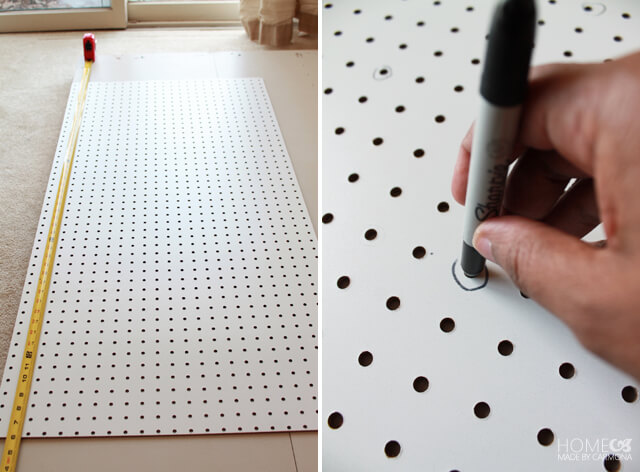
Deciding on your hole placement is the first step before any drilling begins. Your layout depends on your headboard dimensions, the desired tufting style, and the spacing you choose between buttons.
Select Your Tufting Style and Spacing
For a classic diamond pattern, you need an even grid with staggered rows to create visual harmony.
* Choose a consistent distance between holes, typically 8 to 12 inches apart.
* Smaller 8-inch spacing creates a denser, more formal appearance.
* Wider 12-inch spacing offers a modern and relaxed feel.
Mark Horizontal and Vertical Center Guidelines
Finding the exact center of your plywood is essential for symmetry. This anchor point ensures your pattern looks balanced regardless of the total number of tufts you add.
Find the Vertical and Horizontal Center
Start by measuring the width and height of your board to locate the middle.
1. Measure the total width and divide by two to find the vertical center line.
2. Mark this point on both the top and bottom edges of the board.
3. Snap a chalk line or use painter’s tape to connect these marks vertically.
4. Repeat the process for the height to establish your horizontal center line.
Set Your Spacing Intervals From Center
Once the center is marked, measure outward in all directions using your chosen interval. If you choose 10-inch spacing, mark points every 10 inches up, down, left, and right from the center lines. Keep all tufts at least 4 to 6 inches from the edges so the fabric can stretch cleanly over the sides.
Use a Grid Template for Accuracy
Creating a physical template prevents measurement errors and speeds up the marking process significantly. This tool allows you to transfer your pattern quickly without recalculating numbers for every single hole.
Create a Repeatable Hole Pattern
You can make a simple drill template using scrap cardboard or thin wood.
* Cut a small rectangle roughly 10 by 10 inches.
* Mark and drill a hole at one corner to serve as your starting point.
* Measure and mark subsequent holes based on your chosen spacing interval.
* Use this template to dot your entire board rapidly and accurately.
Alternatively, use graph paper scaled to your board size to sketch the full layout before touching the wood.
Transfer Marks to Plywood Using Painter’s Tape
Using painter’s tape on the front of your board is a game-changing technique for layout. This method allows you to visualize the full pattern and correct errors before making permanent holes.
Apply Tape and Mark Dot Points
Apply wide strips of tape across the front surface of the plywood. Use a ruler and pencil to mark your dot points directly on the tape. Double-check symmetry by measuring from multiple edges to ensure everything lines up. If a dot looks off, you can simply move it on the tape without damaging the wood.
Choose the Right Drill Bit and Depth
The size of your hole depends on the thickness of your upholstery needle or button shank, not the size of the button itself. Selecting the correct bit ensures smooth threading and a clean finish.
Select Hardware Based on Button Shank
Use a drill bit between 1/8 inch and 1/4 inch for most fabric-covered buttons. Test your chosen bit on a scrap piece of wood with your specific thread and needle to ensure smooth passage. Holding the drill perpendicular to the surface prevents angled holes that cause thread snagging.
Control Your Drilling Depth
Drill only about 1/2 inch deep, just enough for the needle to pass through. Do not drill all the way through the back of the board. Drilling too deep can cause the thread to slip out or create unwanted lumps on the back side.
Test One Tuft Before Committing to All Holes
Drilling a single test pair of holes saves you from major headaches later. This step confirms that your spacing, foam thickness, and fabric tension work together harmoniously.
Perform a Trial Run
Drill one pair of holes on the front and back of your board. Thread your needle, pull it through, and create a single test tuft. Check the depth of the dimple and the ease of pulling the thread. If the tension feels wrong or the hole is too tight, adjust your method now. Use thick upholstery thread or button twine for strength, as regular thread can snap under tension.
Adapt Layout for Different Tufting Styles
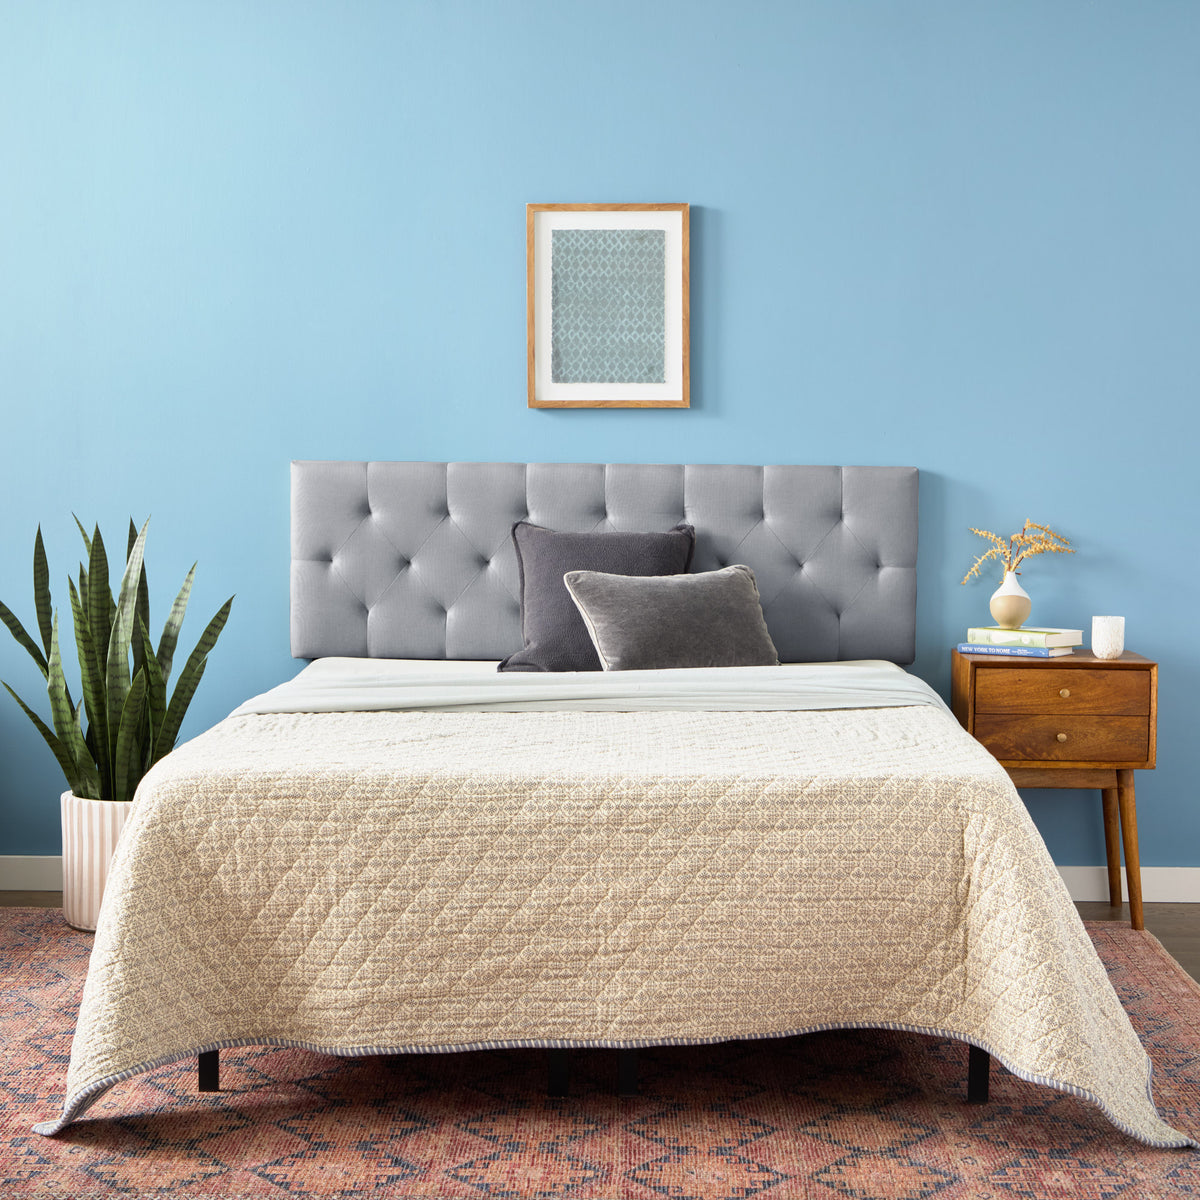
Your measurement strategy changes slightly depending on the visual pattern you want to achieve. Different styles require different marking approaches to look their best.
Diamond Pattern vs. Straight Grid
For a diamond pattern, stagger every other row by half your interval distance. If your columns are at 0, 10, and 20 inches, shift the next row to 5, 15, and 25 inches. This creates elegant diamond shapes when pulled. For a vertical or horizontal grid, align all holes in straight rows and columns. This is easier to measure and works well for modern designs.
Common Mistakes to Avoid When Measuring
Avoiding these frequent errors ensures your final product looks professional rather than homemade. Attention to detail during the measuring phase prevents irreversible issues.
Uneven Spacing and Misalignment
Even a half-inch difference throws off the entire symmetry. Always measure from your center lines, not from the previous mark, to maintain accuracy. Ensure your front and back holes line up perfectly, or the thread will bind. Drill from the front side only and stop before breaking through to keep alignment true.
Over-Tufting and Pattern Ignorance
Over-tufting compresses the foam too much, reducing comfort and visual impact. Stick to a balanced grid rather than filling every available inch. If using patterned fabric, match the repeats so buttons do not fall on awkward parts of the design, though solid textured fabrics hide minor alignment issues better.
Time-Saving Shortcut: Use a Laser Level
A laser level provides perfectly straight and level rows faster than manual measuring. This tool is especially helpful for large headboards where human error can creep in.
Set Laser Lines for Precision
Set a laser level horizontally across the board to mark your rows. Rotate it 90 degrees to create vertical lines. Mark dots where the laser lines intersect your spacing intervals. This method is faster and more accurate than using a tape measure for every single line.
Final Checks Before Drilling All Holes
Perform a final inspection of your marked board before picking up the drill. Verify that all dots are symmetrical from the center and that no tufts are within 5 inches of the edges. Ensure your layout matches your desired style, whether diamond or grid. Confirm that your test hole worked with your thread and needle. Once you have double-checked these measurements, remove the tape if used, and carefully drill each hole.
Next Steps After Drilling Your Holes
With your holes perfectly placed, you are ready to assemble the layers. Attach your foam and secure it with spray adhesive, ensuring the edge is flush with the plywood. Wrap the board with batting, pulling it taut and stapling it to the back. Cover with fabric in the same manner, keeping corners neat and square. Thread your covered buttons through the pre-drilled holes and pull tight. Secure the thread on the back by tying it to metal washers or stapling it firmly.
Key Takeaways for Measuring Tufted Headboard Holes
Achieving a flawless tufted headboard starts with precise measurements and a clear plan. By finding your center lines first and working outward, you ensure perfect symmetry for your design. Using painter’s tape and testing a single hole before committing saves time and prevents costly errors.
Follow these steps to create a professional-looking piece that adds luxury to any bedroom. Grab your tape measure and start marking your center lines today to begin your project with confidence.
Frequently Asked Questions About Tufted Headboard Measurements
What is the best spacing between tufting holes?
The ideal spacing is typically between 8 and 12 inches. An 8-inch gap creates a dense, formal look, while 12 inches offers a modern, relaxed style.
How far from the edge should I place the first hole?
You should keep tufts at least 4 to 6 inches from all edges. This allows enough fabric to stretch cleanly over the sides without distorting the pattern.
Do I need to drill all the way through the plywood?
No, you should only drill about 1/2 inch deep. Drilling all the way through can cause the thread to slip out or create lumps on the back of the headboard.
Can I use regular sewing thread for tufting?
Regular thread often snaps under the required tension. It is best to use thick upholstery thread, button twine, or even dental floss for strength and durability.
How do I ensure my diamond pattern looks correct?
Stagger every other row by half your spacing interval. If your main columns are 10 inches apart, shift the alternating rows by 5 inches to create the diamond shape.
What if my front and back holes do not line up?
Misaligned holes cause the thread to bind. To prevent this, drill from the front side only and stop just before breaking through the back surface.



