
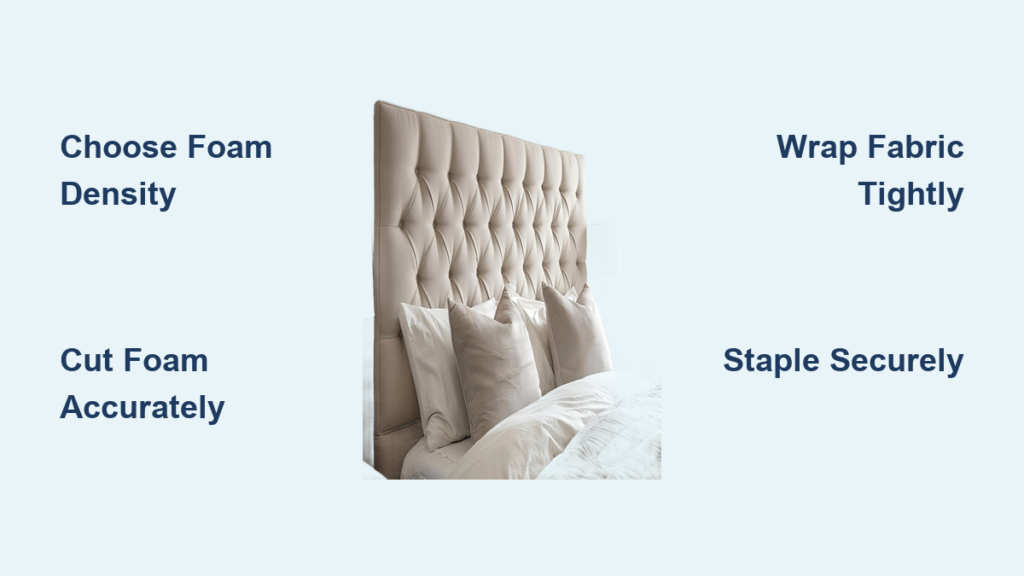
Your stylish new headboard looks perfect, but leaning against its hard surface ruins your bedtime reading routine. A bare wooden or metal frame lacks the necessary cushion for true relaxation. Learning how to pad a headboard transforms this rigid piece into a plush, inviting feature without buying new furniture.
This guide walks you through selecting the right foam density and choosing durable upholstery fabric. You will discover professional techniques for cutting materials and stapling fabric to eliminate wrinkles. By following these steps, you will create a custom, hotel-quality look that adds both comfort and style to your bedroom.
Choose the Right Foam Density for Comfort
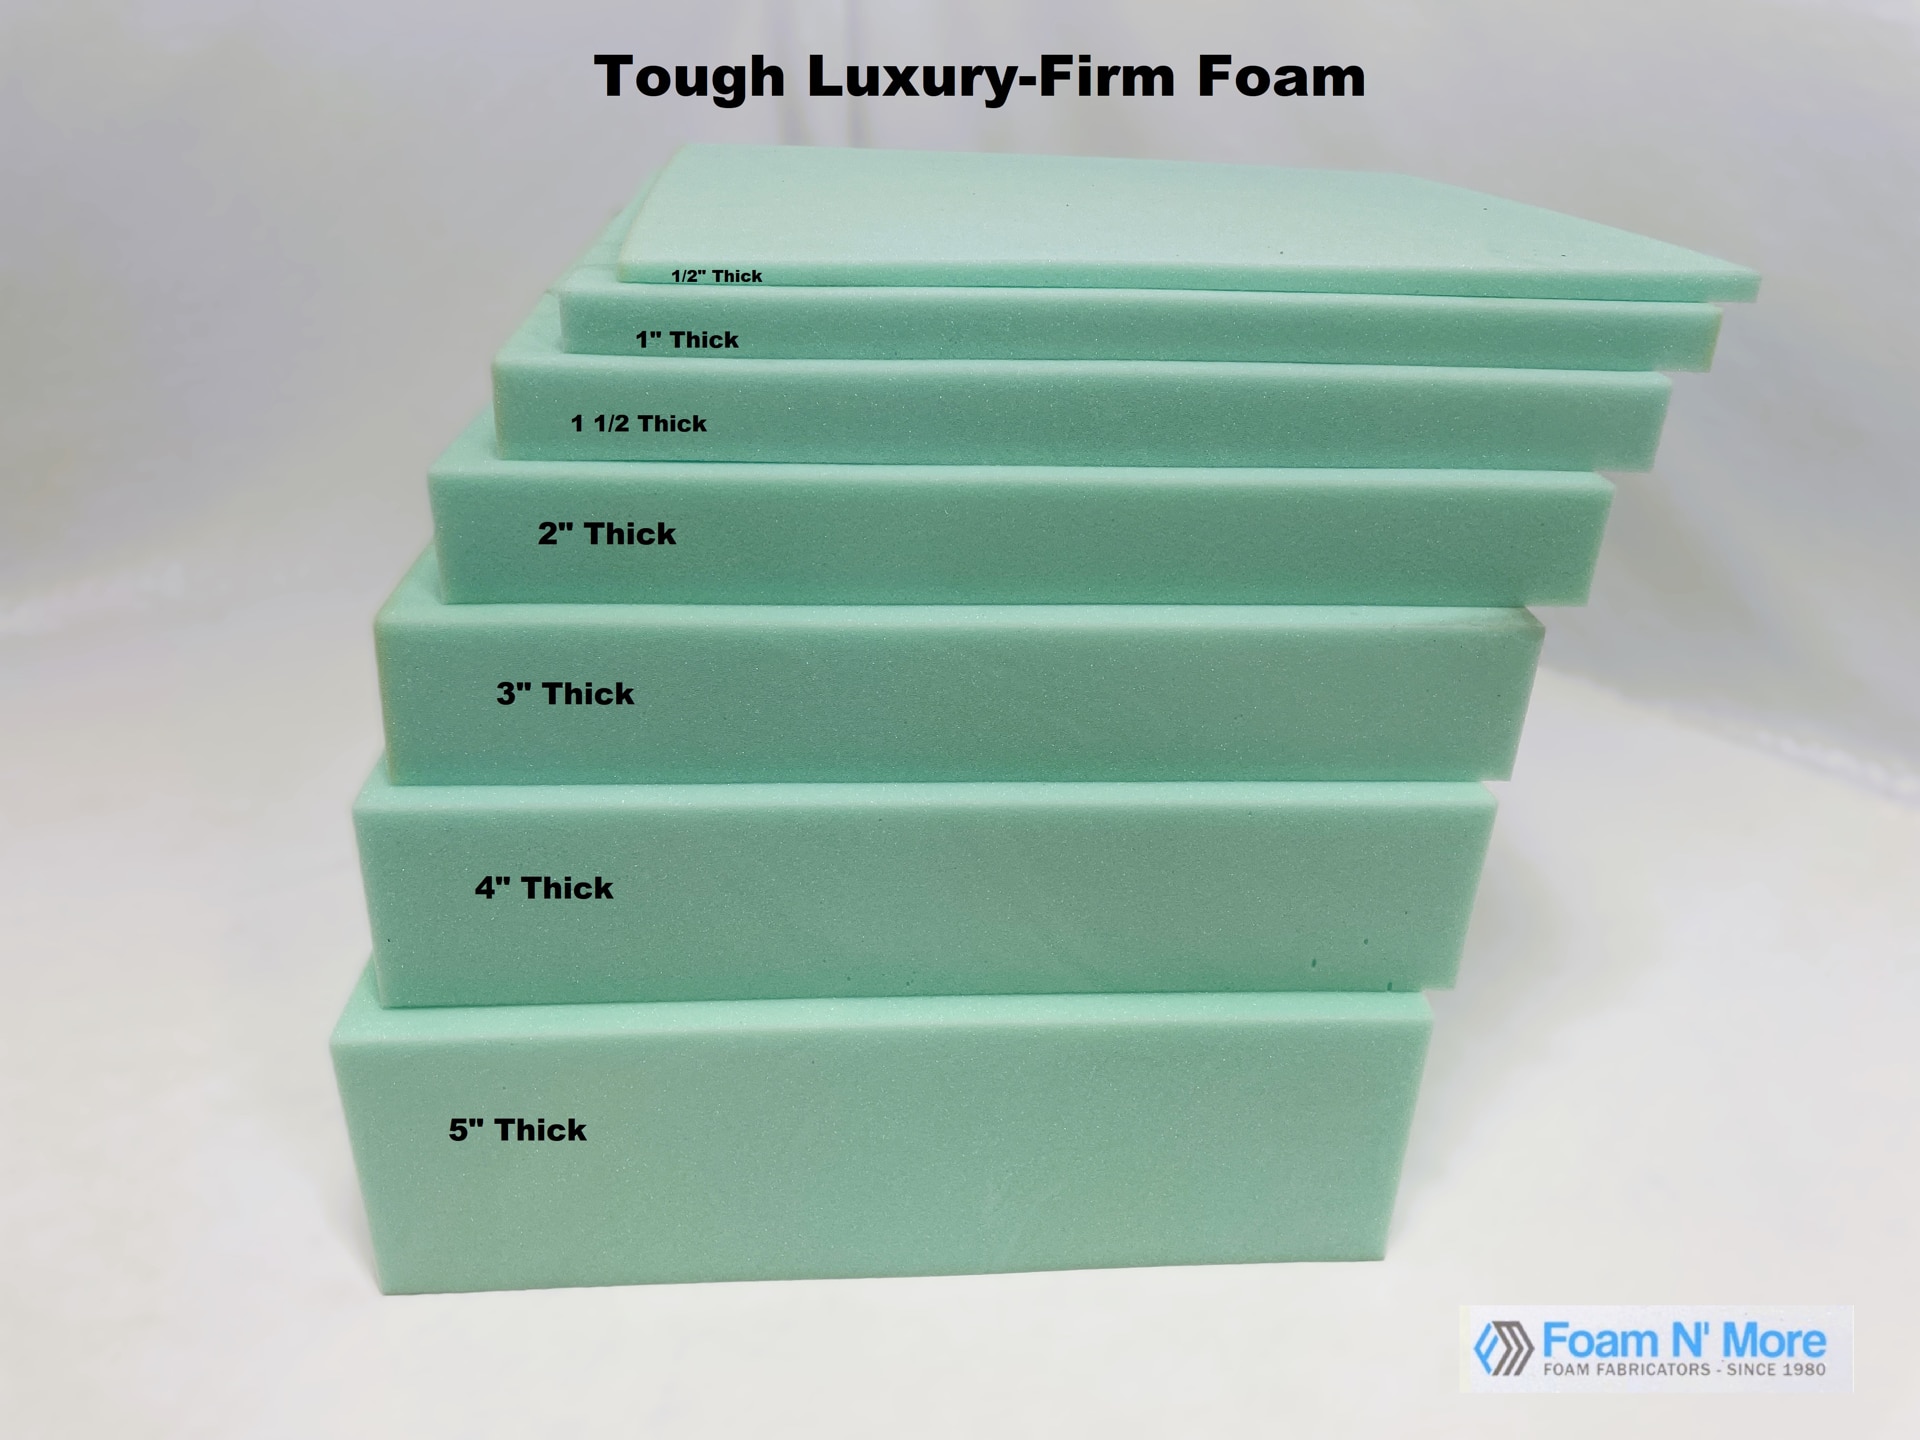
Selecting the correct foam type determines the final comfort level of your project. High-density polyurethane foam between 2 to 4 inches thick offers the best balance of support and softness. Thinner foam compresses too quickly, while thicker options may appear bulky on standard frames.
Pick Ideal Foam Density
Avoid using low-density packing foam or thin mattress toppers for this project. These materials lose their shape rapidly under daily pressure. Instead, choose upholstery-grade foam that maintains its structure over time. A 3-inch medium-firm block provides excellent support for leaning back.
You can layer a 1-inch piece of memory foam on top of a denser base for extra luxury. This combination offers immediate pressure relief while the bottom layer holds the shape. This method mimics high-end furniture construction using affordable materials found at local craft stores.
Measure and Cut Foam to Size
Accurate measurements ensure your padding fits perfectly within the fabric cover. Use a tape measure to record the exact height and width of your headboard frame. Transfer these numbers to your foam sheet using a straight edge and a fabric marker for clear lines.
Cut the foam slightly smaller than your measurements, about 1/4 inch less on all sides. This prevents the edges from bulging when you pull the fabric tight. An electric carving knife works best for clean, smooth cuts through thick foam blocks.
Select Durable Upholstery Fabric
Your fabric choice defines the aesthetic appeal and longevity of the finished piece. You need a material strong enough to withstand daily contact without tearing or sagging. Standard quilting cotton is too weak for this application and will fail quickly.
Match Fabric to Room Decor
Consider how the fabric color and texture interact with your existing bedding and wall paint. Solid colors create a timeless look that blends easily with changing decor trends. Patterns add visual interest but require careful alignment during the wrapping process to look professional.
Evaluate the light exposure in your bedroom before making a final selection. Direct sunlight fades many dyes, so UV-resistant fabrics or darker shades work best for bright rooms. Busy patterns also help conceal minor wear and tear in high-traffic households.
Choose Upholstery-Grade Material
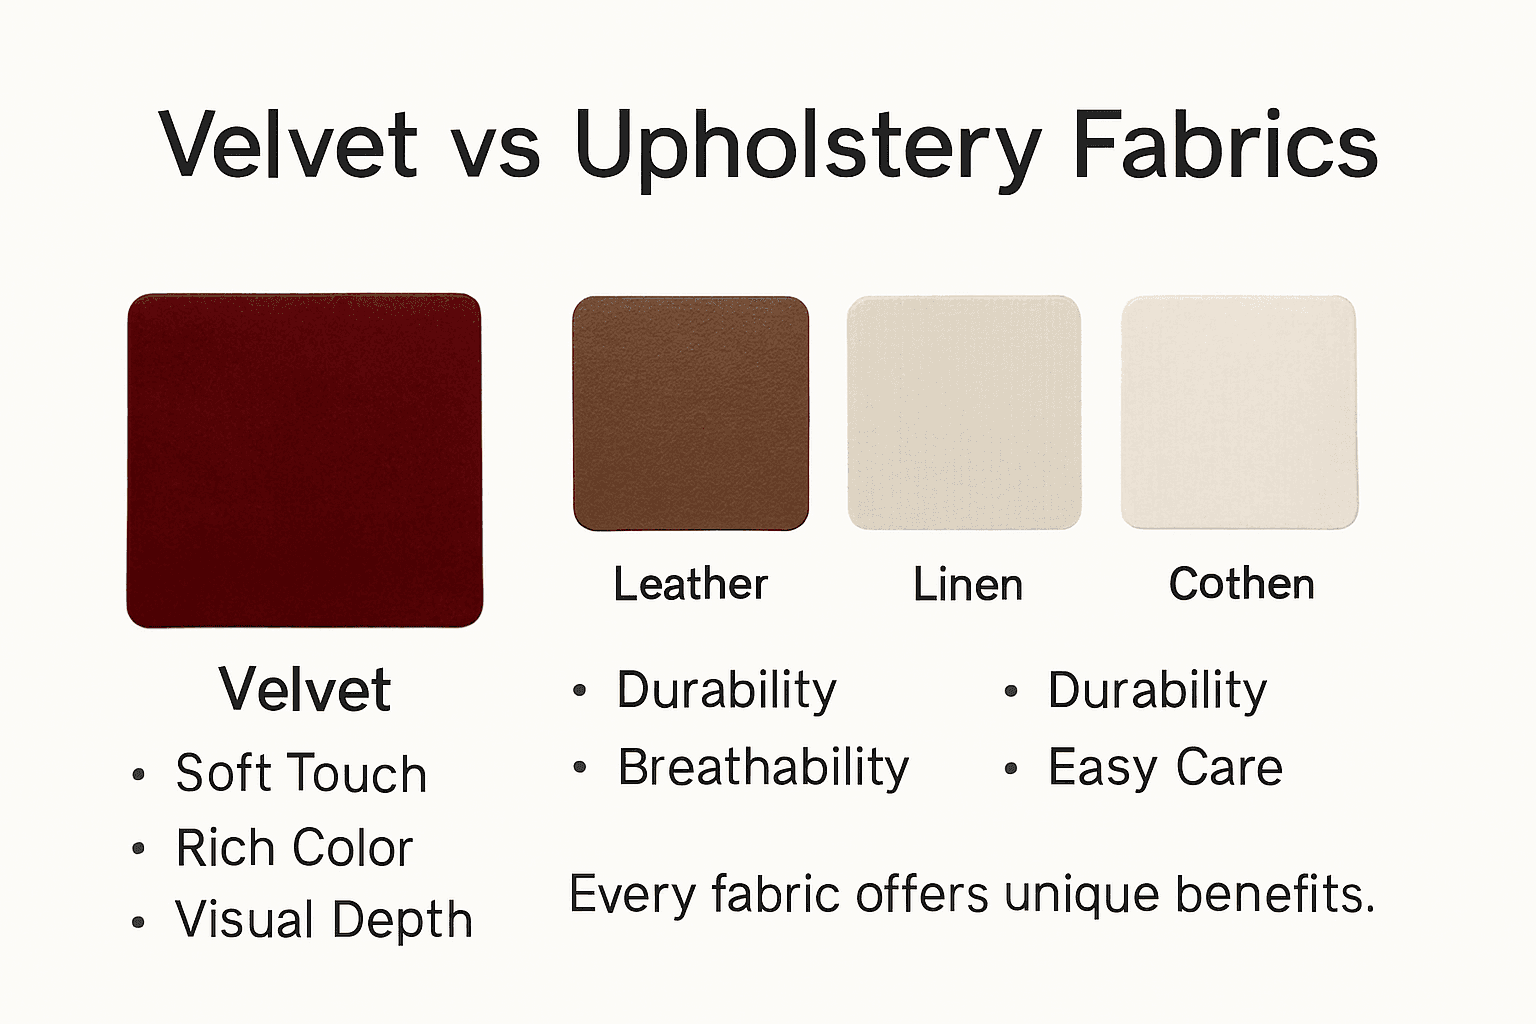
Select a textile specifically designed for furniture use to ensure durability. These fabrics undergo testing for rubbing and pulling forces common in home environments. Top choices for DIY projects include:
- Microfiber: Soft texture that resists stains and fits most budgets
- Cotton Duck: Heavyweight natural fiber with strong tensile strength
- Linen Blends: Elegant appearance with a textured weave
- Velvet: Luxurious feel that hides seam lines effectively
- Leather or Faux Leather: Wipe-clean surface that lasts for years
Purchase at least 4 to 6 inches more fabric than your headboard dimensions on every side. This excess allows you to wrap the material around the back and staple it securely. Pre-wash natural fibers like cotton or linen to prevent shrinkage after installation.
Gather Essential Tools and Supplies
Having the correct equipment ready before you start saves time and frustration. A well-prepared workspace ensures safety and allows for precise execution of each step. Do not begin cutting until you have verified all items are within reach.
List of Required Tools
You need specific implements to cut foam cleanly and attach fabric tightly. Using improper tools can lead to jagged edges or loose fabric that ruins the look. Ensure your staple gun is loaded and functioning before touching the materials.
- Electric carving knife or sharp utility knife
- Manual or electric staple gun
- Heavy-duty staples sized 1/4 to 3/8 inch
- Sharp scissors for trimming fabric
- Tape measure for accurate dimensions
- Straight edge or T-square for marking
- Fabric marker or chalk for lines
- Spray adhesive for securing foam
- Work gloves and safety glasses
An electric staple gun significantly reduces hand fatigue during long stapling sessions. Magnetic staple holders help load staples safely without pinching your fingers.
Prepare Your Workspace
Clear a large area in your garage or living room to lay out materials flat. Cover the floor with a drop cloth or cardboard to protect it from adhesive spray and stray staples. Place the headboard face-up on two sawhorses or sturdy tables to keep it at waist height.
Organize your supplies in the order you will use them for maximum efficiency. Keep the foam, fabric, and fasteners close by to avoid unnecessary movement. If the headboard is already mounted on the wall, cover the mattress and floor with moving blankets.
Attach Foam to Headboard Frame
Securing the foam properly creates a smooth foundation for your fabric layer. Any shifting or gaps in this stage will show through the final covering. You must ensure the foam stays fixed in place permanently.
Secure Foam with Spray Adhesive
Apply a specialized spray adhesive to bond the foam directly to the headboard surface. Hold the can 8 to 10 inches away and spray an even coat on both the foam back and the frame. Wait 30 to 60 seconds for the glue to become tacky before joining them.
Press the foam onto the headboard starting from one edge to avoid trapping air. Use a clean roller or a heavy book to smooth out any bubbles or wrinkles immediately. This permanent bond prevents the padding from sliding when you lean against it later.
Use Double-Sided Tape Alternative
Heavy-duty double-sided tape offers a removable solution for rental properties or delicate surfaces. Apply strips every 4 to 6 inches across the entire face of the headboard frame. Press the foam firmly into place to activate the adhesive strength.
This method allows for easier removal if you decide to change the fabric later. However, it may not hold as securely over many years compared to spray adhesive. Use this option only if permanence is not a primary requirement for your project.
Wrap and Staple the Fabric
Proper fabric tension is the key to a professional-looking result. Wrinkles or loose spots ruin the aesthetic and reduce comfort. Follow a systematic approach to ensure even distribution of the material.
Position Fabric Correctly
Lay your chosen fabric face-down on a clean, flat surface like a large table. Place the foam-covered headboard on top with the padded side facing the fabric. Ensure 4 to 6 inches of extra material extends beyond the edges on all four sides.
Align any patterns or stripes so they sit straight and centered on the headboard face. Smooth the fabric with your hands to remove initial creases before securing it. You can use small pieces of masking tape to hold corners in place temporarily while checking alignment.
Staple Fabric Starting from Center
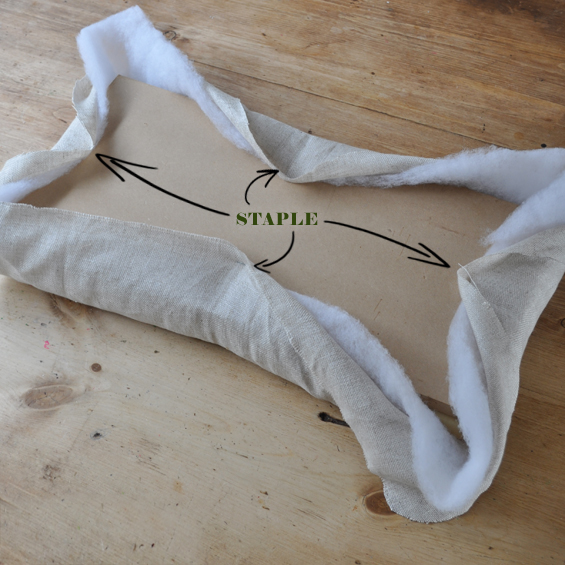
Begin stapling at the exact center of the top edge to anchor the fabric. Pull the material taut but not stretched, then fire a staple into the wooden frame. Work outward toward each corner, placing staples every 2 to 3 inches for secure holding.
Repeat this process on the bottom center, then move to the left and right centers. Avoid pulling diagonally as this causes uneven tension and unwanted wrinkles. Keep the fabric flat and aligned with the frame edges as you progress around the perimeter.
Handle Corners Like a Pro
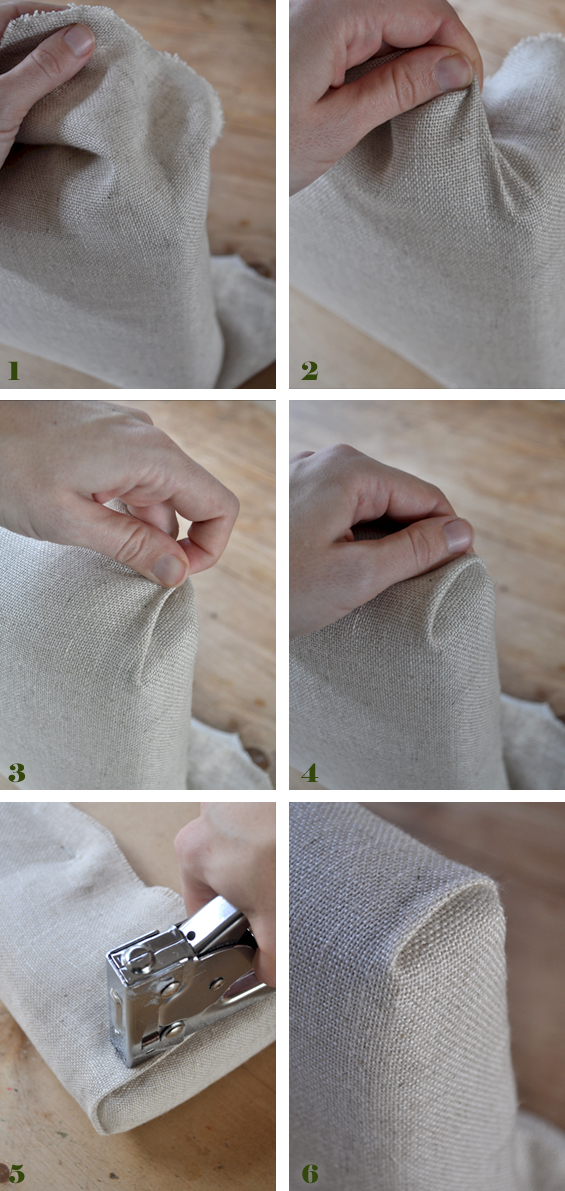
Corners are the most challenging part of upholstery but define the overall quality. Messy folds create bulk and look unprofessional. Taking time to fold these areas neatly results in a crisp, tailored finish.
Create Clean Inside Corners
Trim excess fabric at inside corners where the back meets the side to reduce bulk. Fold the side fabric over the edge and staple it flat against the back panel first. Then fold the top or bottom fabric over it like wrapping a gift box.
This layered technique creates a sharp, clean line without bunching. Use small staples to secure the fold without puckering the material. Stand the headboard upright to check the view from the front and adjust any loose spots immediately.
Finish Outside Edges Neatly
Trim foam and fabric at a 45-degree angle on outside corners before folding. This reduction in thickness allows the fabric to lie flat without creating a bulky lump. Fold one side over first, then bring the adjacent side over it to form a mitered seam.
Staple firmly to ensure no raw edges remain exposed to view. If your headboard has rounded edges, make small relief cuts in the fabric every half-inch along the curve. These cuts allow the material to bend smoothly without tearing or bubbling.
Mount or Reinstall the Padded Headboard
The added weight of foam and fabric requires secure mounting hardware. Ensure your wall installation can support the upgraded piece safely. Neglecting this step could lead to the headboard falling or damaging the wall.
Check Wall and Mounting Hardware
Inspect existing screws and anchors before hanging the headboard back on the wall. Heavy padded versions need reinforced brackets or French cleats for adequate support. Locate wall studs using a stud finder to ensure you are anchoring into solid wood.
Avoid using drywall-only anchors unless they are rated for the combined weight. The added foam and fabric increase the load significantly compared to the original bare frame. Tighten all connections to prevent wobbling or shifting once installed.
Hang with Help and Care
Enlist a helper to lift and position the headboard safely during reinstallation. The added bulk makes it awkward to handle alone and increases the risk of dropping it. Hold the piece in place while checking alignment with a level.
Tighten all screws securely but stop before stripping the threads in the wood. Step back and inspect the installation from multiple angles to ensure it looks straight. Adjust any loose fabric or visible staples before considering the job complete.
Maintain and Clean Your Padded Headboard
Regular maintenance keeps your new creation looking fresh and extends its lifespan. Dust and oils from hair can accumulate on the fabric surface over time. Simple cleaning routines prevent stains from setting and fabrics from degrading.
Spot-Clean Stains Immediately
Address spills and marks as soon as they happen to prevent permanent damage. Blot the area gently with a clean cloth instead of rubbing, which pushes stains deeper. Use a mild detergent mixed with water and a soft brush for gentle cleaning.
Test any cleaning solution on a hidden area first to ensure it does not discolor the fabric. Avoid soaking the material, as excess moisture can lead to mold growth inside the foam. Use manufacturer-recommended products for specialty materials like leather or microfiber.
Vacuum Monthly for Longevity
Run the upholstery attachment of your vacuum over the headboard once a month. This removes dust, allergens, and debris that collect in the weave of the fabric. Pay special attention to seams and crevices where dirt tends to gather.
Keep the headboard away from direct heat sources to prevent foam degradation. While most DIY padded headboards are fixed, rotate any removable cushion pads annually if applicable. Consistent care ensures your project remains a cozy centerpiece for years.
Padding your headboard is a rewarding project that adds immediate comfort and style to your bedroom. By selecting high-density foam and durable upholstery fabric, you create a custom look that rivals expensive furniture. Proper stapling techniques and careful corner folding ensure a professional finish that lasts.
Start by gathering your tools and measuring your space accurately before cutting any materials. Follow the steps for securing foam and wrapping fabric to achieve a wrinkle-free result. Your bedroom will feel more inviting and luxurious with this simple yet impactful upgrade.
Frequently Asked Questions About Padding a Headboard
What type of foam is best for padding a headboard?
High-density polyurethane foam between 2 to 4 inches thick works best for headboards. This thickness provides enough cushion for comfort while maintaining its shape over time. Thinner foam compresses too quickly, and thicker options may look bulky.
Can I use regular bed sheets instead of upholstery fabric?
No, regular bed sheets are too thin and will tear or sag quickly under daily use. You must use durable upholstery-grade fabric designed for furniture applications. Materials like microfiber, cotton duck, or velvet offer the necessary strength and longevity.
How much extra fabric do I need to buy for this project?
You should purchase at least 4 to 6 inches more fabric than your headboard dimensions on all sides. This excess material allows you to wrap the fabric around the edges and staple it securely to the back. Buying insufficient fabric will make it impossible to complete the wrap.
Is spray adhesive necessary to attach the foam?
Spray adhesive is highly recommended to prevent the foam from shifting during fabric application. It creates a smooth, permanent bond that eliminates air pockets and wrinkles. Double-sided tape is an alternative for temporary setups but offers less security.
How do I prevent wrinkles when stapling the fabric?
Start stapling from the center of each side and work outward toward the corners. Pull the fabric taut but avoid over-stretching, which distorts the pattern. Folding corners like a gift box and trimming excess material also helps maintain a smooth surface.
Can I pad a headboard that is already mounted on the wall?
Yes, you can pad a mounted headboard, but it requires more care to protect your wall and mattress. You must cover surrounding areas with drop cloths and work carefully to avoid spraying adhesive on the wall. Removing the headboard is often easier and yields better results.



