
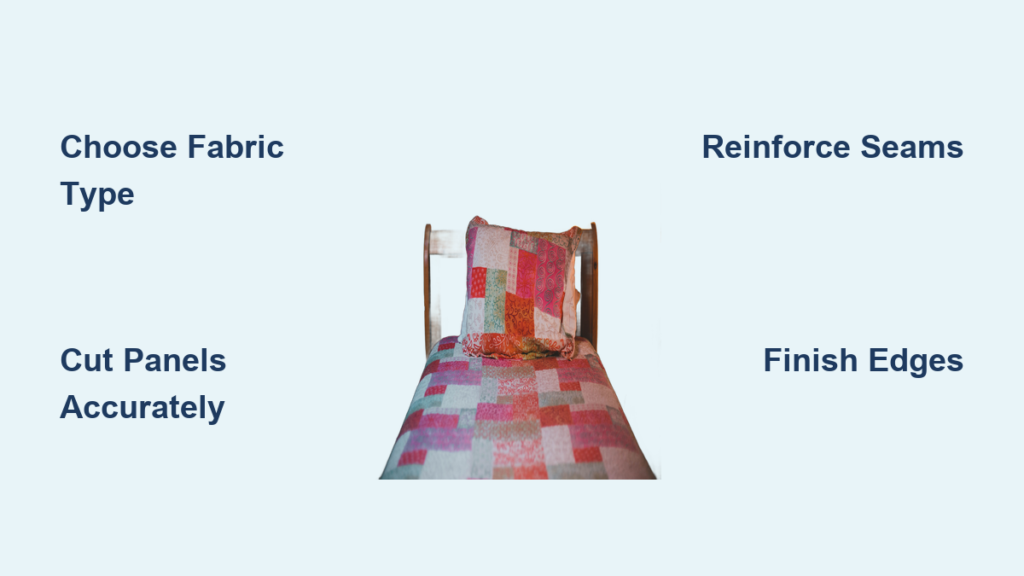
Learning how to sew a bedspread transforms your bedroom with a custom cover that fits your style perfectly. Whether you need a lightweight summer spread or a cozy quilted layer, this project offers endless creative freedom for any skill level.
This guide walks you through selecting fabrics, cutting panels accurately, and assembling durable layers without confusion. You will discover simple methods to repurpose old sheets and add professional decorative touches in just one weekend.
Choose the Right Bedspread Style for Your Room

Selecting a specific design ensures your new cover meets both aesthetic and functional needs. Your choice depends on whether you prioritize warmth, decoration, or easy maintenance for guests and pets.
Match Design to Your Climate Needs
A summer spread uses two lightweight cotton layers without batting for maximum breathability. This style works perfectly in hot climates or for protecting beds from pets. Conversely, a quilted version includes batting for added thickness and winter warmth.
Pick a Pattern That Fits Your Skill Level
- Simple Patchwork: Sew fabric scraps into uniform squares for a colorful, beginner-friendly option.
- Modern Geometric: Use precise triangles or hexagons for a sharp, contemporary look requiring advanced cutting.
- Appliqué: Fuse decorative shapes like stars or flowers onto a solid background for artistic flair.
- Embroidered: Enhance plain fabric with monograms or floral vines using satin and backstitch techniques.
- Cottage Vintage: Repurpose floral or paisley sheets to create a charming, timeless appearance.
Consider Special Use Cases
Guest rooms benefit from durable tied blankets that are easy to wash and replace. If you lack air conditioning, skip the batting entirely to keep the bed cool. Beginners should start with a fleece fringe design to build confidence before attempting complex patchwork.
Select Materials and Tools for Success
The right fabric defines the feel of your bedspread while proper tools ensure clean lines and durable seams. Gathering these items before you start prevents frustrating mid-project delays.
Choose the Best Fabric Type
Cotton is the standard choice for breathability and ease of sewing. Pair it with flannel on the reverse side if you need slight warmth during cooler months. Fleece creates a soft texture ideal for fringe finishes, while full-sized sheets offer cost-effective, high-thread-count panels.
Know When to Use Batting
Batting adds body but isn’t always necessary. Use a thin layer like “warm and natural” for structure in quilted spreads. For summer projects, omit the batting completely as two layers of sheet fabric provide sufficient substance.
Gather Essential Sewing Tools
- Rotary cutter and mat: Critical for cutting precise geometric shapes.
- Walking foot: Prevents fabric shifting when sewing through multiple layers.
- Double needle: Reinforces seams on reversible spreads to prevent separation.
- Fusible webbing: Bonds appliqué shapes securely without hand stitching.
- Hoop frame: Keeps fabric taut during embroidery work.
- Zigzag stitch capability: Stops fleece edges from fraying over time.
Prepare Fabric and Cut Panels Accurately
Proper preparation eliminates bulk and ensures your final product lies flat on the bed. Taking time here saves hours of troubleshooting later in the process.
Remove Existing Seams from Sheets
If repurposing sheets, use a seam ripper to take apart hems and side seams. This gives you large, flat pieces of fabric without unwanted bulk. Press the fabric with an iron to remove all wrinkles before cutting.
Measure and Cut for Perfect Fit
Lay your largest sheet on the bed centered to measure overhang. If the fabric is too short, cut a second sheet into strips for bottom and side extensions. Always finish the bottom extension first to keep patterns aligned at the foot of the bed.
Cut Shapes for Patchwork or Geometry
For patchwork, cut all squares to the exact same size using a rotary cutter. Label rows as you go to maintain your design plan. For hexagons or triangles, use paper templates to ensure every piece matches perfectly.
Assemble Your Bedspread Step by Step
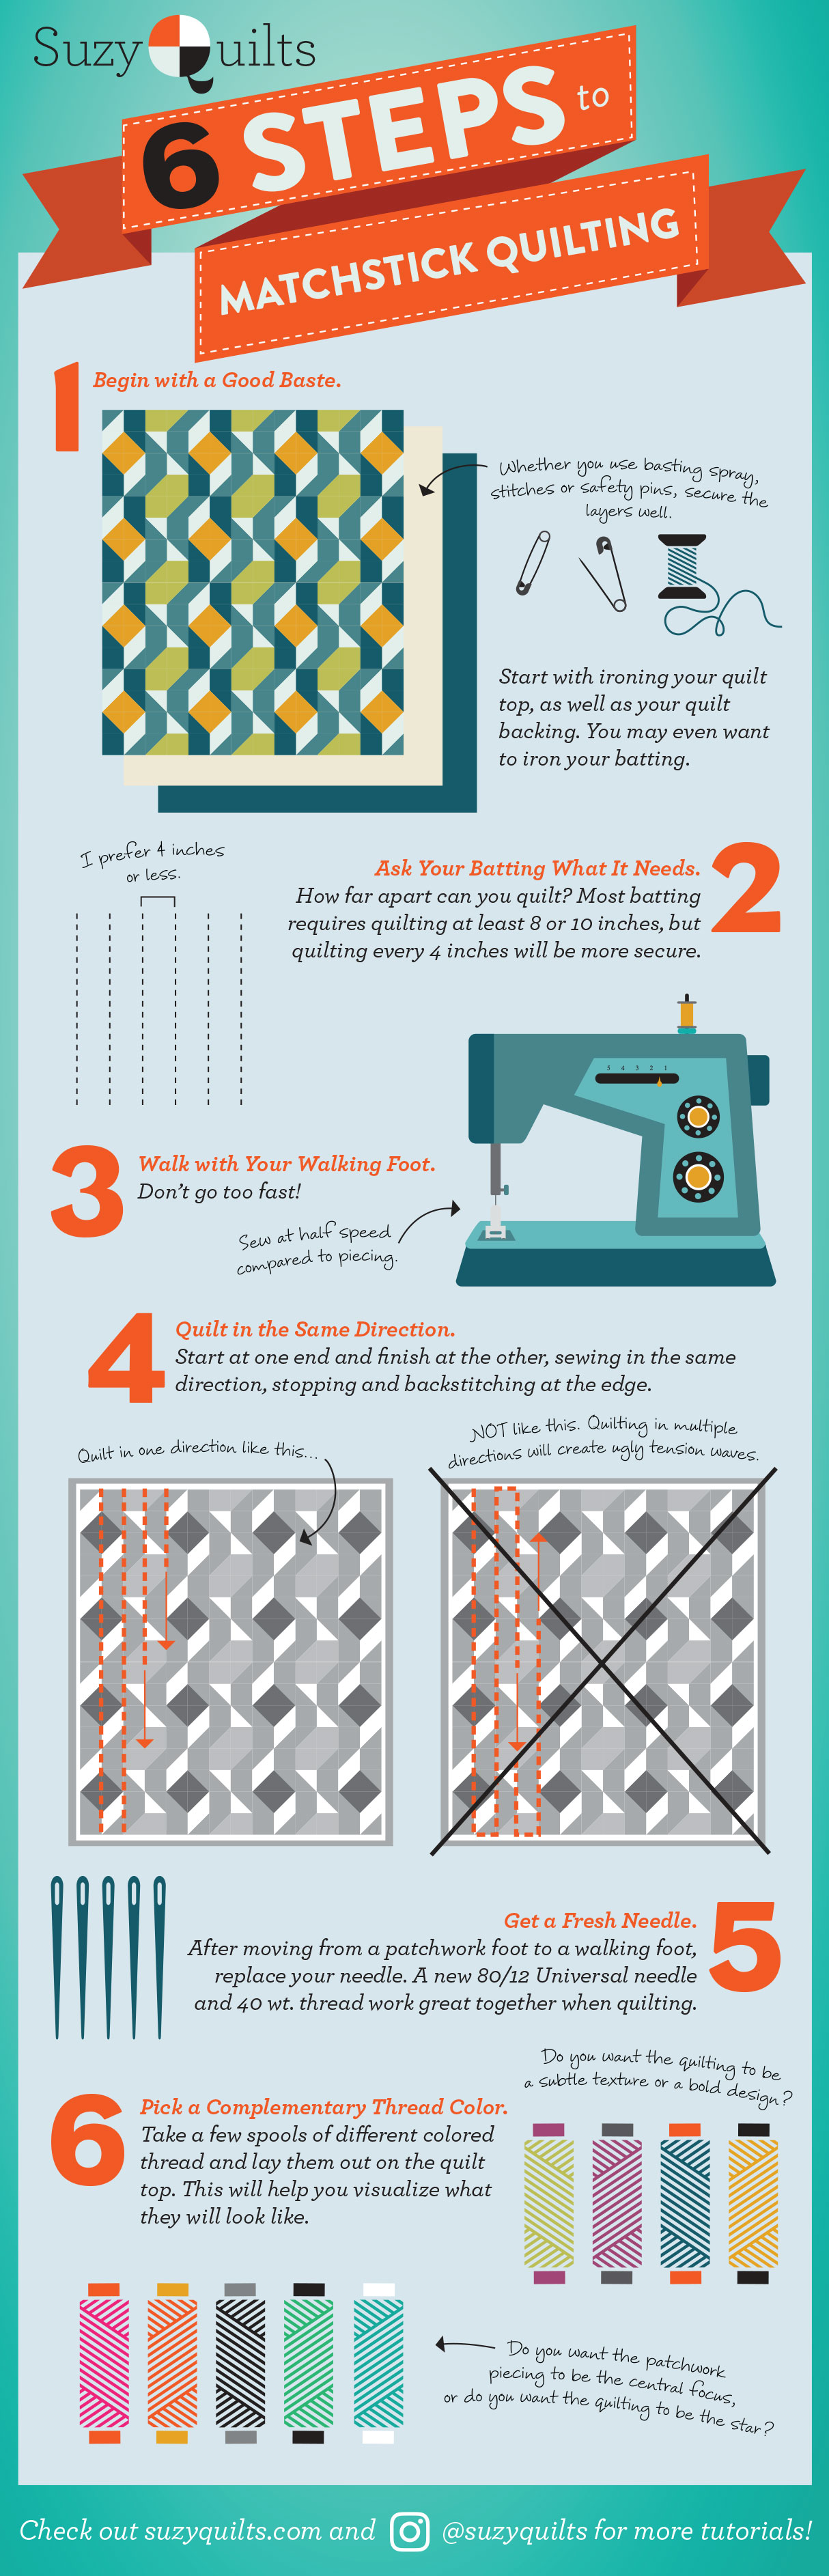
Follow these specific methods based on the style you chose earlier. Each technique requires slightly different handling of layers and seams.
Sew a Summer Spread Using Sheets
Place top and bottom fabric layers with right sides together. Sew around three and a half sides, leaving a 6-inch opening on one short edge. Trim corners diagonally to reduce bulk before turning the spread right side out.
Close the opening with an invisible hand stitch. Reinforce the perimeter by topstitching a quarter inch from the edge. Add multiple rows of stitching for a framed, professional look.
Build a Quilted Spread with Batting
Layer the bottom fabric right side down, then batting, then top fabric right side up. Pin or baste all layers together to prevent shifting during sewing. Use a walking foot to quilt in straight lines from the center outward. Bind raw edges with fabric strips for a polished finish.
Make a Reversible Bedspread
Sew two different fabrics together with right sides facing, using a half-inch seam allowance. Leave a turning gap, then flip the spread right side out. Press edges flat and close the gap with a hand stitch. Topstitch around the entire perimeter using a double needle to lock layers in place.
Add Decorative Details for Personalization

Enhance your plain fabric base with stitching, appliqué, or embroidery. These details turn a simple cover into a unique statement piece for your bedroom.
Enhance with Decorative Stitching
Use your machine to add visual interest through outline stitching on floral patterns. Create grid stitching with horizontal and vertical lines to secure layers. Run multiple parallel lines along edges for a framed border effect.
Apply Appliqué Designs
Cut shapes from contrasting fabric and iron fusible webbing to the back. Attach to the main fabric and stitch around edges with a straight or zigzag stitch. Use flowers, stars, or animals for a whimsical touch.
Embroider Personal Touches
Use a hoop to keep fabric tight while stitching monograms or names. Common stitches include satin stitch for filling shapes and backstitch for clean outlines. French knots add texture for flower centers or decorative dots.
Finish Edges and Secure Layers Properly
Finishing touches prevent fraying and ensure your layers stay together through years of use. Neglecting this step can lead to shifting fabric and messy edges.
Prevent Fraying on Fleece
Fleece does not fray easily, but a zigzag stitch adds durability. For a fringe finish, cut 1-inch wide strips along all edges about 3 inches deep. Knot every other fringe for a soft, textured look.
Reinforce Seams Against Shifting
Topstitching is essential even after turning and pressing. It prevents two fabric layers from sliding apart during daily use. Use a double needle for a professional, stretch-resistant finish on reversible spreads.
Trim and Press for Sharp Corners
Trim corners diagonally after sewing three sides but do not cut too close to the seam. This reduces bulk and allows corners to turn out sharply. Always press seams closed before turning and press again after for crisp edges.
Try No-Sew and Quick Methods

Not every project requires a machine. These fast methods are perfect for beginners or last-minute guest room updates.
Make a Tied Blanket
Layer two large cotton or flannel sheets with an old blanket in between if desired. Tie yarn or ribbon every 6 to 8 inches across the surface using square knots. This method requires no sewing and takes under an hour.
Create a No-Sew T-Shirt Spread
Cut old t-shirts into 1 to 2-inch strips. Braid or knot them together into a large mat. This upcycled project turns sentimental shirts into a cozy, eco-friendly bed cover.
Troubleshoot Common Sewing Issues
Even experienced sewers face challenges. Here is how to fix common problems quickly.
Fix Fabric Shortages
If your sheet is too small, cut a second one into three parts: a bottom extension and two side panels. Attach the bottom piece first, then the sides. This maintains pattern alignment at the foot of the bed where it matters most.
Stop Layers from Shifting
Un-quilted spreads can slide apart over time. Prevent this by topstitching the perimeter and using a double needle. Add ties or snaps at corners if you plan to insert a comforter inside.
Reduce Bulk at Corners
Thick seams create ugly lumps. Always trim corners diagonally before turning. Use a point turner or chopstick to push out sharp corners gently without poking through the fabric.
Extend Lifespan and Function of Your Spread

Proper care and smart design choices keep your creation looking new for years. These tips maximize durability and seasonal flexibility.
Add Seasonal Flexibility
Design your spread with removable warmth by adding a zipper or button closure. This allows you to insert or remove a comforter as seasons change. You can use the same cover year-round with this simple modification.
Wash and Store Properly
Most homemade spreads are machine washable on cold with a gentle cycle. Remove batting if designed to be taken out. Tumble dry low or air dry to prevent shrinkage. Store folded in cotton bags to prevent moisture buildup.
Repurpose Old Bedding
Turn outdated fancy sheets into beautiful bedspreads. High-thread-count fabrics last longer and feel luxurious. This budget-friendly approach achieves a high-end look without new fabric costs.
Frequently Asked Questions About Sewing a Bedspread
Can I make a bedspread without a sewing machine?
Yes, you can create a tied blanket using yarn or ribbon to secure layers together. Another option is the no-sew t-shirt method where you braid or knot fabric strips. Both methods require zero machine sewing.
What fabric is best for a hot climate bedspread?
Cotton sheets are ideal because they are breathable and lightweight. You should skip the batting entirely for maximum airflow. This creates a “summer spread” that protects the bed without adding heat.
How do I stop my reversible bedspread layers from shifting?
Topstitch around the entire perimeter using a double needle or wide zigzag stitch. This locks the two fabric layers together securely. Without this step, the layers will separate during regular use.
What should I do if my sheet is too small for the bed?
Cut a second sheet into strips to create a bottom extension and side panels. Attach the bottom piece first to ensure pattern alignment. Then add the side panels to reach the desired dimensions.
Do I need batting for a beginner bedspread project?
No, batting is optional and often skipped for lightweight summer spreads. Beginners can start with just two layers of sheet fabric. This simplifies the process and reduces bulk while sewing.
Key Takeaways for How to Sew a Bedspread
Sewing a bedspread allows you to customize your bedroom with durable, personalized bedding. Remember to choose the right fabric for your climate, reinforce seams to prevent shifting, and press thoroughly for professional results.
Start with a simple summer spread or tied blanket to build your skills. Gather your materials today and begin creating a custom cover that reflects your unique style.



