
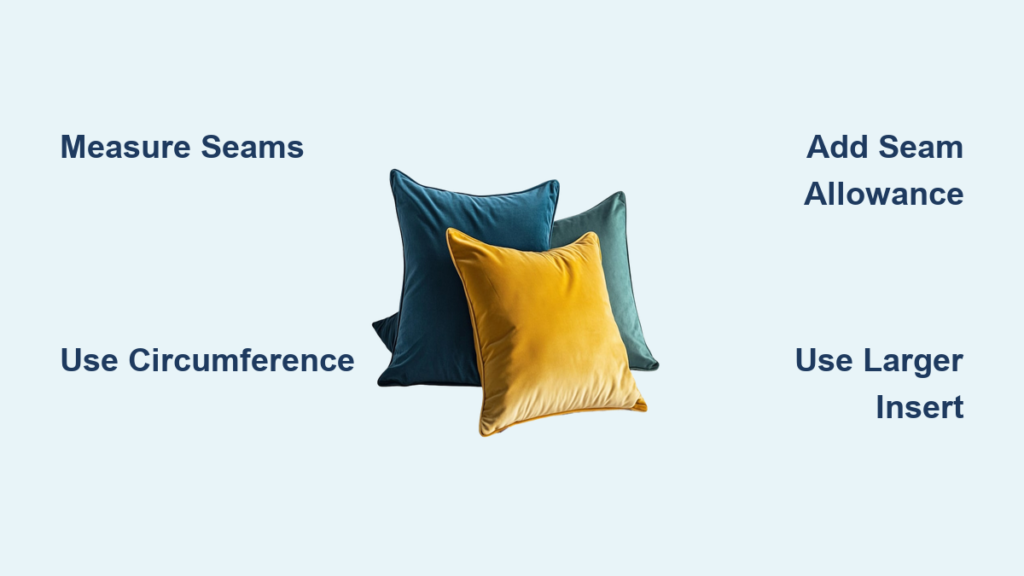
Choosing the right pillow cover size isn’t just about matching labels. It’s about fit, fullness, and a polished look that transforms your living space. If your decorative pillows sag, pucker, or look underfilled, the problem likely starts with inaccurate measurements. This guide walks you through every step, from measuring an existing cover to sizing up for inserts, using proven methods that avoid common mistakes.
You’ll learn how to measure seam to seam, calculate cut sizes from circumference, and select the right insert for a full, structured look. Whether you’re buying a new cover or sewing one yourself, mastering these techniques ensures a snug, tailored finish that mimics high-end interior designs.
Measure Flat, Unstuffed Covers
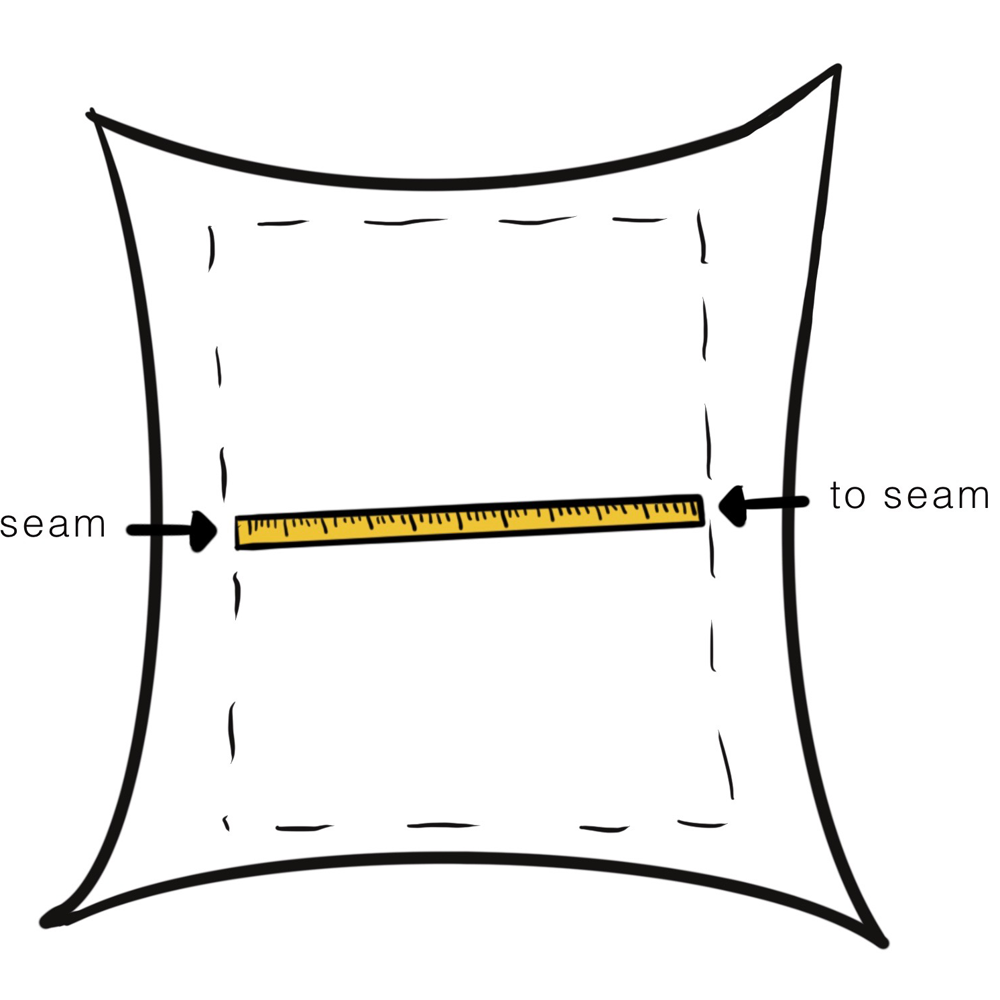
Measure Inner Seams for Accuracy
Always remove the pillow insert before measuring. Turn the cover inside out and use a soft tape measure to record the distance from inner seam to inner seam on both width and length. This method eliminates fabric thickness and stitching bulk, giving you the true internal size.
For example, a cover labeled 20″ × 20″ should measure close to that along the seams, even if slightly under due to compression. Inner seams define the actual space available for the insert, so measuring this way prevents choosing a replacement cover that’s too small.
Avoid Center Face Measurements
Never measure across the center of a stuffed pillow. Fabric tension pulls inward, making the visible face appear 1 to 3 inches smaller than the labeled size. A 20″ × 20″ cover may only show 16 to 18 inches across the front when filled. Relying on this leads to under-sized replacements and loose, flat pillows.
If the cover cannot be unstuffed, stretch the top seam between two fingers and align it with a ruler. Add one-half inch to estimate true flat size.
Account for Fabric and Seam Type
Thick fabrics like velvet or brocade add bulk. Double-stitched or piped seams reduce internal space by up to one-half inch per side. When replacing or sewing, check if the original cover has deep hems or trim, as these affect fit.
Compare your measurement to the seller’s listed flat, unstuffed dimensions, not just the “fits X” label.
Measure Non-Removable Pillow Covers
Stretch and Estimate Seam Length
If the insert is sewn in, gently pull the top corners to straighten the seam. Hold it against a measuring tape. Because stuffing compresses the fabric, the stretched seam will still fall short of the true size. Add one-half inch to your measurement to compensate.
For example, if the seam measures 19.5 inches, treat it as a 20-inch cover. This adjustment accounts for the compression and provides a close approximation of the cover’s actual dimensions.
Use Diagonal Measurement as Backup
Lay the pillow flat and measure corner to corner on both diagonals. Average the two numbers. While not perfect, this gives a rough estimate, especially for newer, well-filled inserts.
Example: Two diagonal reads of 27 inches and 28 inches average to 27.5 inches. For a square pillow, this suggests a 20″ × 20″ cover since diagonal equals side length times 1.414. Avoid this method for flat or lumpy pillows.
Size a Cover for an Existing Insert
Wrap to Find Circumference
For the best fit, don’t rely on the insert’s labeled size. Fluff it well, then wrap a soft tape measure vertically around its center, from top to bottom. Pull snug but do not compress.
Record the total circumference. Example: A 24″ × 24″ down insert often measures 42 inches around. This method accounts for puffiness and fill distribution, which is critical for down, feather, and synthetic-down inserts.
Divide by 2 for Panel Size
Once you have the circumference, divide by 2. This gives the height of each fabric panel, front and back.
Formula: Panel Size equals Circumference divided by 2.
Example: 42 inches divided by 2 equals 21-inch panels.
Add Seam Allowance for Cut Size
Add 1 inch total, one-half inch per side, to account for one-half-inch seams used in standard sewing.
Final cut size equals Circumference divided by 2, plus 1 inch.
Example: 21 inches plus 1 inch equals 22″ × 22″ fabric cut.
This ensures the cover hugs the insert tightly, eliminating bagginess for a snug, full, wrinkle-free result.
Use String If No Tape Measure
Wrap, Mark, and Measure
No soft tape measure? Use string, ribbon, or dental floss. Wrap snugly around the insert’s center. Mark where it overlaps. Lay flat and measure with a ruler.
This substitutes perfectly for a tape measure and works for DIY projects or quick checks. Use brightly colored string for easy visibility on dark fabrics.
Apply Same Math Rules
Use the string length as your circumference. Divide by 2, then add 1 inch for seam allowance.
Example: String measures 34 inches. Thirty-four divided by 2 equals 17. Plus 1 inch equals 18″ × 18″ cut.
This method is perfect for crafting custom covers from scrap fabric.
Choose the Right Insert for Fullness

Match Insert Size to Cover
A pro decorator secret is that the insert should be larger than the cover. This creates tension that lifts the pillow, sharpens corners, and prevents sagging.
Standard rule: Use insert 2 inches larger for covers 18 inches and above. Use insert 1 inch larger for covers under 18 inches.
Examples include: 20″ × 20″ cover needs 22″ × 22″ insert. A 16″ × 16″ cover needs 17″ × 17″ insert. A 12″ × 20″ lumbar uses the shortest side to decide, so it needs a 14″ × 22″ insert.
Result: A chopable pillow that holds its shape like luxury bedding.
Avoid Exact-Fit Inserts
Inserts labeled to fit 20″ × 20″ often result in loose, underfilled pillows. These are designed for tight-sealing cases or specific brands. For a full look, always go up in size.
Warning: If the insert is more than 2 inches larger, it may strain seams or cause bulging.
Measure Unlabeled Pillow Inserts
Use Girth to Estimate Size
No tag? Measure the girth, which is the full perimeter around the thickest part. For square inserts, divide by 2.
Formula: Estimated Side equals Girth divided by 2.
Example: Girth equals 72 inches. Seventy-two divided by 2 equals 36, suggesting an 18″ × 18″ insert.
This works because girth captures volume better than flat measurements, especially for fluffy fills.
Compare Corner-to-Corner
Lay the insert flat. Measure diagonally from corner to corner on both sides. Average the results.
Drawback: Compression and stitching can skew results by 1 to 2 inches. Use this method only if girth measurement isn’t possible. Fluff the insert thoroughly before measuring to restore puffiness.
Adjust for Fabric and Shape
Handle Thick or Stretchy Fabrics
Thick fabrics like velvet, wool, and brocade have bulkier seams that eat into interior space. Consider increasing cut size by one-half inch or using a larger insert.
Stretchy fabrics like jersey and knit can distort under pressure. Use an insert on the smaller end of the recommendation to avoid over-stretching.
For sewing: Pre-wash fabric to prevent shrinkage after construction.
Size Non-Standard Shapes
For round, bolster, or kidney-shaped pillows, measure the widest width and height. Wrap tape around the thickest circumference. Add one-half inch seam allowance per side when cutting.
Example: A bolster 14 inches wide and 36 inches long needs a cover cut to 15 inches by 37 inches, with one-half-inch seams.
Custom shapes benefit from mock-ups using muslin or old fabric.
Buy or Sew with Confidence
Check Seller Specifications
Not all 20″ × 20″ covers are equal. Some brands use exact-fit sizing. Always check product details for flat, unstuffed dimensions and seam-to-seam size.
When in doubt, contact the seller. Reputable vendors provide exact measurements upon request. Red flag: Listings that only say “fits 20-inch insert” without flat dimensions.
Pre-Wash and Test Fit When Sewing
Always pre-wash fabric before cutting. Cotton and linen can shrink up to 5% after first wash.
After sewing, do a test fit. Insert the form and check for gaps, bulges, or strain. Ensure zipper or closure operates smoothly. Adjust pattern if needed before making more.
Keep Standard Inserts on Hand
Decorators and designers keep a set of common inserts, 18-inch, 20-inch, and 22-inch, to test covers during styling. This speeds up decision-making and avoids returns.
Bonus: Mix sizes, such as 20-inch and 22-inch, on large sofas for visual depth and proportion.
Know Standard Pillow Sizes
Match Size to Furniture
Standard pillow sizes serve different purposes. Eighteen-inch by 18-inch pillows work best for chairs, twin beds, and small sofas. Twenty-inch by 20-inch is the most common size and fits standard sofas and beds. Twenty-two-inch by 22-inch suits deep-seated sectionals and large furniture. Twenty-four-inch by 24-inch creates statement pillows and works with high-back furniture. Twelve-inch by 20-inch lumbar pillows provide support for headboard accents.
Larger pillows balance oversized furniture. Mixing sizes adds dimension. For beds, layer sizes such as euro shams, 26-inch by 36-inch, in back, 22-inch in front, and 18-inch in front.
Achieve a Designer Finish
Look for Tension, Not Slack
A well-fitted pillow stands upright without leaning. The fabric shows gentle tension with no puckering, sagging, or loose corners.
Crisp corners are key. They form naturally when the insert is 1 to 2 inches larger than the cover, especially with down or high-loft polyfill. The pillow should feel plush but structured, able to be chopped with your hand like hotel pillows.
Revive Old Pillows
Flat or lumpy inserts? Replace them. New synthetic-down or feather-blend inserts can breathe life into old covers.
Benefits include no need to re-sew, easy-to-clean covers with inserts removed, and simple swaps with zippered closures. Replace inserts every 1 to 2 years for best appearance.
Frequently Asked Questions About Measuring Pillow Covers
What is the most accurate way to measure a pillow cover?
The most accurate method is to remove the pillow insert, turn the cover inside out, and measure from inner seam to inner seam using a soft tape measure. This eliminates fabric thickness and gives the true internal dimensions.
Why does my stuffed pillow look smaller than the labeled size?
Once stuffed, the visible face of a pillow appears smaller due to fabric tension and fill compression. A 20″ × 20″ cover may show only 16 to 18 inches across the front when filled. This is normal and why you should never measure across the center of a stuffed pillow.
How do I calculate the right cover size for my insert?
Use the circumference method. Wrap a tape measure around the insert’s center, divide that number by 2, then add 1 inch for seam allowance. This gives you the cut size for a snug, professional fit.
What size insert should I use for a 20-inch cover?
For a 20″ × 20″ cover, use a 22″ × 22″ insert. The insert should be 2 inches larger than the cover to create gentle tension that lifts the pillow and sharpens corners.
Can I measure a pillow cover if the insert is sewn in?
Yes. Pull the top corners to stretch the seam taut, hold it against a measuring tape, and add one-half inch to compensate for compression. Alternatively, measure diagonally corner to corner and average the results.
How do I measure non-standard pillow shapes?
For round or bolster pillows, measure the widest width and height. Wrap a tape around the thickest circumference. Add one-half inch seam allowance per side when cutting fabric.
Key Takeaways for Measuring Pillow Covers
Measuring a pillow cover correctly starts with removing the insert and measuring seam to seam. For new covers, use the circumference method to ensure a snug fit. Always choose an insert 1 to 2 inches larger than the cover for a full, professional look. Avoid measuring the center face of a stuffed pillow, as this leads to sizing errors. Whether buying or sewing, precise measurement means polished, long-lasting decor that transforms your space with a designer finish.



