
If your baby fusses during tummy time or struggles to lift their head, a tummy time pillow can make all the difference. This simple DIY project creates a soft, supportive cushion that elevates your infant’s chest, helping them build neck and shoulder strength with less strain. Unlike bulky nursing pillows, a tummy time pillow is compact, purpose-built, and easy to customize, perfect for newborns up to 6 months. Best of all, you can make one in about an hour using basic sewing skills and common craft supplies. In this guide, you will learn exactly how to make a tummy time pillow from scratch, including material choices, step-by-step construction, safety tips, and expert customization ideas.
Choose the Right Materials
Pick Soft, Washable Fabric
Use baby-safe, breathable fabrics that are gentle on delicate skin and easy to clean. Cotton quilting fabric, flannel, or minky are top choices. You will need about one quarter yard of fabric for the outer cover. Many makers use a patterned cotton for the top side and a solid, durable fabric like grey duck cloth for the back, since durability matters more than looks for the bottom. Avoid synthetic, non-breathable materials that could cause overheating. Always pre-wash fabric to prevent shrinkage after sewing.
Select Safe, Supportive Filling
Polyester fiberfill, also known as polyfil, is the most effective and widely used stuffing for how to make a tummy time pillow. It is lightweight, soft, and provides just enough firmness to support your baby’s chest. Some crafters add clean fabric scraps to use up stash materials, but do not fill entirely with scraps, as this creates a heavy, lumpy pillow that is harder for babies to move on. Aim for a pillow that is three to four inches high when stuffed, firm enough to lift the baby’s chest so arms can tuck underneath, but soft enough to compress slightly under pressure.
Gather Basic Sewing Tools
You do not need advanced equipment to learn how to make a tummy time pillow. Here is what to have on hand.
• Sewing machine, recommended for strong, even seams
• All-purpose thread
• Scissors and pins or clips
• Measuring tape
• Hand-sewing needle for closing the opening
• Iron, optional, for clean seam finishes
If you are new to sewing, this project is beginner-friendly and a great confidence builder.
Use a Tested Sewing Pattern
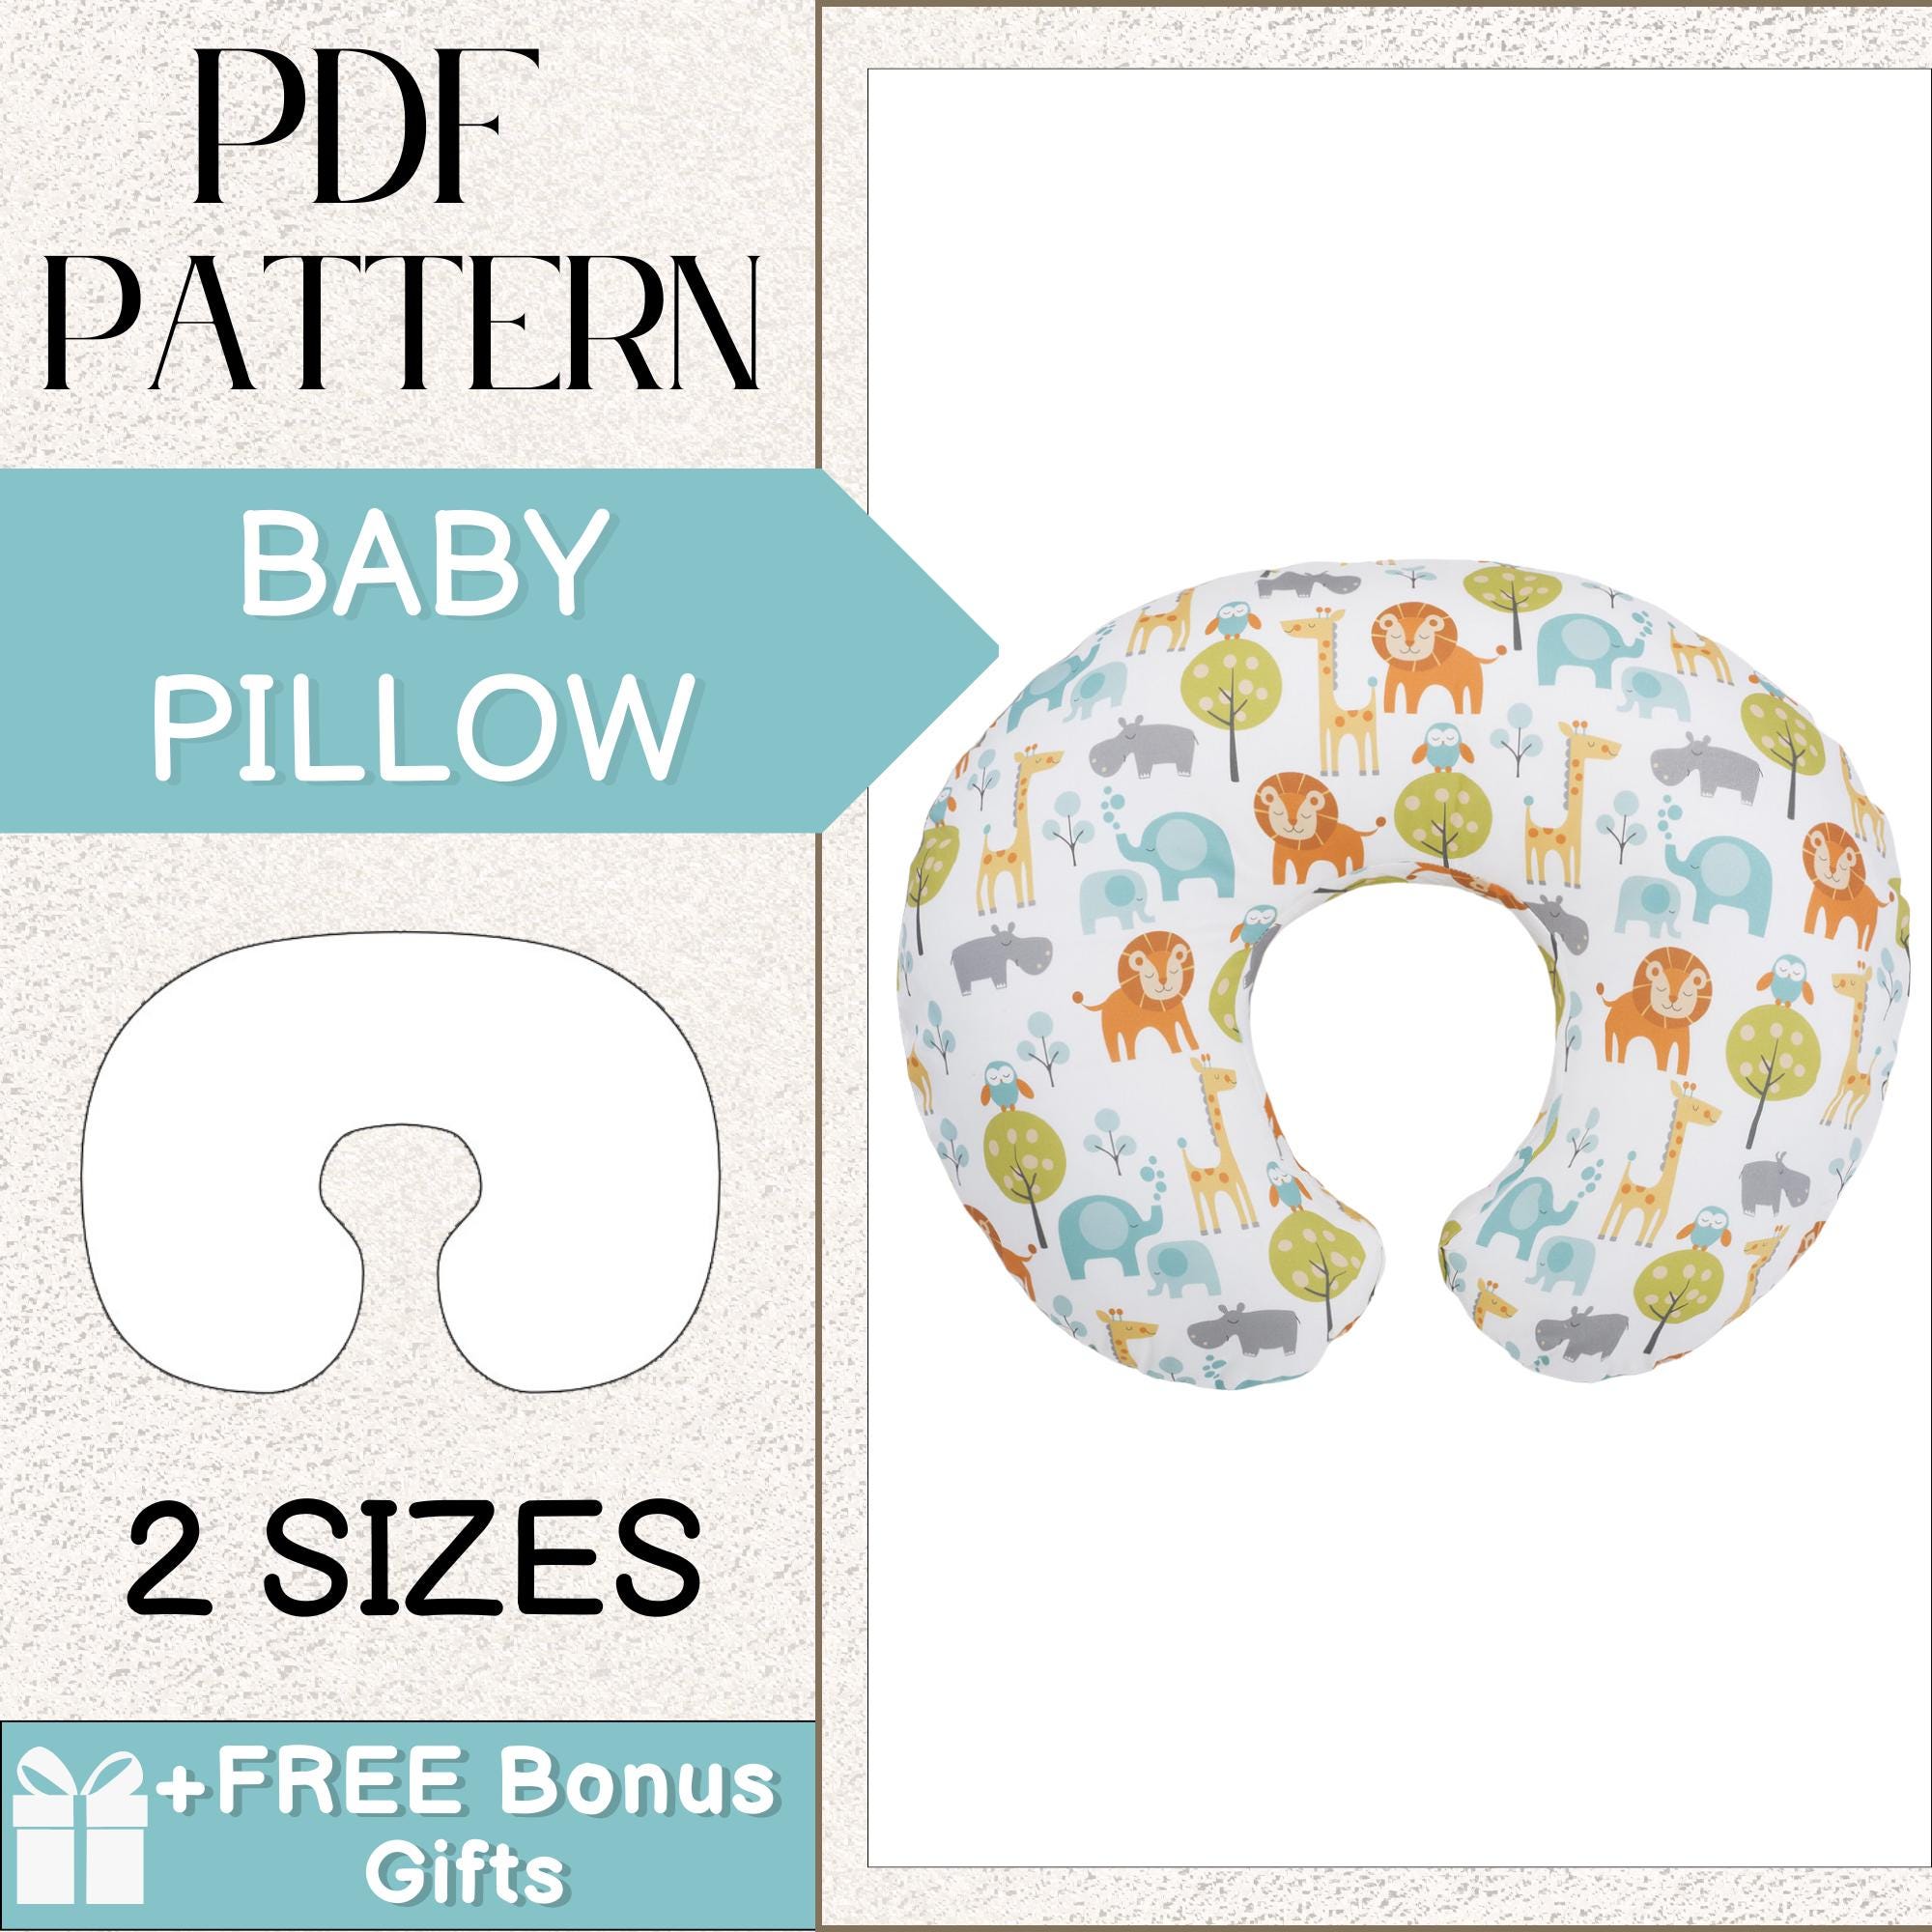
Download a Printable PDF Template
For consistent shape and size, use a printable PDF sewing pattern from a trusted source. The pattern typically includes three pieces designed to print on standard 8.5 by 11 inch paper. These templates ensure your pillow measures about 17 and one half inches long, a proven length for proper infant support. Print only the pattern sheets to save ink and paper. Assemble the pieces by taping the printed sections together along marked lines.
Why a Pattern Beats Freehand Cutting
Even though the shape is simple, a curved bolster, using a tested pattern guarantees the right proportions for both function and comfort when you learn how to make a tummy time pillow. Freehand cutting can result in a pillow that is too short, too thick, or uneven, reducing its effectiveness during tummy time. One maker emphasized that a proper pattern ensures the pillow cradles the torso just right, making it more effective than a DIY Boppy-style alternative.
Cut and Sew the Pillow Cover
Cut Two Identical Fabric Pieces
Place the assembled pattern on your fabric and trace around it with a fabric pen or chalk. Cut two identical pieces, one for the front decorative side and one for the back durable side. Pin them together with right sides facing inward. If using different fabrics for front and back, double-check orientation before cutting.
Sew with a Half-Inch Seam Allowance
Using a sewing machine, stitch around the entire edge with a half-inch seam allowance, leaving a three to four inch gap open for turning and stuffing. Use a straight stitch and backstitch at the start and end for durability. If your pattern has curves, clip the seam allowance lightly at the rounded ends to reduce bulk when turned right side out.
Turn and Press the Pillow
Carefully turn the cover right side out through the opening. Use a blunt tool like a chopstick to push out the corners and curves for a clean shape. Gently press the edges with an iron on low heat if desired, especially helpful for cotton fabrics to create a polished finish. Avoid ironing minky or synthetic fabrics directly; use a pressing cloth instead.
Stuff the Pillow Evenly

Fill from End to Center
Begin adding polyester fiberfill through the opening, starting with the ends and working toward the center. Pack the center section slightly denser, as this is where the baby’s chest rests and needs the most support. Use small handfuls of polyfil and distribute them evenly to prevent lumps. Squeeze and shape the pillow as you go to maintain a smooth, consistent profile.
Avoid Overstuffing
The pillow should be firm but yield slightly under pressure when you make a tummy time pillow. Overstuffing makes it too rigid and uncomfortable, while underfilling will not provide enough lift. Test the height by placing the pillow under a baby; their arms should fit comfortably underneath, and their head should be elevated enough to see around. If you added fabric scraps, ensure they are clean, soft, and distributed evenly to avoid hard spots.
Close the Opening Securely
Use a Ladder Stitch for Invisible Closure
Fold the raw edges of the opening inward and pin them together. Thread a hand-sewing needle and use a ladder stitch, also called an invisible stitch, to close the gap. This creates a seamless, professional finish without visible thread. Take small, even stitches through the folded edges, pulling gently after each one. The result should be nearly invisible and strong enough to withstand regular use.
Double-Check for Loose Threads
Inspect the entire pillow for loose threads or weak seams. Trim excess thread and reinforce any areas with a few extra stitches if needed. Remove any stray fibers that could irritate baby’s skin. This final check is essential when learning how to make a tummy time pillow that is safe for infant use.
Customize for Style and Use
Match Nursery Themes or Gift Sets
One of the biggest perks of DIY is personalization. Choose fabrics that match your nursery decor, baby shower theme, or handmade tummy time mat. A verified buyer shared that she made it in matching fabric to a tummy time mat she did for a baby shower, a thoughtful, cohesive gift. Popular patterns include animals, stars, geometric prints, or gender-neutral solids.
Mix Textures for Sensory Appeal
Combine a smooth cotton top with a soft minky backing for added tactile interest. Babies may enjoy the contrast, and parents appreciate the cozy feel. Just ensure all fabrics are machine-washable and safe for infant contact. This texture combination is a popular choice when learning how to make a tummy time pillow.
Make Multiple for Rotation
Since tummy time pillows need regular cleaning, consider making two or more in different fabrics. This lets you rotate them while one is in the wash, keeping your routine uninterrupted. This is especially helpful for parents who use the pillow daily.
Follow Safety and Care Guidelines
Never Leave Baby Unattended
Always supervise your infant during tummy time. The pillow is a support tool, not a sleep or lounging aid. Never use it in a crib, bassinet, or car seat. Place the pillow on a firm, flat surface like a play mat or carpeted floor. Avoid slippery or elevated surfaces.
Clean Regularly and Air Dry
Spot clean minor stains with mild soap and water. For deeper cleaning, machine wash on a gentle cycle using baby-safe detergent if fabric allows. Otherwise, hand wash and rinse thoroughly. Always air dry completely before reuse. Tumble drying can damage fibers or cause shrinkage. Fluff the stuffing occasionally to maintain shape and support.
Check for Wear and Tear
Inspect the pillow weekly for loose seams, thinning fabric, or clumped stuffing. Reinforce weak areas or retire the pillow if it no longer holds its shape. A well-made tummy time pillow can last through multiple children with proper care.
Troubleshoot Common Issues
Pillow Is Too Flat or Too Puffy
If the pillow does not provide enough lift, add more polyfil to the center. If it is too stiff, remove some stuffing and redistribute evenly. The ideal height is three to four inches, enough to help baby lift their head without over-elevating. This balance is crucial when you learn how to make a tummy time pillow that actually works.
Fabric Shifts During Use
Ensure seams are tight and evenly stitched. If the cover slips, consider using a non-slip mat or placing the pillow on a textured play mat. Avoid using on smooth, hard floors without grip.
Baby Still Resists Tummy Time
Even with a pillow, some infants take time to adjust. Boost engagement by placing toys, mirrors, or books within view. Position yourself at eye level to encourage lifting. Use the pillow consistently, as many parents report longer, calmer sessions after a few days of use.
Why DIY Beats Store-Bought
Less Bulky Than Nursing Pillows
Parents often try Boppy or donut-shaped nursing pillows for tummy time, but they are too large and restrictive. A dedicated tummy time pillow is slimmer, better contoured, and easier to position under the baby’s chest. This is why learning how to make a tummy time pillow is worth the effort.
One user said it worked so great; my baby could last a little longer at tummy time.
Cost-Effective and Personal
Commercial tummy time props can cost 20 to 40 dollars. A DIY version costs under 10 dollars in materials, or even less if you upcycle fabric and stuffing. Plus, handmade items carry emotional value, making them ideal baby shower gifts. Digital patterns cost just a few dollars and can be reused for multiple pillows.
Proven by Real Users
Verified buyers of popular patterns give five-star reviews, praising ease of use and baby’s response. With over 5,700 sales and a 4.9-star rating, patterns from independent designers are trusted by crafters and parents alike. This proven track record makes learning how to make a tummy time pillow a worthwhile project.
Maximize Tummy Time Success
Start Early and Keep Sessions Short
Begin tummy time in the first few weeks, even for just one to two minutes at a time. Gradually increase duration as strength improves. The pillow helps babies tolerate longer sessions by reducing strain.
Use at the Right Time of Day
Choose a calm moment, after a nap or diaper change, when baby is alert but not hungry or tired. A fresh, clean pillow can make the experience more inviting.
Combine with Sensory Play
Place a black-and-white toy or unbreakable mirror in front of the pillow. Babies are more likely to lift their heads when something interesting is in view. Sing or talk to keep them engaged.
Frequently Asked Questions About Making a Tummy Time Pillow
What is the best fabric for a tummy time pillow?
Cotton quilting fabric, flannel, and minky are the best choices. These fabrics are breathable, soft, and machine-washable. Many makers use a decorative cotton for the top and durable duck cloth for the bottom.
How much fabric do I need to make a tummy time pillow?
You need approximately one quarter yard or 23 centimeters of fabric. This is enough for the front and back pieces when cut using a pattern template.
What filling should I use for a tummy time pillow?
Polyester fiberfill, also called polyfil, is the recommended filling. It provides the right balance of softness and support. You can add clean fabric scraps, but do not use only scraps as they create a heavy, uneven pillow.
How long does it take to make a tummy time pillow?
The project takes approximately one hour for experienced sewers. Beginners may need extra time for cutting and hand-sewing the opening closed.
Can I wash a homemade tummy time pillow?
Yes, you can machine wash on gentle cycle or hand wash using baby-safe detergent. Always air dry completely before reuse to maintain the pillow’s shape and support.
Key Takeaways for Making Your Own Tummy Time Pillow
A DIY tummy time pillow is a simple, high-impact project that supports your baby’s development while showcasing your creativity. With soft fabric, the right stuffing, and a reliable pattern, you can build a functional, safe, and beautiful prop in under an hour. The pillow should be approximately 17 and one half inches long and three to four inches high when stuffed, providing enough elevation for baby to tuck their arms underneath while building neck strength. Whether for your own little one or as a heartfelt baby shower gift, this pillow proves that the smallest creations can make the biggest difference in early development.


