
You don’t need to be a sewing pro to create a custom pillow that looks store-bought. With a sewing machine, some fabric, and basic tools, you can craft a beautiful, durable pillow in under an hour. Learning how to make a pillow with a sewing machine is one of the most rewarding beginner sewing projects, giving you complete control over size, fabric, and finish. Whether you’re refreshing your living room, making a thoughtful handmade gift, or building core sewing skills, a DIY pillow delivers professional results without the professional price tag.
This guide walks you through every step, from choosing fabric and cutting panels to sewing seams, inserting stuffing, and closing the cover. You’ll discover pro tips for sharp corners, clean finishes, and long-lasting results that rival anything you could buy.
Choose the Right Fabric for Your Pillow Project
Pick Beginner-Friendly Materials
Start with cotton, linen, or muslin if you’re new to sewing. These fabrics are stable, easy to cut, and respond well to ironing. For soft, cozy pillows, try chenille, minky, or fleece. Just remember that fleece can stretch, so pin it generously. If you want a luxe look, go for velvet or brocade, but cut with the pile direction consistent on both panels to avoid color shifts.
Outdoor pillows require UV- and mildew-resistant fabric. For kids or pets, choose washable, stain-resistant materials like cotton canvas or polyester blends.
Pre-Wash to Prevent Shrinkage
Always pre-wash and dry your fabric before cutting. Natural fibers like cotton and linen shrink the most, but even some synthetics can change after washing. Skipping this step could leave you with a lopsided or shrunken cover. After washing, press the fabric flat with an iron so it’s smooth and ready to measure.
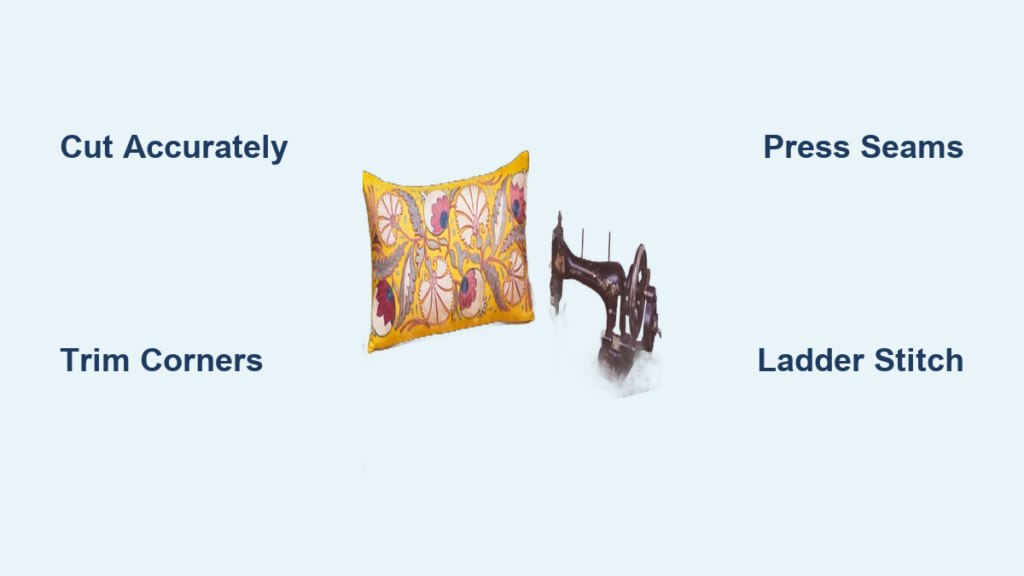
Cut Fabric Panels Accurately

Measure and Add Seam Allowance
Decide your finished pillow size. Common sizes are 16″, 18″, or 20″ squares. Add 1 inch to both length and width to account for a ½-inch seam allowance on each side. For an 18″ × 18″ pillow, cut two pieces at 19″ × 19″.
Use a rotary cutter, self-healing mat, and ruler for precision, or sharp fabric scissors and a straightedge. Mark the wrong side of each piece with a pin or chalk to keep orientation consistent.
Align Fabric Grain and Pattern
Match the straight grain on both panels to prevent twisting. If your fabric has a print or directional design, center the pattern on each piece and cut both at once with right sides together. This ensures symmetry, especially when making a set.
Sew the Pillow Cover with Proper Technique
Pin Right Sides Together
Place the two fabric pieces with right sides facing, aligning all edges. Pin every 1.5 to 2 inches to prevent shifting while sewing. For slippery fabrics like satin or velvet, use clip closures instead of pins.
Stitch Three Sides with Backstitch
Using a straight stitch and ½-inch seam allowance, sew along three sides. Begin and end each seam with a backstitch to lock the thread. At corners, stop sewing about ½ inch from the edge, lower the needle, lift the presser foot, rotate the fabric 90 degrees, then continue. This creates crisp, square corners.
Trim Corners to Reduce Bulk
Cut a small diagonal notch from each corner, stopping about ¼ inch from the stitch line. This removes excess fabric and helps corners turn out sharply when flipped right side out. Don’t cut too close or you could pop the seam.
Turn and Press for a Crisp Finish

Flip Pillow Cover Right Side Out
Reach through the open side and gently pull the cover through. Use a chopstick, knitting needle, or point turner to push out each corner fully. Smooth the edges with your fingers.
Press Seams Flat
Iron the entire cover, starting with the seams. Press them flat first, then open if desired. Finally, lightly iron the face of the pillow to remove wrinkles and set a professional finish. Use the correct heat setting for your fabric type.
Insert the Pillow Form or Stuffing
Use the Right Insert Size
For a full, plush look, choose a pillow form 1 to 2 inches larger than your cover’s finished size. A 20″ × 20″ insert in an 18″ × 18″ cover creates a luxuriously overstuffed effect. For a flatter, modern look, match the sizes exactly.
Down-alternative inserts are affordable and hypoallergenic. Foam offers firm support for floor cushions or lumbar pillows. To save money, reuse old pillow stuffing. Just clean it by drying on high heat for 30 minutes first.
Stuff Corners First
If using loose polyfill, start by pushing small handfuls into the corners, then fill the edges, and finally the center. Use a chopstick to guide stuffing into tight spots. Fluff often to avoid clumps. Don’t overfill, as this strains seams. For a soft feel, slightly underfill.
Close the Opening Seamlessly
Hand-Sew with Ladder Stitch
For an invisible closure, fold the raw edges of the opening inward ½ inch and press. Thread a hand needle with double thread and tie a knot. Start inside one folded edge, then take tiny stitches alternating between both sides, like climbing a ladder. Pull snug after every few stitches. When closed, secure with two knots and hide the tail inside the seam.
Pro Tip: Practice the ladder stitch on scrap fabric first. It’s easy to master and looks professional once perfected.
Install an Invisible Zipper (Optional)
For washable, reusable covers, sew in an invisible zipper before assembling the pillow. Use a zipper foot to stitch close to the teeth. Attach the zipper to each fabric panel separately, then fold the panels together and sew the remaining three sides. Leave the zipper half-open when turning. Once flipped, zip it closed for a clean, modern finish.
Tip: Buy an 18″ zipper and shorten it with a bar tack if needed. Press the zipper teeth flat before sewing for better access.
Reinforce Seams for Long-Lasting Results
Backstitch Corners and Stress Points
Reinforce all corners with a backstitch or a small X-stitch by machine. This prevents seams from bursting under pressure, especially on frequently used pillows. Use strong polyester thread for long-term wear.
Finish Raw Edges (If Pre-Stuffing)
If you plan to sew the cover shut after inserting the form, finish all raw edges first with a zig-zag stitch or serger. This prevents fraying and gives a clean interior look.
Maintain Your Handmade Pillow Long-Term
Wash Covers Separately
Always remove pillow forms before washing. Machine-wash covers on gentle with cold water, or hand-wash delicate fabrics. Air dry or tumble dry low. Never wash down or foam inserts. Spot clean them instead.
Store in a Dry Place
Keep pillows in a ventilated area to prevent mildew. Avoid plastic bins. Use cotton bags or breathable containers instead.
Troubleshoot Common Pillow Problems
Fix Bulky or Rounded Corners
If corners won’t stay sharp, you likely didn’t trim the seam allowance enough. Always clip diagonally before turning. Press corners firmly from the inside out with a point turner and iron.
Prevent Puckered Seams
Puckering happens when fabric stretches during sewing. Pin generously, sew slowly, and avoid pulling the fabric. Use a walking foot if working with slippery or layered fabrics.
Eliminate Lumpy Filling
Stuff gradually and fluff often. Push filling into corners first using a dowel. Rotate the pillow as you work to distribute stuffing evenly.
Frequently Asked Questions About Making Pillows with a Sewing Machine
What size pillow can I make with one yard of fabric?
One yard typically suffices for an 18″ × 18″ pillow cover, which requires two 19″ × 19″ panels. For larger pillows, you may need additional fabric.
Can I use any sewing machine for pillow making?
Yes, most sewing machines can handle pillow construction. You’ll need a straight stitch, backstitch capability, and optionally a zipper foot for invisible zippers.
How do I choose between ladder stitch and zipper closure?
Ladder stitch creates an invisible, permanent closure perfect for decorative pillows. An invisible zipper offers removable, washable covers ideal for frequently used pillows.
What thread is best for pillow construction?
Use all-purpose polyester or cotton-wrapped polyester thread. Match the thread color to your fabric for invisible seams, or use contrasting thread during practice.
How do I prevent my pillow from looking homemade?
Focus on precise cutting, consistent seam allowance, proper pressing, and sharp corners. The ladder stitch creates a nearly invisible closure that looks professional.
Key Takeaways for Making Pillows with a Sewing Machine
Making a pillow with a sewing machine is a simple, satisfying project that builds core sewing skills. From choosing fabric to closing the last seam, each step teaches precision and care. Start with cotton and a ladder stitch closure, then advance to zippers and specialty fabrics.
The most important factors for success are accurate cutting, consistent ½-inch seam allowance, proper corner trimming, and thorough pressing. Using a pillow form 1 to 2 inches larger than your cover creates that plush, overstuffed look.
With quality materials and attention to detail, your handmade pillows can last for years, adding comfort, style, and personal flair to any space.


