
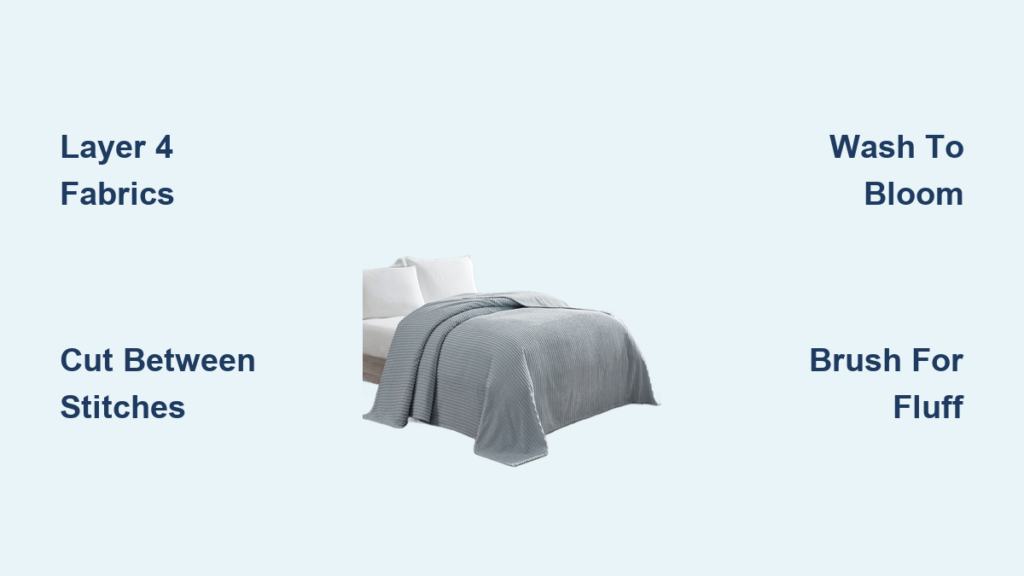
You have likely admired the soft, velvety texture of a vintage chenille bedspread and wished to recreate that plush pile at home. Learning how to make a chenille bedspread allows you to craft a luxurious, heirloom-quality piece with your own hands.
This guide walks you through layering fabric, cutting precise channels, and washing the material until it blooms into softness. You will also discover how to repurpose vintage spreads into modern treasures using proven techniques.
Build the Fabric Layer by Layer for Stability

Creating authentic chenille starts with a precise four-layer stack that determines the durability of your final piece. The bottom layer acts as the foundation while the top three layers form the fluffy pile.
Select Cotton or Rayon for the Base Layer
The bottom layer must remain intact throughout the cutting process to hold the fabric together. Use cotton or rayon because these natural fibers respond best to the blooming process during washing.
Avoid synthetic blends as they do not fray correctly. Cut all four layers to the exact same size and align the grain lines to prevent warping later.
Stack Three Top Layers Over the Foundation
Place your chosen base fabric on the bottom of your work surface. Stack three additional layers of fabric directly on top of the foundation piece.
Ensure the grain lines match across all layers for consistent drape. Misaligned grains can cause the final bedspread to twist or distort after washing.
Pin Through All Four Layers Securely
Use silk pins or fine dressmaker pins to secure the stack without snagging the fibers. Space your pins every 3 to 4 inches along the edges and across the center of the fabric.
This step prevents shifting while you sew. Even tension ensures your stitch lines remain parallel and uniform.
Stitch Parallel Rows 3/8 Inch Apart
Set your sewing machine to a standard straight stitch. Sew through all four layers with rows spaced 3/8 inch apart for a standard pile.
Reduce the spacing to 1/4 inch if you want a denser and fluffier texture. These stitch lines act as anchors that hold the fabric strips in place once you cut between them.
Cut Between Stitch Lines to Create Pile
The transformation from flat fabric to textured chenille happens when you slice the top layers between your stitch lines. This step requires patience and the right tools to avoid damaging the base.
Use a Slash Cutter for Precision Cutting
A specialized chenille slash cutter is the ideal tool for this task. It features a single rotary blade with a protective housing that glides between layers without slicing the bottom base.
This design prevents accidental cuts and ensures clean results. If you lack this tool, use sharp scissors or a seam ripper with extreme care.
Slice Only the Top Three Fabric Layers
Guide your cutting tool down the center of each channel between the stitch lines. Your goal is to cut through the top three layers while leaving the bottom layer completely untouched.
Work in good lighting on a flat surface. Any nick in the base layer will compromise the structural integrity of your bedspread.
Maintain Steady Pressure During Cutting
Move your tool in one direction with steady pressure. Keep the blade centered in the channel to create uniform strips of fabric.
If using an adjustable cutter, set the width to match your stitch spacing exactly. Consistent cuts lead to an even and professional-looking pile.
Wash to Bloom the Chenille Pile Fully
Cutting the fabric only creates strips. The signature softness of chenille emerges during the first wash when the fibers fray and fluff up.
Machine Wash with Warm Water and Gentle Agitation
Place your cut fabric in the washing machine. Use warm water and a gentle cycle to encourage the fibers to fray slightly.
Avoid heavy detergents or bleach as they can damage the delicate fibers. The water causes the cut edges to twist and puff up into a velvety texture.
Allow Fibers to Fray and Twist Naturally
The agitation during the wash cycle is what creates the bloom. The cut threads separate and intertwine to form the soft pile characteristic of chenille.
This process may cause slight shrinkage, which is normal. Pre-washing vintage chenille before repurposing helps prevent future size issues.
Dry Flat or Tumble Dry on Low Heat
Remove the fabric from the washer and tumble dry on low heat or air dry flat. Examine the texture once dry to ensure even blooming.
Some areas may look flat initially. Do not worry as the next step will enhance the fluffiness and uniformity of the pile.
Brush for a Luxurious and Even Finish

Brushing lifts the fibers and separates any clumps formed during washing. This step gives your handmade chenille a professional and store-bought appearance.
Use a Chenille Brush or Soft Toothbrush
A dedicated chenille brush has soft bristles designed to tease out fibers gently. Brush in one consistent direction across the entire surface of the fabric.
If you do not have a specialty brush, use a clean soft-bristled toothbrush. Avoid scrubbing hard as this can distort the pile structure.
Remove Loose Threads and Clumps Manually
Loose threads will rise to the surface as you brush. Pick these off by hand or use a fabric shaver for larger areas to ensure a smooth finish.
Brushing also reveals any uneven cuts you may have missed. You can touch up short strips now but be careful not to cut the base layer.
Repurpose Vintage Chenille Into a Bedspread

You can also create a custom bedspread by repurposing an existing vintage piece. This approach saves time and utilizes the durable patterns of mid-century textiles.
Pre-Wash and Inspect for Damage Thoroughly
Always pre-wash vintage chenille in cold water with mild detergent. This removes decades of dust and tests for color bleeding before you cut.
Lay the spread flat to inspect for holes, thin spots, or stains. Mark damaged areas with chalk and use intact sections for the main part of your bedspread.
Stabilize Edges to Prevent Unraveling
Chenille frays aggressively if left raw. Finish all edges by folding them twice and stitching or by applying bias tape for a decorative border.
Pinking shears work well for non-structural items like wall hangings. For a bedspread, hemming or bias tape provides the necessary durability.
Reconstruct With Matching Patterns Carefully
Patch worn areas with fabric from a second bedspread if needed. Match floral or geometric motifs so the design flows naturally across the seams.
Use a heavy-duty size 14 or 16 needle to handle the thickness. A walking foot on your machine helps prevent the layers from shifting while you sew.
Assemble the Final Bedspread Structure
Once your chenille fabric is ready, you must assemble the pieces into a full-sized bed covering. Proper assembly ensures longevity and a polished look.
Determine Size and Layout for Your Bed
Measure your bed to determine the required dimensions. Standard sizes include 66×90 inches for Twin and 108×95 inches for King.
Lay out your fabric pieces to fit these measurements. Arrange patchwork sections so the design flows logically from top to bottom.
Add Backing for Durability and Weight
Cut a backing fabric like cotton or linen to match the size of your chenille top. This adds weight and protects the underside of your creation.
Sandwich the layers with the chenille on top and the backing on the bottom. Pin around the edges every 3 to 4 inches to secure them.
Quilt or Bind the Layers Together
Sew around the perimeter with a half-inch seam to join the layers. Turn the edges to the back and hand-stitch for a clean finish.
Alternatively, use machine quilting to stitch through all layers in straight lines. This adds texture and prevents the layers from shifting over time.
Maintain Your Chenille Bedspread Properly
Proper care extends the life of your chenille bedspread and keeps it soft. Follow these maintenance tips to preserve your hard work.
Wash With Care Using Mild Detergent
Machine wash in cold water on a gentle cycle using mild detergent. Never use bleach or fabric softener as they coat fibers and reduce softness.
Wash the bedspread alone or with similar fabrics to prevent pilling. Air drying or low heat tumbling preserves the texture best.
Brush After Every Wash to Restore Fluff
Always brush the pile after laundering to restore fluffiness. Use your chenille brush in one direction to lift the fibers and remove lint.
Store the bedspread flat or rolled rather than folded sharply. Sharp folds can crease the pile permanently and ruin the texture.
Frequently Asked Questions About Making Chenille Bedspreads
Can I make chenille fabric without a special slash cutter?
Yes, you can use sharp scissors or a seam ripper instead of a slash cutter. You must work slowly to cut only the top three layers without damaging the base layer.
Why is my chenille not blooming after washing?
Ensure you used natural fibers like cotton or rayon which bloom better than synthetics. The water temperature and agitation level may also need adjustment to encourage fraying.
How do I stop vintage chenille from fraying at the edges?
You must finish all raw edges immediately using hemming, bias tape, or interfacing. Chenille unravels quickly if left exposed, so never leave edges raw.
What needle size should I use for sewing thick chenille?
Use a heavy-duty needle in size 14 or 16 to penetrate the thick layers effectively. A standard needle may break or skip stitches on dense vintage chenille.
Can I machine wash a handmade chenille bedspread?
Yes, machine wash on a gentle cycle with cold water and mild detergent. Avoid bleach and fabric softeners to maintain the softness and integrity of the pile.
Key Takeaways for Making Your Chenille Bedspread

Creating a chenille bedspread involves layering four fabrics, stitching parallel rows, and cutting between them to create strips. Washing the fabric causes the fibers to bloom into the signature soft pile while brushing refines the texture.
Whether you make fabric from scratch or repurpose a vintage spread, proper edge finishing and gentle washing are essential. Start your project today by gathering cotton or rayon fabrics and preparing your sewing machine for layering.



