
Imagine tucking a small, fragrant pillow into your winter drawer and being greeted by the crisp, clean scent of a northern forest. That’s the magic of a balsam fir pillow, a handmade sachet filled with aromatic evergreen needles that brings nature indoors. These rustic, naturally scented pillows have been cherished for generations in New England and Great Lakes regions, where they’re crafted as holiday gifts, closet fresheners, or nostalgic décor.
In this guide, you’ll learn how to identify true Abies balsamea, prepare the filling safely, choose the right fabric, and avoid common mistakes like mold or leakage. We’ll also cover how to refresh the scent, extend lifespan, and personalize your design so you can create a high-quality balsam fir pillow that smells like a winter forest and lasts for years.
Harvest Authentic Balsam Fir
Identify True Abies balsamea
Using genuine balsam fir is essential for the best fragrance and soft texture. Look for these distinguishing characteristics:
• Flat, dark green needles about ¾ inch long
• Two white stomatal bands on the underside of each needle
• Soft, flexible feel unlike prickly spruce
• Sweet, resinous aroma when crushed
Warning: Avoid spruce, which has prickly needles and a sharp odor, and hemlock, which has minimal fragrance. Misidentification leads to poor scent and potential discomfort during use.
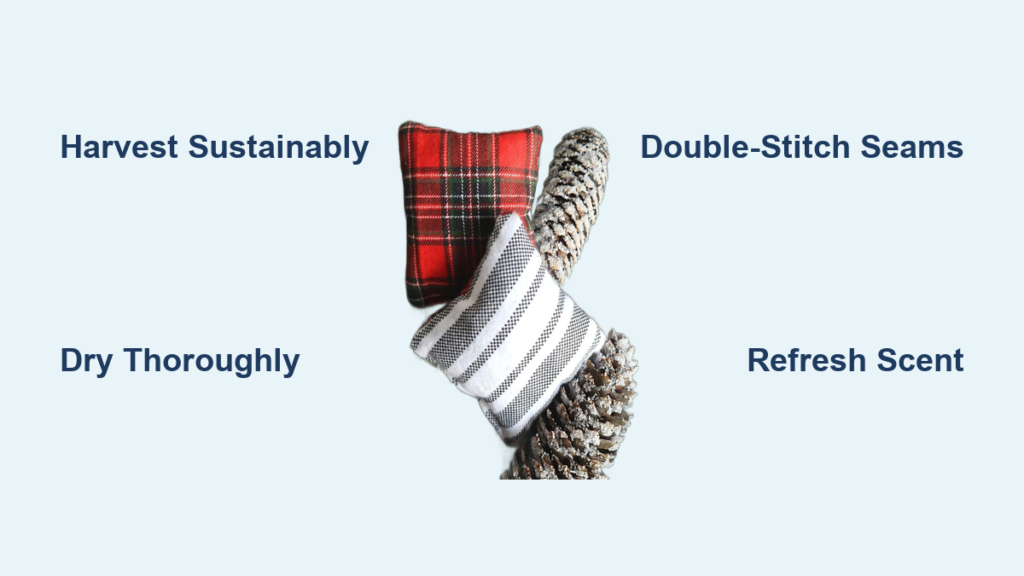
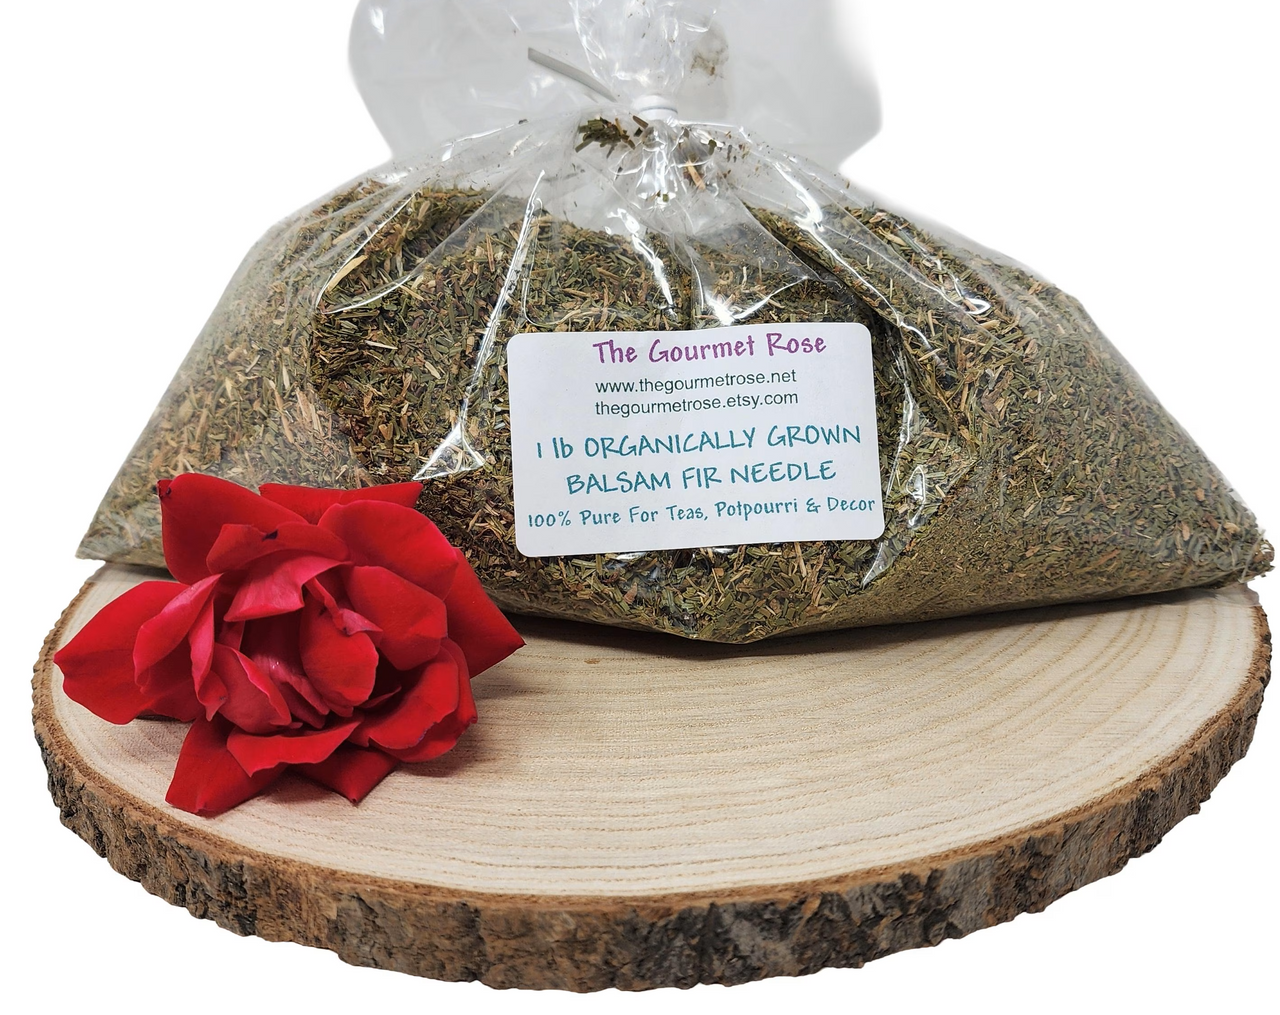
Forage Sustainably
When harvesting balsam fir for your pillow, clip small side branches from healthy trees rather than stripping main tips. Use pruning shears to cut ½-inch segments with needles intact. Prefer wild sources or organic Christmas tree farms, as many commercial farms use pesticides that may irritate lungs when inhaled.
Pro Tip: Recycled balsam from holiday wreaths or discarded trees works perfectly if the material is dry and mold-free.
Prepare Fragrant Filling
Chop and Scrape Needles
Maximizing scent requires increasing the surface area of the needles. Cut balsam twigs into ½-inch pieces, then chop needles in half with heavy scissors. Use scissors to scrape needles off the stems to release more resin, which significantly boosts the aroma.
Visual Cue: Processed material should look like coarse green confetti with small twig bits mixed in.
Dry Before Stuffing
Skipping this step risks mold growth inside your finished pillow. Drying locks in essential oils and prevents trapped moisture from causing problems later.
Air Dry Method: Spread material in a thin layer on a tray and place in a cool, ventilated space away from sunlight. Dry for 1 to 2 weeks until brittle.
Dehydrator Method: Set dehydrator to 100 to 110°F and dry for 12 to 18 hours. Material is ready when crisp and dry to the touch.
Expert Note: Pre-drying beats fresh stuffing for safety and longevity, despite a slightly milder initial scent.
Choose the Right Fabric
Use Natural, Tight-Weave Cloth
Select 100% cotton, flannel, or quilting-weight fabric to prevent needle leaks, allow breathability, and withstand repeated handling. Avoid thin or synthetic fabrics, which tear easily and trap moisture that leads to mold.
Pick Size and Shape
| Size | Dimensions | Best For |
|---|---|---|
| Small | 4″ x 4″ | Gifts, sachets, stockings |
| Medium | 7″ x 9″ | Decorative pillows, closets |
| Large | 8″ x 8″ | Throw cushions, holiday décor |
Time-Saver: Use printable templates for consistent cutting across multiple pillows.
Sew a Durable Pillow
Pin and Stitch Three Sides
Place fabric pieces right sides together and pin edges to prevent shifting during sewing. Sew three sides with a straight stitch, backstitching at start and end for reinforcement. Double-stitch seams for strength, which is critical for heavy filling.
Warning: Weak seams will burst under pressure from dense balsam filling. Reinforce every pillow.
Leave a Stuffing Opening
Leave a 2 to 3 inch gap on the fourth side for filling. Alternatively, cut a 2.5-inch opening in the center of one side, which makes it easier to close neatly afterward.
Pro Tip: Machine-sew all but the opening, then hand-sew the final closure for better control and a cleaner finish.
Stuff Firmly for Long Life

Use Tools for Full Packing
Insert filling using a cardboard or plastic funnel to direct balsam into the opening. Pack corners with a chopstick or dowel, compressing filling as you go since needles settle over time.
Fill to Capacity
A 7″ x 9″ pillow needs about 1 pound of balsam. Pack until plump and firm, aiming for a “comically fat” appearance to ensure fullness after settling occurs. Mix needles and small twigs for longer-lasting scent.
Avoid: Over-stuffing to the point of straining seams, which can cause splitting.
Close Cleanly and Securely
Fold and Topstitch
Fold raw edges inward by ¼ inch, then topstitch closed from the outside. This method creates a neat, fray-free edge with professional results.
Direct Seam
Sew the gap shut directly using a double-stitch to prevent leaks. This quick method has higher risk of fraying, so reserve it for rustic designs where some imperfection adds character.
Final Touch: Tap the pillow on a table to pop corners outward for a fuller shape.
Dry and Cure Your Pillow
Why Pre-Drying Wins
If you dried the balsam before stuffing, there’s no moisture escaping after assembly. This means no damp fabric, no mold risk, and no need for a curing period.
If You Used Fresh Needles
Place pillow on a plate in a cool, ventilated room and turn daily for 5 to 7 days. Expect strong scent and some dampness during this period. Never place on varnished furniture, as moisture can cause staining.
Risk: trapped moisture can encourage mildew growth in organic filling.
Refresh and Maintain Scent
Reactivate Natural Aroma
Lightly mist the pillow with water using a spray bottle, which triggers essential oils to release more fragrance. Squeeze or crush gently to release trapped scent molecules. Bathrooms provide ideal humidity that preserves scent for years.
Rejuvenate with Essential Oil
Add 1 to 2 drops of balsam fir oil to the fabric or inside the seam to instantly restore piney freshness. Store spare oil for annual touch-ups.
Pro Tip: Refresh every few months in dry rooms to maintain scent intensity.
Extend Lifespan for Years
Store Properly
Keep pillows in cool, dry places like closets, drawers, or linen cabinets. Avoid direct sunlight, which fades fabric and degrades scent. In dry heated rooms, refresh more frequently.
Re-Use and Re-Stuff
After 1 to 2 years, open the seam and replace the filling. Wash the fabric, re-stuff with fresh balsam, and resew. Well-made pillows can be re-stuffed multiple times with like-new results.
Prevent Mold and Damage
Never Wash Fully
Spot clean only with a damp cloth. For deep cleaning, open the seam carefully, remove balsam, wash and dry fabric separately, then re-stuff and resew. Never soak the pillow, as water causes mold in organic filling.
Discard If Moldy
Throw out any pillow showing dark spots, musty smell, or visible mildew. Mold spores can trigger allergies or respiratory issues.
Safety First: When in doubt, discard and start fresh.
Know the Safety Risks
Watch for Allergies
Some people react to balsam, pine, or tree pollen. Avoid gifting to those with asthma or seasonal allergies. Always label pillows as containing natural evergreen oils.
Avoid Pesticide-Exposed Material
Most commercial Christmas trees are treated with chemicals. Only use if you know the source is organic or untreated. When in doubt, skip it.
Gather Supplies and Compare Options
What You’ll Need
Tools: Pruning shears or heavy scissors, sewing machine or needle and thread, funnel, chopstick or dowel, measuring tape.
Materials: Cotton or flannel fabric, fresh or dried balsam fir, ribbon, buttons, or labels for decoration.
Cost: Just $1 to $3 per pillow if using scraps and foraged balsam.
Homemade vs. Store-Bought
| Feature | DIY Balsam Pillow | Commercial Version |
|---|---|---|
| Cost | $1–$3 | $8–$12 |
| Scent Strength | Strong, natural | Often weak or artificial |
| Customization | Full control | Limited |
| Durability | High with double-stitched seams | Variable |
Craft Fair Tip: Sell finished pillows at holiday markets for $10 to $15 for excellent profit margins.
Design with Style
Fabric Choices
Match your fabric to your aesthetic. Traditional options include red-and-black plaid flannel for a rustic holiday look. Modern choices feature solid linen or muslin for minimalist décor. Seasonal fabrics with Christmas prints, snowflakes, or trees add festive flair.
Shape Ideas
Beyond standard squares and rectangles, try cutting holiday shapes like stars, trees, or hearts. Patchwork from fabric scraps creates unique, one-of-a-kind pieces. For no-sew versions, use iron-on fusible webbing for quick kids’ crafts.
Final Tips for Success
• Always pre-dry balsam before stuffing to prevent mold
• Double-stitch seams since they bear the weight of dense filling
• Pack tightly to accommodate settling
• Refresh with water or essential oil when scent fades
• Re-stuff every 1 to 2 years to keep pillows smelling fresh
Making a balsam fir pillow isn’t just crafting, it’s preserving a piece of New England tradition one fragrant stitch at a time. With the right materials, proper technique, and regular care, your pillow will deliver the crisp scent of the forest for seasons to come. Whether tucked in a drawer, hung on a tree, or gifted with love, it’s a small handmade treasure with big nostalgic impact.
Frequently Asked Questions About Making Balsam Fir Pillows
What is the best way to dry balsam fir for pillow filling?
Spread chopped needles in a thin layer on a tray in a cool, ventilated area away from sunlight. Air dry for 1 to 2 weeks, or use a dehydrator at 100 to 110°F for 12 to 18 hours until completely brittle.
How long does the scent last in a balsam fir pillow?
With proper care and occasional refreshing, a balsam fir pillow can retain scent for 6 to 12 months under normal conditions, and potentially several years in humid environments like bathrooms.
Can I use fresh needles instead of dried ones?
While fresh needles provide stronger initial fragrance, they carry significant mold risk. Pre-drying is strongly recommended for safety and longevity, even though the initial scent is slightly milder.
How do I refresh a fading balsam fir pillow?
Lightly mist with water to reactivate essential oils, or add 1 to 2 drops of balsam fir essential oil directly to the fabric or inside the seam. Squeeze gently to release trapped fragrance.
Is balsam fir safe for people with allergies?
Some individuals are sensitive to balsam fir, pine, or tree pollen. Avoid gifting to people with known respiratory sensitivities or seasonal allergies, and always label pillows as containing natural evergreen oils.
How do I clean a balsam fir pillow without damaging the filling?
Spot clean only with a damp cloth. For thorough cleaning, carefully open the seam, remove the balsam filling, wash and dry the fabric separately, then re-stuff and resew. Never soak the pillow.
Key Takeaways for Making Balsam Fir Pillows
Creating a lasting balsam fir pillow starts with proper preparation. Always identify true Abies balsamea by its flat, flexible needles and sweet aroma, then harvest sustainably from organic sources. Pre-drying the filling is non-negotiable for preventing mold and ensuring your pillow lasts for years.
The construction process demands attention to detail. Use natural, tight-weave cotton or flannel fabric, double-stitch all seams to handle dense filling, and pack the pillow firmly with a mix of needles and small twigs. Close with a neat topstitch for a professional finish.
Maintenance is simple but essential. Refresh fading scent with water misting or essential oil, store in cool dry places, and re-stuff every 1 to 2 years. With these practices, your handmade balsam fir pillow will bring the crisp scent of a winter forest into your home for many seasons to come.


