

You have unboxed your new bed or reassembled a vintage find only to discover the headboard doesn’t line up with the frame. The mounting holes are off by a fraction of an inch or a full bolt width, causing immediate frustration when instructions fail to match reality. This headboard doesn’t line up with frame issue affects everything from high-end designer pieces to budget platform beds, yet most misalignments are fixable without starting over.
This guide explains exactly why your headboard doesn’t line up with the frame and how to diagnose spacing issues, partial offsets, or structural damage. You will learn proven fixes ranging from simple tilting tricks to strategic drilling while avoiding critical mistakes like stripped threads. Whether you are dealing with a modern upholstered bed or a 1960s estate find, these actionable steps will help you achieve a stable and secure fit.
Diagnose Why Your Headboard Doesn’t Line Up With Frame
Identifying the specific type of misalignment is the first step toward a successful repair. The solution depends entirely on whether you face a spacing mismatch, a partial offset, or physical damage to the structure.
Check for Hole Pattern Mismatch
This issue occurs when the distance between mounting holes on the headboard differs from the bed frame. A common example involves a wood headboard mounted to a universal metal frame where the headboard holes sit closer together.
* Visual Cue: No hole overlap exists, and bolts cannot reach the target holes at all.
* Common Cause: Universal frames often lack true universality, while designer headboards frequently use non-standard spacing.
* Quick Test: Measure the center-to-center distance on both parts. A difference greater than 1/4 inch confirms a spacing mismatch.
Look for Partial Offset Alignment
You might see the target hole clearly but find that only 75% of it is visible, preventing the thread from catching. This frequently happens with upholstered platform beds from brands like Thomasville or Costco deliveries.
* Root Cause: Factory tolerance errors in pre-threaded inserts create rigid connection points with zero wiggle room.
* Warning Sign: Forcing the bolt here risks stripping the insert, leading to costly repairs or total part replacement.
* Key Indicator: The bolt tip touches the edge of the hole but refuses to screw in smoothly.
Inspect for Structural Damage
Vintage or older beds often suffer from worn joints, missing bolts, or broken feet that mimic manufacturing defects. A 1960s estate headboard might have loose legs and deteriorated rail connections.
* Check Feet: Look for cracks, unevenness, or signs that legs wobble before mounting.
* Inspect Hardware: Verify that no bolts are bent or missing from the original set.
* Foundation First: If the frame has shifted over time, realignment will fail until you repair the foundation.
Fix Minor Offset with the Tilt and Catch Method
Use this technique when holes are partially visible and you can see the target but cannot thread the bolt. This method relies on mechanics rather than force to solve the problem when the headboard doesn’t line up with frame.
Loosen All Bolts First
Never start with everything tight because a rigid frame locks misalignment in place. Slightly back out any bolts already installed on the headboard legs to create necessary play.
* Tool Tip: Use a ratchet wrench for quick quarter-turn adjustments.
* Goal: You do not need full removal, just enough freedom to shift components into position.
Tilt the Leg to Engage Threads
Pre-threaded inserts demand precision since you cannot brute-force alignment. Hold the leg at a slight angle so the bolt tip aligns with the edge of the insert.
1. Gently twist the bolt to catch the first thread.
2. Once engaged, slowly straighten the leg as you continue tightening.
3. This action uses the bolt threading to pull the leg into perfect alignment.
Tighten in Rotation
After both sides start threading, turn the left bolt a quarter turn, then switch to the right and repeat. This prevents one side from pulling the frame crooked before the other catches.
* Time Estimate: 5 to 8 minutes with two people.
* Safety Note: If resistance builds before full engagement, back off and re-angle immediately.
Solve Spacing Mismatch by Drilling New Holes

Drilling is necessary when hole patterns do not match at all, which is common with wood headboards on metal frames. This addresses the core issue when your headboard doesn’t line up with frame due to design incompatibility.
Measure and Mark Correctly
If headboard holes are closer together than frame brackets, drill a new hole in the headboard bracket rather than the main wood. Align the headboard as close as possible to the frame to begin.
* Marking: Use a nail or awl to mark where the frame hole projects onto the headboard bracket.
* Drilling: Clamp the piece securely and drill a pilot hole with a bit slightly smaller than your bolt.
* Tools Needed: Power drill, 1/8 and 3/16 inch bits, measuring tape, and clamps.
Use Adhesive Pads for Height Adjustment
Drilling may shift vertical alignment, causing your headboard to sit too low. Apply furniture leveling pads under the headboard legs to correct this.
* Cut self-adhesive felt or rubber pads to size.
* Stick them to the bottom of the headboard feet.
* Stack two or three layers if needed for a 1/8 to 1/4 inch lift.
* Bonus: This reduces floor scratches and vibration noise while restoring a flush fit.
Restore Vintage Headboards by Rebuilding the Base
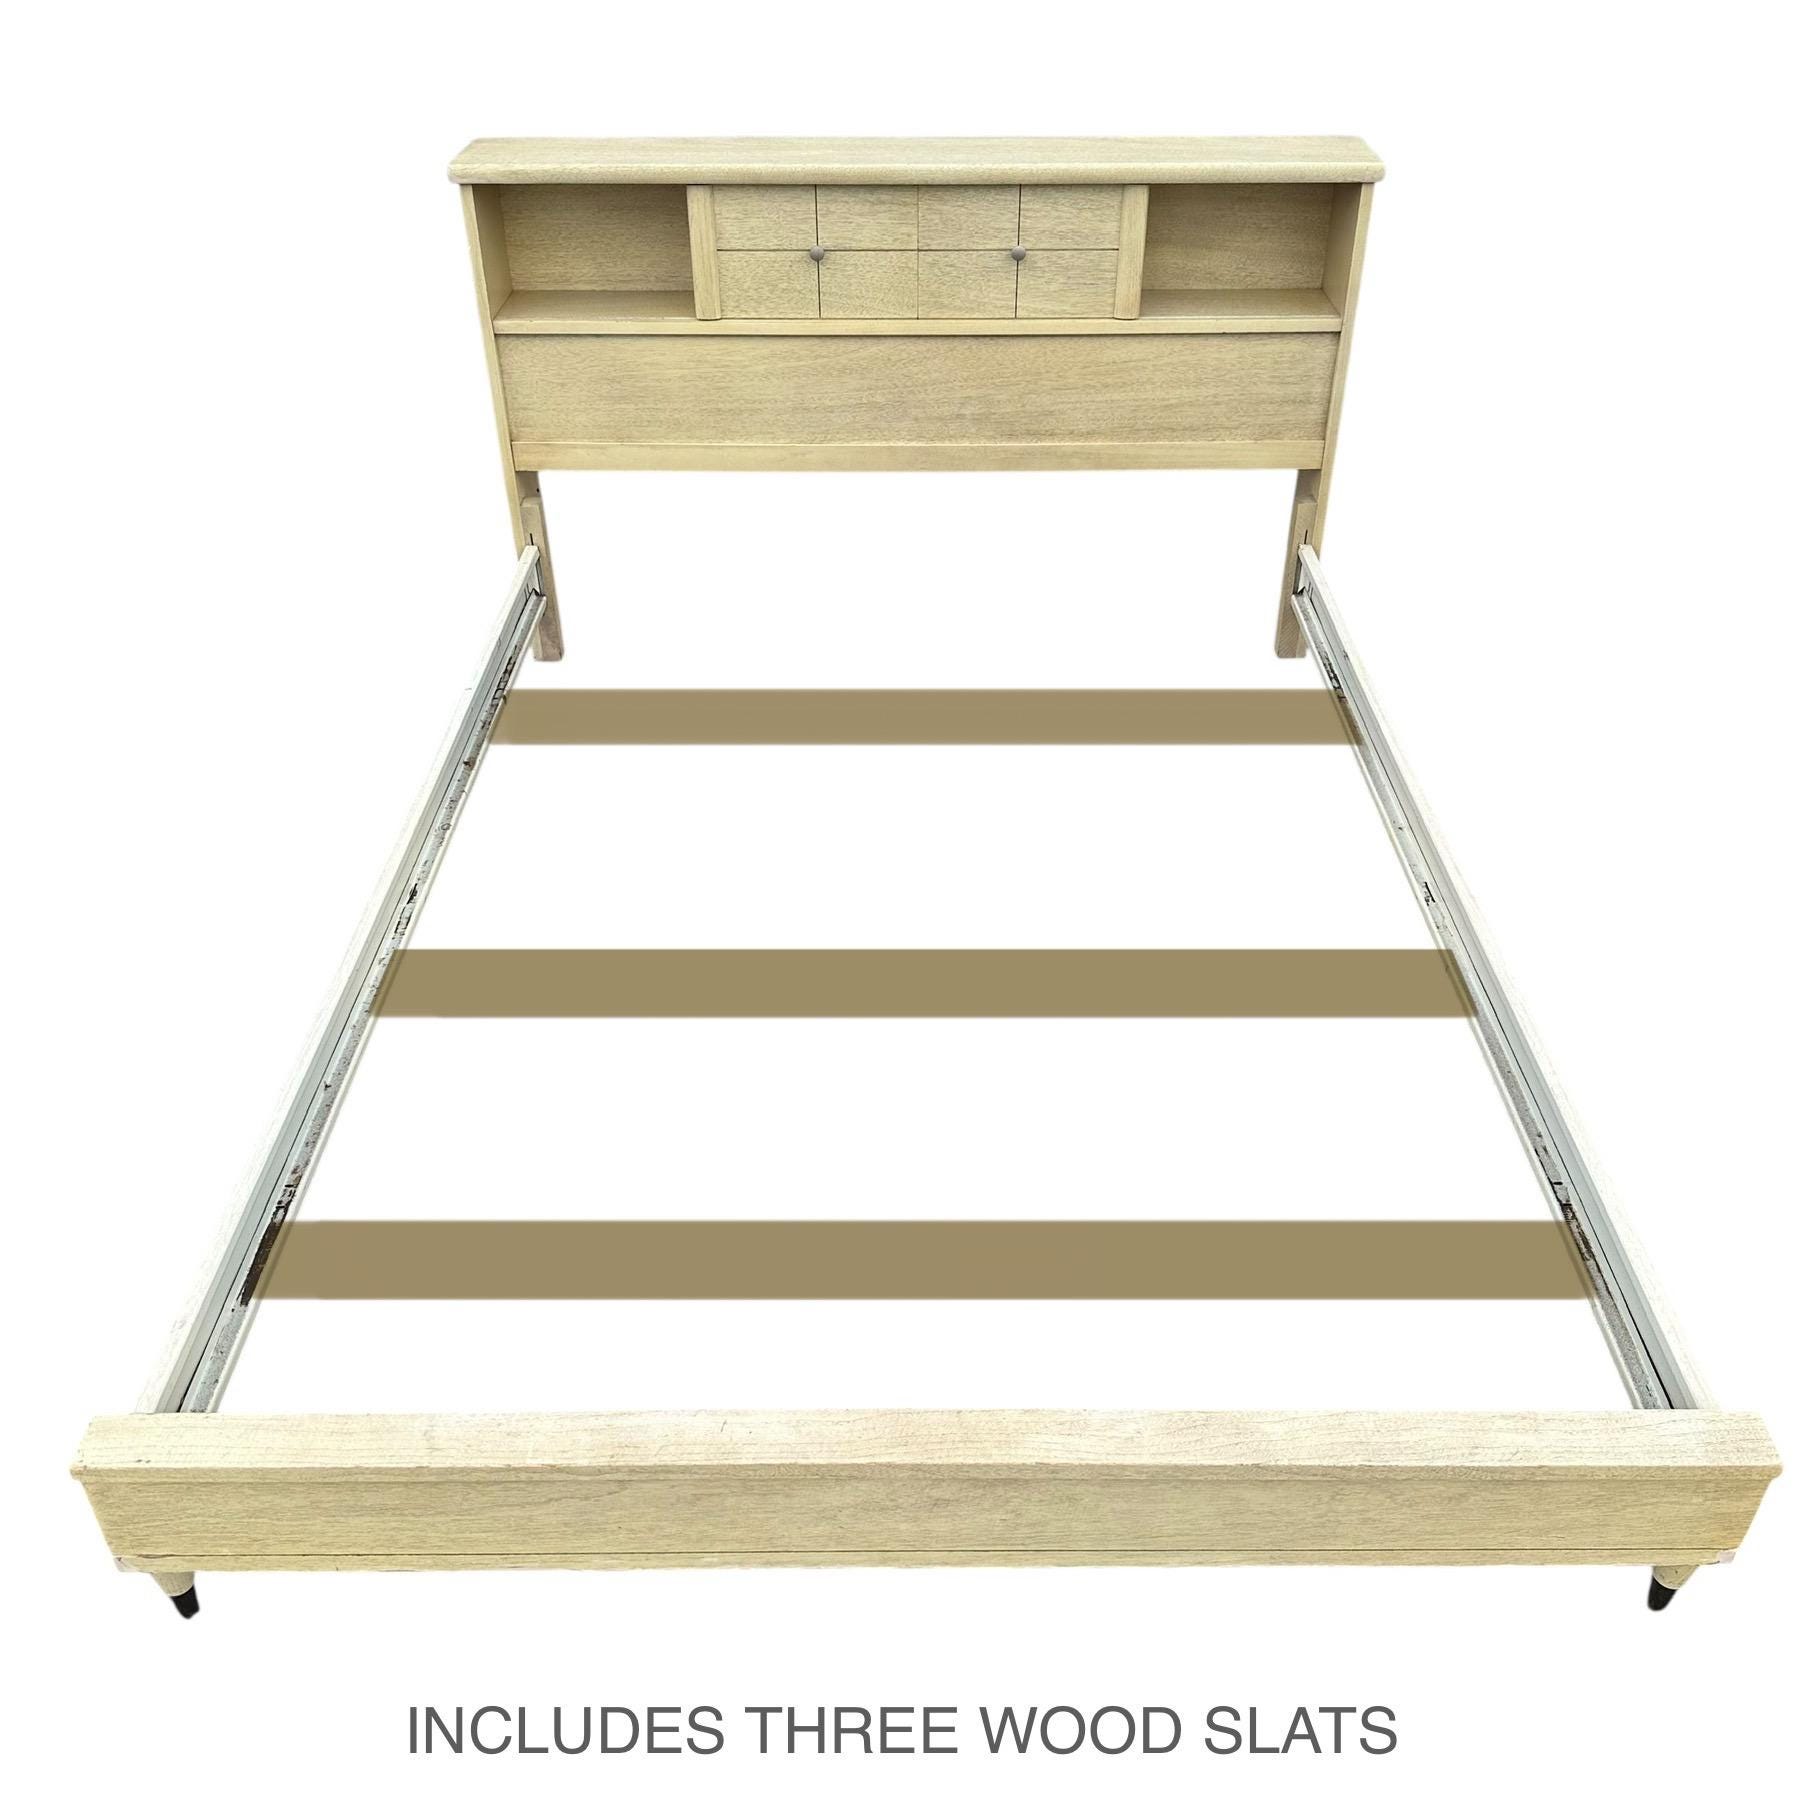
Older beds often fail at the feet and joints rather than the design itself. If your headboard doesn’t line up with frame due to age, structural repair is required.
Replace or Repair Damaged Feet
Worn or broken feet throw off the entire geometry of the bed. Remove old feet and clean the joint surfaces before replicating the original shape using hardwood like oak or walnut.
* Secure new feet with wood glue and screws angled for strength.
* Match the finish and contour to the original style for authenticity.
* Ensure slightly tapered and rounded edges mimic the 1960s aesthetic.
Reinforce Rail Connections
Loose rails cause shifting that mimics misalignment. Install corner braces inside the joint to stabilize the structure.
* Use longer 3-inch screws driven at opposing angles.
* Add a center support bar if one is missing.
* Expert Note: Vintage beds were not built for modern mattress weight, so reinforcement prevents future sagging.
Advanced Fixes Using Tools and Smart Swaps
Leverage mechanics and smart swaps when hand pressure is not enough. These advanced tactics often solve cases where the headboard doesn’t line up with frame despite standard efforts.
Try Left and Right Leg Swap
Factory drilling errors may affect only one leg, making a simple swap the solution. Remove both headboard legs and switch their positions.
* The opposite leg might have slightly different hole placement that compensates for the frame offset.
* If one side suddenly fits, you bypass the need for drilling entirely.
* This trick has reported success with Thomasville users on DIY forums.
Use Clamps for Hands-Free Alignment
Clamps provide the force and precision needed when holes are stubborn. Place a bar clamp across the headboard leg and frame to pull components together.
1. Position the clamp to correct the direction of misalignment.
2. Tighten until holes line up perfectly.
3. Insert and start the bolt while the clamp holds the position.
4. Remove the clamp and finish tightening in rotation.
Check for Missing Spacers
Many kits include small metal or plastic washers meant to space the headboard correctly. Their absence creates gaps that make holes appear misaligned even when they are not.
* Check inside packaging corners and hardware bags.
* Look for spacers already installed on other frame sections like the footboard.
* Reinstall any found spacers to restore proper geometry.
Avoid These Three Costly Assembly Mistakes
Even experienced DIYers make errors that ruin the build. Avoiding these pitfalls ensures your repair lasts.
Mistake One: Forcing the Bolt
Forcing a bolt strips the pre-threaded insert, meaning the hole will not hold any bolt. If the bolt does not turn easily after hand-starting, stop and reassess alignment.
* Fix: Use a larger bolt if space allows or insert a threaded repair kit.
* Prevention: Never apply excessive torque to a misaligned connection.
Mistake Two: Tightening One Side First
Tightening one side completely locks the frame in a twisted position, making the second hole impossible to align. Always alternate tightening in small increments.
* Rule: Quarter turn left, quarter turn right, repeat until snug.
* Result: Prevents binding and ensures even pressure distribution.
Mistake Three: Ignoring Fabric Interference
In upholstered beds, thick fabric can bunch up between metal parts and block the bolt path. Peel back the fabric near the mounting point to ensure it is flat.
* Trim excess fabric with scissors if it is clearly in the way.
* Verify no material is trapped between the leg and the frame.
Know Your Bed Type Quick Reference Guide

| Bed Type | Misalignment Risk | Best Fix |
|---|---|---|
| Wood Headboard + Metal Frame | High spacing mismatch | Drill new hole in bracket; use leveling pads |
| Upholstered Platform | Medium partial offset | Tilt and catch; clamp; verify spacers |
| Vintage 1960s Plus | Structural wear or damage | Rebuild feet; reinforce joints; replace hardware |
Final Tips for Perfect Alignment
Double-check hardware labels since manufacturers often use different bolt lengths for slats versus legs. Assemble on a flat surface because an uneven floor distorts alignment. Having a helper is invaluable as one person holds while the other guides the bolt. Take photos before disassembly to avoid reassembly confusion later.
Frequently Asked Questions About Headboard Alignment
Why won’t my bolts thread into the headboard legs?
This usually indicates a partial offset where pre-threaded inserts are misaligned by factory tolerance. Loosen all bolts to create play, tilt the leg to catch the first thread, and tighten in rotation to pull parts into alignment.
Can I drill new holes if the headboard doesn’t fit the frame?
Yes, drilling a new hole in the headboard bracket is a standard fix for spacing mismatches. Measure carefully, use a pilot bit, and consider adding adhesive pads underneath if the new hole alters the vertical height.
What should I do if the headboard sits too low after drilling?
Apply self-adhesive furniture leveling pads to the bottom of the headboard legs. Stacking two or three layers can raise the headboard by 1/8 to 1/4 inch to restore a flush fit with the frame.
How do I fix a vintage headboard with broken feet?
You must reconstruct the feet using hardwood to restore the original geometric height. Reinforce rail connections with corner braces and longer screws to ensure stability for modern mattress weights.
Is it normal for universal bed frames not to fit designer headboards?
Yes, universal frames are not truly universal and often clash with designer spacing. Expect to drill new holes or use adaptation techniques when pairing high-end headboards with generic metal frames.
Key Takeaways for Fixing Headboard Misalignment
When your headboard doesn’t line up with frame, the solution lies in identifying whether the issue is spacing, tolerance, or structural wear. Most problems resolve by loosening bolts to create play, tilting legs to catch threads, or drilling precise new holes for mismatched patterns. Avoid forcing bolts or tightening one side first, as these errors cause permanent damage to inserts and frames.
Apply the specific fix for your bed type, whether it is a modern upholstered platform or a vintage restoration project. Use clamps for leverage, check for missing spacers, and always verify your hardware lengths. With these methods, you can transform a frustrating misalignment into a secure, polished bed that stays stable for years.



