
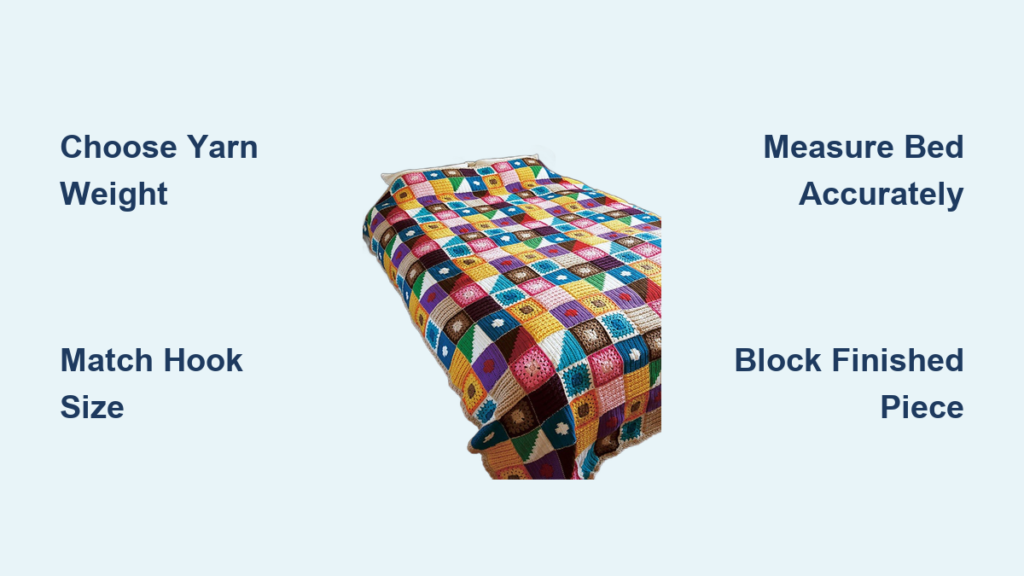
A heavy, ill-fitting blanket often ruins the aesthetic of a well-made bed, leaving you searching for a solution that combines warmth with style. Learning how to crochet a bedspread allows you to create a custom-fit cover that adds texture and timeless charm to any bedroom.
This guide details every step required to finish your project, from selecting the correct yarn weight to blocking your final stitches. You will discover how to measure accurately, choose ergonomic tools, and join motifs seamlessly for a professional result.
Select the Best Yarn for Your Bedspread
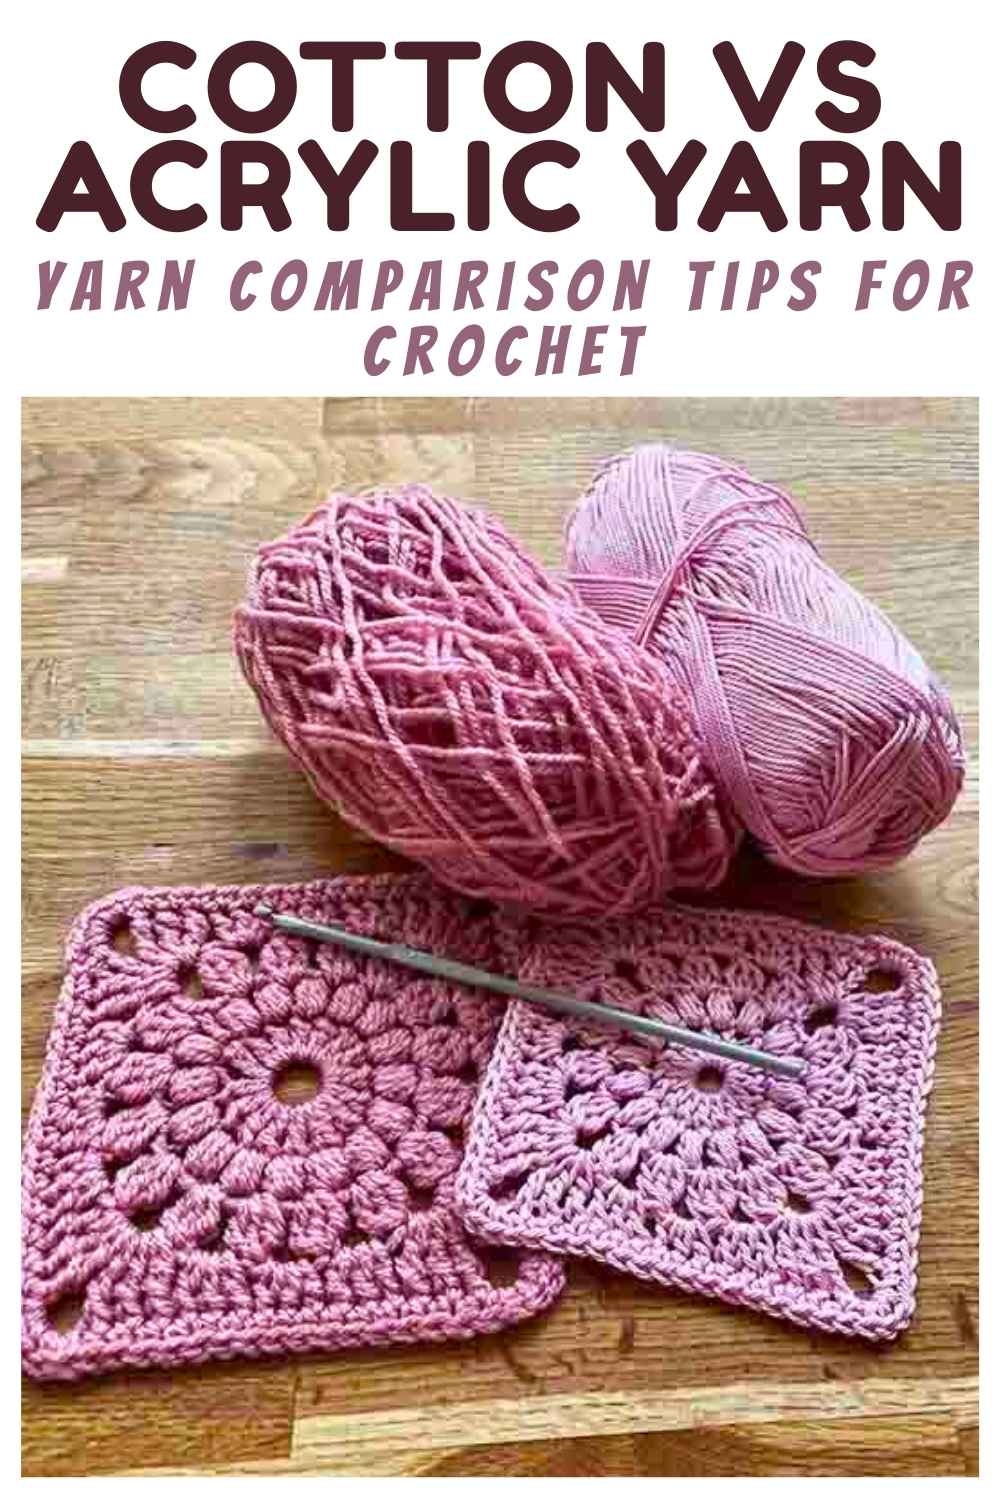
The success of your project depends heavily on the fiber and weight you choose before starting. Cotton offers breathability and ease of care, while acrylic provides durability and budget-friendly options for daily use. Blends like bamboo-silk add a luxurious sheen that elevates the final look of your work.
Evaluate Fiber Types for Comfort
Cotton remains the top choice for bedding because it is soft, breathable, and machine washable. Acrylic yarn serves as a durable alternative that resists wear and tear in high-traffic guest rooms. Avoid wool if you live in a warm climate or have sensitive skin, as it can feel itchy and may felt during washing.
Match Yarn Weight to Your Design
Medium-weight worsted yarn (Category 4) creates a sturdy fabric that drapes well without becoming too heavy. Lighter sport or DK weights work beautifully for airy, lacy patterns suitable for summer months. Bulky yarns knit up quickly but add significant weight, which might make the bedspread difficult to handle.
Calculate Total Yardage Accurately
A full-sized bedspread typically requires between 3,000 and 6,000 yards of yarn depending on your stitch density. Always purchase an extra 10 percent of yarn to account for gauge variations or mistakes during the process. Buying all skeins from the same dye lot ensures your color remains consistent throughout the entire piece.
Choose the Correct Crochet Hook Size
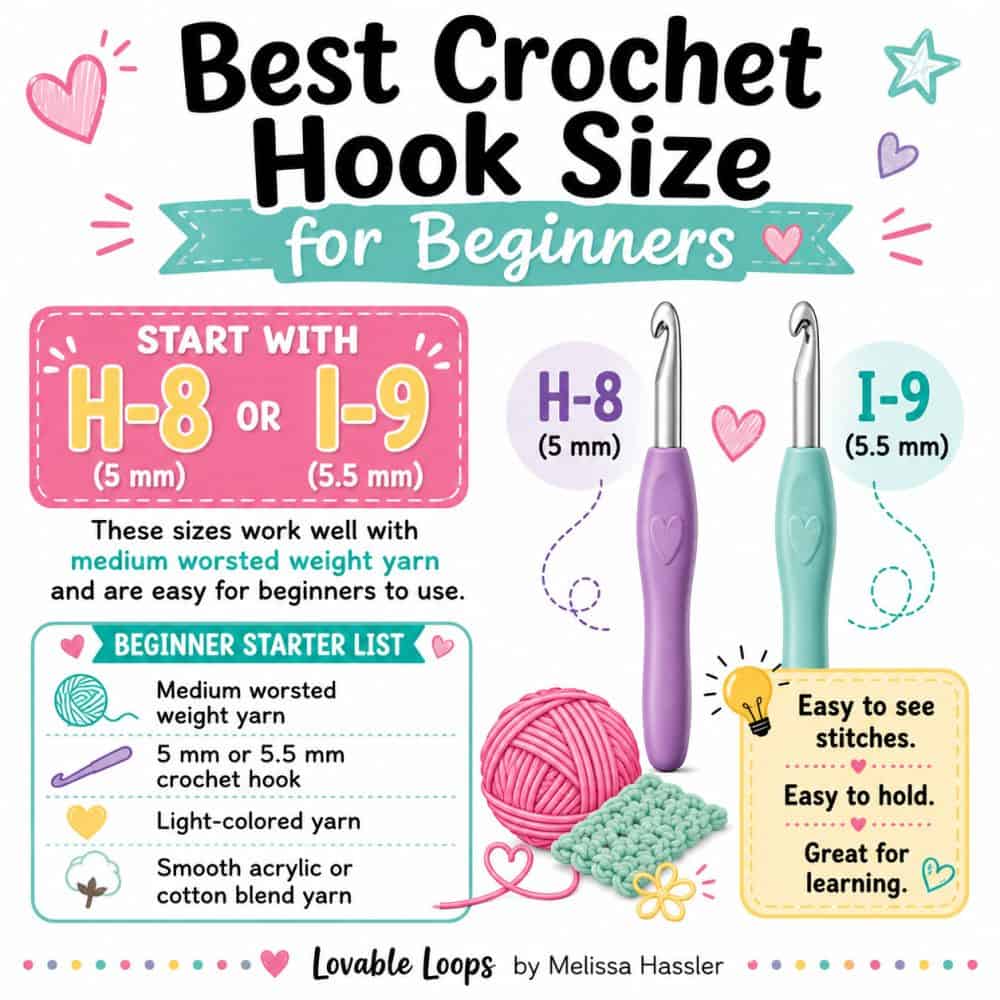
Your hook size directly impacts the drape and density of your finished bedspread. Starting with the manufacturer’s recommendation on the yarn label gives you a reliable baseline for tension. Adjusting your hook size slightly can fix issues with stiff or loose stitching before they become permanent.
Follow Yarn Label Recommendations
Most worsted-weight projects require a hook between 5.0 mm and 5.5 mm for optimal results. Using the suggested size helps you maintain even tension and achieve the intended fabric density. If your stitches feel too tight, try going up one hook size to loosen the fabric.
Prioritize Ergonomic Hook Designs
Crocheting a large item like a bedspread takes many hours, so hand comfort is essential for preventing strain. Ergonomic hooks feature soft grips or thumb rests that reduce fatigue during long stitching sessions. Inline hooks offer more control for some crafters, while tapered hooks provide smoother stitch formation for others.
Verify Gauge with a Test Swatch
Create a 4-inch square swatch using your chosen yarn and hook to check your stitch count against the pattern. If your swatch measures smaller than required, increase your hook size to loosen the tension. An accurate gauge ensures your final bedspread matches the intended dimensions without puckering.
Pick a Pattern Suited to Your Skill Level
Selecting the right design prevents frustration and ensures you enjoy the creation process from start to finish. Beginners should look for simple repeat patterns, while experienced crafters might prefer complex lace or colorwork. Understanding the construction method helps you plan your workflow and material needs effectively.
Identify Your Experience Level
New crocheters should start with basic single crochet rows or simple granny squares that are easy to memorize. Intermediate crafters can challenge themselves with shell stitches, ripple patterns, or filet crochet techniques. Advanced users often enjoy intricate lace motifs that require intense focus and precision.
Decide Between One Piece or Sections
Working in one continuous piece minimizes seams but can become heavy and unwieldy as the project grows. Creating smaller sections like squares or strips makes the work portable and easier to manage on your lap. Many crafters prefer joining individual blocks later to create a colorful, patchwork-style bedspread.
Source Reliable Pattern Instructions
Look for patterns that clearly state finished measurements, yarn requirements, and difficulty ratings before you begin. Reputable websites often allow you to filter searches by size, yarn weight, and skill level to find the perfect match. Reading through the entire pattern first helps you identify any unfamiliar techniques you need to learn.
Measure and Plan Your Bed Dimensions

Accurate measurements ensure your handmade bedspread fits your specific mattress and desired overhang. Standard bed sizes vary, so calculating your target dimensions prevents the common mistake of creating a cover that is too small. Planning your layout on paper saves time and yarn in the long run.
Determine Standard Bed Sizes
A twin bed measures 39 inches by 75 inches, while a queen bed is typically 60 inches by 80 inches. You must add 15 to 30 inches to both the width and length to achieve a proper drop on all sides. For a queen bed with a 15-inch drop, your final piece should measure approximately 90 inches by 110 inches.
Sketch Your Layout and Square Count
Draw a simple diagram showing your final dimensions and the arrangement of any motifs or color blocks. If using 12-inch squares for a 90-inch wide spread, you will need eight squares across to account for seam allowances. Visualizing the layout helps you avoid mismatched sections and ensures a balanced design.
Account for Seams and Borders
Allow half an inch per seam when joining multiple pieces together to maintain accurate overall dimensions. Plan for a final border such as scallops or shells, which may add an additional inch or two to each side. Marking these targets clearly keeps your project on track as you crochet.
Create a Strong Foundation Chain
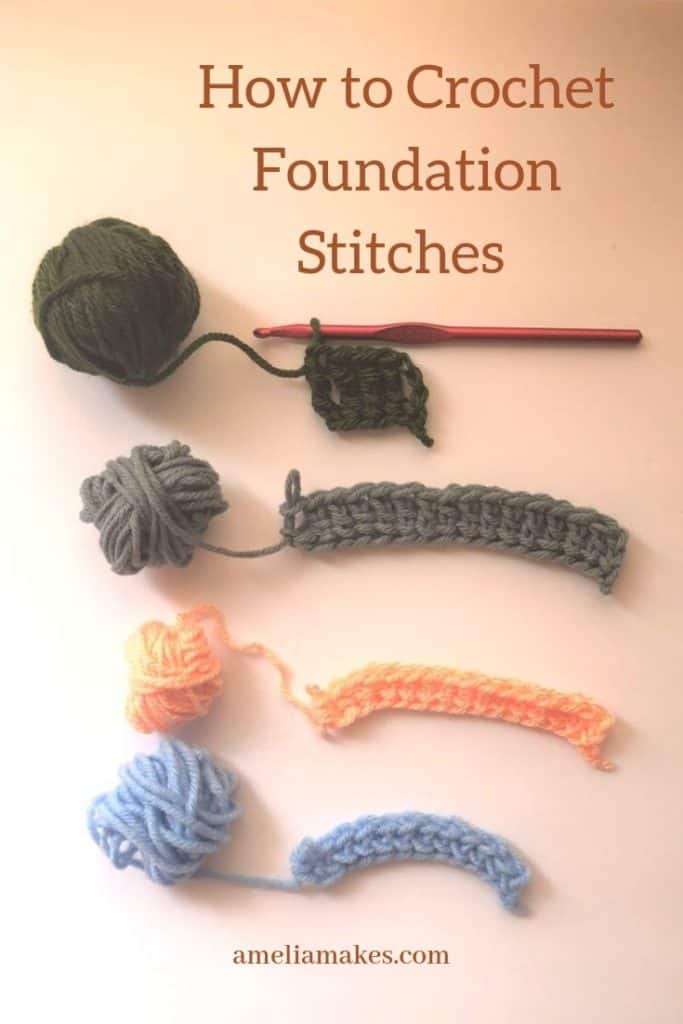
Your foundation chain sets the width for the entire bedspread and determines the straightness of your edges. Maintaining even tension here prevents curling and ensures the first row sits flat. Using stitch markers helps you keep count during this lengthy initial step.
Master the Slip Knot and Chain Stitch
Start with a secure slip knot on your hook and pull loops through to form your chain stitches. For a large bedspread, you may need to chain hundreds of stitches, so keep your tension consistent and loose. Place a stitch marker every 25 chains to help you track your progress and avoid counting errors.
Prevent Tight Foundation Edges
A tight foundation chain can cause the bottom edge of your bedspread to pucker or curl upward. Try chaining with a larger hook size, then switch back to your regular hook for the first row to maintain flexibility. Counting your chains before starting the first row ensures you have the correct number of stitches.
Execute the First Row Carefully
Work your first row immediately after finishing the chain to establish the rhythm of your pattern. Insert your hook into the second chain from the hook or as directed by your specific pattern instructions. Maintaining consistent stitch height in this row creates a solid base for the rest of the project.
Work Rows or Rounds with Consistency
Maintaining a steady rhythm and consistent tension throughout the project creates a uniform fabric. Whether you work in straight rows or continuous rounds, tracking your progress keeps you motivated. Proper turning chains and join methods ensure your edges remain straight and neat.
Manage Straight Row Construction
For rectangular spreads, work in straight rows and turn your work at the end of each line. Use the required turning chain, which often counts as the first stitch of the new row. Track your row count with a counter or app to avoid losing your place during long stitching sessions.
Join Sections with Invisible Seams
Use the mattress stitch to join squares or strips with a flat, nearly undetectable seam. Insert your needle under both loops of corresponding edge stitches and pull the yarn through alternately. This method preserves the drape of the fabric and avoids bulky ridges that can disrupt the surface.
Crochet in Continuous Rounds for Circular Designs
Start circular bedspreads with a magic ring and increase evenly in early rounds to prevent curling. Place a stitch marker at the beginning of each round to track your start point accurately. Join with a slip stitch to the first stitch unless your pattern specifies working in a spiral.
Maintain Even Tension Throughout
Consistent tension gives your bedspread a professional appearance and ensures it lies flat on the bed. Relaxing your grip and using yarn from the same batch helps avoid visible texture changes. Blocking your work at various stages can also help even out minor tension inconsistencies.
Relax Your Grip on the Hook
Tight gripping often leads to inconsistent stitch sizes and hand fatigue during long projects. Keep your hands relaxed and let the yarn flow smoothly through your fingers as you work. Taking breaks every 20 minutes allows you to stretch your fingers and reset your tension.
Use Yarn from the Same Dye Lot
Buy all your yarn from the same dye lot to prevent subtle color shifts in your finished piece. If you must switch lots, alternate between the old and new skeins every few rows to blend the transition. Store unused yarn in a cool, dry place to protect it from moisture and fading.
Block Large Sections Before Joining
Soak completed panels in lukewarm water with mild detergent to even out your stitches before assembly. Gently press out excess water without wringing, then lay the piece flat on a towel to shape. Pin the edges to your desired dimensions and let it dry completely before sewing pieces together.
Join Motifs and Panels Securely
Assembling your bedspread requires careful planning to ensure the design looks cohesive and intentional. Laying out your pieces before sewing allows you to adjust colors and orientations for the best visual effect. Using flat joining methods keeps the surface smooth and comfortable.
Arrange Your Design Before Sewing
Lay all squares or strips on the floor or bed to finalize your color placement and rotation. Take a photo of your arrangement to use as a reference while you sew the pieces together. This step is crucial for ensuring balanced color distribution and correct motif orientation.
Apply Flat Joining Techniques
Use the join-as-you-go method to connect squares while crocheting the final round for a seamless look. Alternatively, use a single crochet join or whip stitch with matching yarn for a clean finish. For lace pieces, a crochet chain join maintains the openness of the design without adding bulk.
Reinforce High-Stress Seam Points
Add extra stitches where multiple seams meet, such as corners, to strengthen the structure. These stress points bear the most weight and movement, so reinforcement prevents tearing over time. Lightly block the entire piece again after joining to smooth out any puckering caused by the seams.
Add a Professional Finishing Border

A well-chosen border frames your work and hides minor imperfections along the edges. It adds weight to the perimeter, helping the bedspread hang correctly on the bed. Choosing a complementary stitch pattern enhances the overall aesthetic of your creation.
Select a Complementary Edging Style
Simple single crochet or crab stitch provides a polished, clean edge for modern designs. For a more decorative look, try picot edging or puff stitch borders to add texture and interest. Choose a color that either matches your main yarn or provides a subtle contrast.
Distribute Stitches Evenly Around Edges
Place three stitches per side of a square and two stitches per row end to prevent waviness. Use stitch markers at corners to help distribute your stitches evenly around the entire perimeter. Counting your stitches every few inches ensures the border remains consistent and flat.
Weave in Ends for a Clean Finish
Cut your yarn after the final border and pull the tail through the loop to secure it tightly. Use a yarn needle to weave the end back and forth through several stitches on the wrong side. Trim the excess yarn close to the fabric to ensure no loose tails remain after washing.
Care for and Maintain Your Bedspread
Proper cleaning and storage extend the life of your handmade bedspread and keep it looking new. Hand-washing is often the safest method to preserve fiber integrity and prevent stretching. Drying flat ensures the shape remains true to your original measurements.
Wash Gently by Hand or Machine
Fill a tub with cool water and mild detergent, then soak the bedspread for 10 to 15 minutes. Gently press out the water without twisting or wringing to avoid distorting the fabric. If the yarn label allows machine washing, use a delicate cycle and a mesh laundry bag for protection.
Dry Flat to Prevent Stretching
Always dry your crocheted bedspread flat on a clean surface to prevent gravity from stretching the fibers. Reshape the piece to its original dimensions while it is still damp to maintain the correct size. Keep the drying piece out of direct sunlight to prevent the colors from fading over time.
Store Clean and Folded Properly
Ensure the bedspread is completely dry before storing to prevent mildew or musty odors. Fold it neatly and place it in a breathable cotton bag or drawer rather than a plastic bin. Adding lavender sachets helps deter moths naturally without using harsh chemicals.
Frequently Asked Questions About Crocheting Bedspreads
How much yarn do I need to crochet a queen-size bedspread?
You typically need between 3,000 and 6,000 yards of yarn for a queen-size bedspread. The exact amount depends on your stitch pattern, yarn weight, and desired thickness. Always buy an extra 10 percent to ensure you have enough to finish without dye lot mismatches.
What is the best yarn for a crocheted bedspread?
Cotton is often the best choice because it is breathable, durable, and easy to wash. Acrylic is a good budget-friendly option that offers durability for everyday use. Avoid wool if you need a machine-washable item or if the user has sensitive skin.
How do I prevent my bedspread from curling at the edges?
Curling often results from incorrect tension or using the wrong hook size for the yarn. Ensure your gauge swatch matches the pattern requirements and try using a slightly larger hook if edges tighten. Blocking your finished piece flat while damp also helps straighten out curled edges.
Can I machine wash a handmade crocheted bedspread?
It depends on the fiber content of the yarn you used for your project. Cotton and acrylic blends are often machine washable on a gentle cycle, while wool may require hand washing. Always check the care label on your yarn skein for specific cleaning instructions.
What hook size should I use for a bedspread?
Start with the hook size recommended on your yarn label, which is usually 5.0 mm to 5.5 mm for worsted weight. You may need to adjust up or down based on your personal tension and the desired drape. Making a gauge swatch first helps you determine the perfect hook size for your specific style.
Key Takeaways for How to Crochet a Bedspread
Creating a crocheted bedspread requires careful planning of materials, accurate measurements, and consistent tension throughout the project. By selecting the right yarn weight and hook size, you ensure your final piece drapes beautifully and fits your bed perfectly. Following proper care instructions will keep your handmade heirloom looking fresh for years to come.
Start your project today by measuring your bed and purchasing yarn from a single dye lot. With patience and the techniques outlined in this guide, you will soon enjoy a custom bedspread that adds warmth and personality to your home.



