
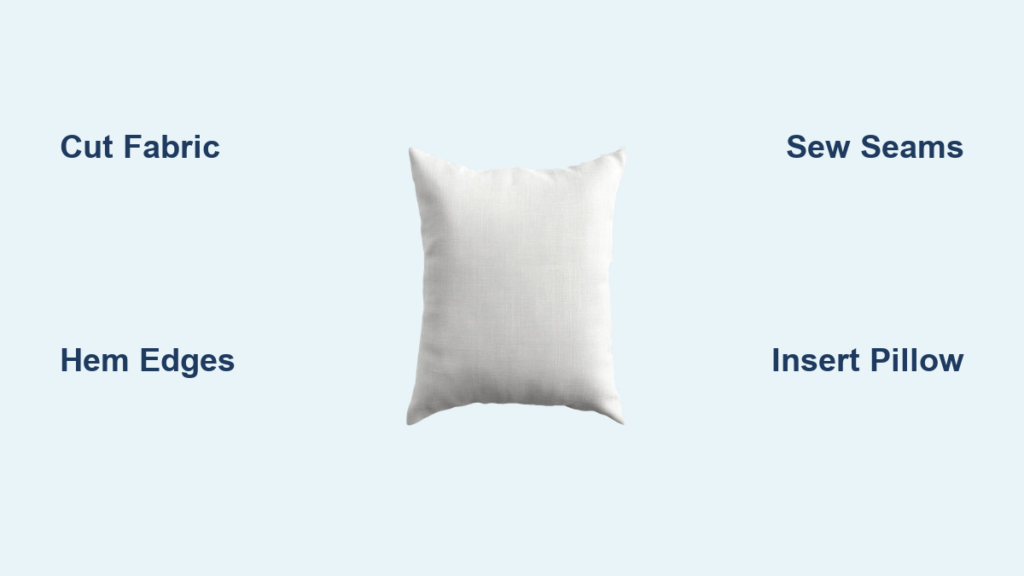
Tired of spending too much on throw pillows that don’t match your style? Making a throw pillow cover is one of the fastest, most affordable ways to refresh any room in your home. With just a few yards of fabric and basic sewing skills, you can create custom covers that fit your decor perfectly. Whether you prefer cozy linen, bold prints, or luxe velvet, the choice is yours. A single cover takes as little as 10 to 15 minutes to make and costs up to 70% less than store-bought versions.
In this guide, you’ll learn exactly how to make a throw pillow cover step by step. We’ll cover fabric selection, sizing, closure types, and pro tips to ensure crisp corners and a polished finish. Whether you’re a beginner with a sewing machine or crafting by hand, this guide gives you everything you need.
Choose Fabric and Tools for Your Pillow Cover Project
Before cutting or sewing, gather the right materials. The fabric and tools you choose will affect durability, ease of sewing, and the final look of your pillow cover.
Pick the Right Fabric for Your Space
Different fabrics suit different rooms and uses. Here are your options:
- Cotton or cotton blend works great for high-traffic areas, is easy to wash, and is widely available
- Linen offers natural texture and breathability, perfect for a relaxed, organic look
- Canvas or drop cloth is sturdy and affordable, ideal for stenciling or painting
- Velvet or satin provides a luxe feel for formal spaces but requires careful handling
- Denim or upholstery fabric is durable for kids’ rooms or pet-friendly zones
- Faux leather is wipeable and modern with no animal products
- Outdoor fabric is UV and moisture resistant, great for sunrooms or patios
Pro Tip: Buy extra fabric if working with large patterns or directional prints. Pre-wash washable fabrics to prevent shrinkage after sewing.
Gather Essential Tools
You do not need a fancy setup. Here is what every pillow cover project requires:
- Sewing machine with straight stitch capability
- Matching or contrasting thread
- Sharp fabric scissors or rotary cutter
- Fabric tape measure or ruler
- Pins or Wonder Clips
- Iron and ironing board
- Fabric marker or chalk
- Seam ripper
- Point turner or chopstick
Measure and Cut Your Fabric Correctly
Getting the size right ensures your pillow looks full and fits snugly. The key is adjusting for seam allowance and your desired fit.
Know Your Pillow Insert Size
Standard sizes include 12 by 12 inches, 18 by 18 inches, 20 by 20 inches, 24 by 24 inches, and 26 by 26 inches. Always measure your insert because even standard sizes can vary slightly.
Choose Your Fit Style
Your cut size depends on the look you want:
- For an overstuffed, plump look, cut the cover 1 to 2 inches smaller than the insert
- For a snug, tailored look, cut the cover the same size as the insert
- For a loose, relaxed look, cut the cover the same size or slightly larger
Most methods use a one-half-inch seam allowance.
Cutting Dimensions Reference
| Insert Size | Cut Size | Finished Size |
|---|---|---|
| 12×12 in | 13×13 in | 12×12 in |
| 18×18 in | 19×19 in | 18×18 in |
| 20×20 in | 21×21 in | 20×20 in |
| 24×24 in | 25×25 in | 24×24 in |
| 26×26 in | 27×27 in | 26×26 in |
Note: For directional prints or centered designs, align the pattern before cutting. Use grid-lined paper or a cutting mat for precision.
Make an Envelope Pillow Cover
The envelope back is the easiest method. It requires no zipper, no hand sewing, and the cover is fully reversible.
Cut the Front and Back Panels
You will cut one front panel to match your desired finished size. For an 18 by 18 inch insert, cut the front panel 18 by 18 inches. Cut two back panels, each 18 by 26 inches. The extra 8 inches in length allows a 3 to 4 inch overlap when closed.
Hem the Back Panels
Follow these steps for each back piece:
- On one short edge, fold three-fourths inch toward the wrong side
- Fold again three-fourths inch to encase the raw edge
- Iron flat, pin, and stitch close to the inner fold
Repeat for both back pieces.
Assemble the Cover
- Place the front panel right side up on your work surface
- Lay one back panel on top, right side down, with the hemmed edge facing inward
- Place the second back panel on the opposite side, overlapping the first by about 3 to 4 inches
- Pin all four sides to secure
Sew the Perimeter
- Sew around all edges with a one-half-inch seam allowance
- Backstitch at start and end for security
- Trim corners at 45 degrees without cutting the stitches to reduce bulk
- Finish seams with zigzag stitch, pinking shears, or serger
- Turn right side out through the envelope opening
- Use a point turner or chopstick to push out corners
- Insert your pillow form
Result: A crisp, washable cover you can swap in seconds.
Install an Invisible Zipper for a Professional Finish
Want a seamless, polished look? Use an invisible zipper for easy removal and washing.
Cut Fabric and Prepare the Zipper
Cut two squares at 19 by 19 inches for an 18 by 18 inch insert with one-half-inch seam allowance. Use an invisible zipper at least 18 inches long.
If the zipper is too long, trim the excess teeth and sew a thread stop across the end to prevent unzipping. Press the zipper teeth flat with an iron, protecting the fabric with a pressing cloth.
Attach the Zipper
- Use a zipper foot on your machine
- With right sides together, pin one side of the zipper tape to the edge of the first fabric square
- Sew as close to the teeth as possible
- Repeat for the second square
- Often this is done in two passes: sew most of the way, reposition the pull, finish the seam
Sew the Remaining Sides
- Open the zipper halfway to allow turning later
- Fold the panels so wrong sides are together
- Pin and sew the remaining three sides with one-half-inch seam allowance
- Start and stop stitching slightly beyond the zipper ends for a clean finish
Turn and Insert the Pillow
- Trim corners at 45 degrees
- Turn right side out through the open zipper
- Use a point turner to shape corners
- Close the zipper
- Insert the pillow form
Bonus: This method is machine washable and perfect for frequent style changes.
Sew a Hand-Stitched Closure Without a Machine
No sewing machine? No problem. Use the ladder stitch for an invisible hand-sewn closure.
Cut and Sew the Panels
- Cut two squares at 18 by 18 inches with one-half-inch seam allowance, resulting in a finished size of 17 by 17 inches for a snug fit
- Place pieces right sides together
- Pin edges and sew around three sides and part of the fourth, leaving a 2-inch opening
- Backstitch at start and end
Trim and Turn
- Trim corners at 45 degrees without cutting stitches
- Turn right side out
- Use a chopstick to push out corners
- Iron flat
- Fold in one-half-inch seam allowance at the opening and press
Close with Ladder Stitch
- Thread a needle and double thread with a knot at the end
- Bring the needle up from inside one folded edge, hiding the knot
- Stitch pattern: Pick up a tiny bite of 1 to 2 millimeters from the opposite folded edge, then slide the needle through the fold of the first side without piercing the surface
- Pull taut to create a hidden rung
- Alternate sides, forming a ladder pattern
- Pull the thread tight every few stitches
- At the end, pass the needle through the last loop to form a knot
- Hide the tail inside the fold
Insert the pillow form. Your closure is invisible and secure.
Use VELCRO for a 10-Minute Cover
Need a pillow cover fast? VELCRO is the quickest, most washable option.
Cut and Hem
- Cut a 13 by 27 inch rectangle for a 12 by 12 inch insert
- Fold 1 inch inward on both short ends and press
Attach VELCRO
- Cut two 12-inch strips of VELCRO sew-on tape
- Pin one strip to the wrong side of one hemmed end
- Pin the other strip to the right side of the opposite hemmed end so they meet when folded
- Sew securely around all edges
Sew Side Seams
- Fold fabric with VELCRO facing inward
- Sew both side seams with one-half-inch seam allowance
- Trim corners and turn right side out
- Insert pillow and fasten VELCRO
Perfect for: Kids’ rooms, pet beds, or seasonal swaps.
Add Buttons for a Decorative Touch
Buttons give a tailored, formal look great for velvet or brocade fabrics.
Cut Panels
Cut the front as one square matching your pillow size. Cut the back as two overlapping panels using the same dimensions as the envelope method.
Create Buttonholes
- Mark placement at one-third across the upper flap
- Use your machine’s buttonhole setting, testing on scrap fabric first
- Cut open with small, sharp scissors
- Reinforce with hand stitching if needed
Sew Buttons
- Attach five-eighths-inch buttons to the lower flap, aligned with the holes
- Layer and pin panels as in the envelope method
- Sew perimeter with one-half-inch seam allowance
Tip: Use contrasting thread or decorative buttons for extra flair.
Prevent Common Mistakes
Even small errors can ruin a pillow’s look. Avoid these pitfalls:
Crooked Corners or Skewed Seams
The cause is misaligned grain or shifting fabric. Fix this by aligning selvages or tearing cotton fabric along the grain before cutting.
Bulky or Rounded Corners
The cause is excess fabric at the corners. Fix this by trimming corners at 45 degrees before turning.
Insert Too Tight or Loose
The cause is wrong sizing or stiff fabric. Fix this by sizing the cover to match the insert and using stretchy or soft fabric for tight fits.
Visible Hand Stitches
The cause is inconsistent ladder stitch tension. Fix this by practicing on scrap fabric and pulling the thread taut after each stitch.
Zipper Will Not Close
The cause is sewing too far from the teeth. Fix this by using a zipper foot and sewing as close as possible.
Care and Maintenance for Your Pillow Covers
Keep your DIY pillow covers looking fresh with proper care.
Washing Instructions
- Always remove the insert before washing
- Spot clean delicate fabrics
- Machine wash on gentle cycle, checking the fabric label first
- Air dry or tumble dry on low heat
- Iron with appropriate heat settings: high for linen, low for synthetics
Storage Tips
Store covers flat or rolled. Avoid sharp folds over seams. Refresh old inserts by drying on high heat for 30 minutes to eliminate allergens and dust mites.
Customize Your Pillow Cover Style
Make your pillows reflect your personality with these ideas:
- Reversible covers using different fabrics front and back
- Stenciled designs painted on canvas or drop cloth
- Embellishments like piping, tassels, or pom-poms
- Monograms hand-painted or embroidered
- Seasonal rotation with florals for spring, plaids for fall, red and green for winter
Pro Styling Tip: Arrange pillows in odd numbers, 3 or 5, for visual balance.
Frequently Asked Questions About Making Throw Pillow Covers
What is the easiest way to make a throw pillow cover?
The envelope back method is the easiest. It requires no zipper, no hand sewing, and the cover is fully reversible. You simply cut a front panel and two overlapping back panels, hem the back pieces, pin, and sew around the edges.
How much fabric do I need for an 18 by 18 inch pillow cover?
For an 18 by 18 inch pillow, you need approximately one-half yard of 44-inch wide fabric. This allows for the front panel and two back panels with some extra for pattern matching or mistakes.
Can I make a pillow cover without a sewing machine?
Yes. You can use the VELCRO method, which requires no machine, or the hand-sewn ladder stitch method for an invisible closure. Both options work well for beginners.
How do I make my pillow cover fit perfectly?
Measure your pillow insert carefully and account for seam allowance. For a plump look, cut the cover 1 to 2 inches smaller than the insert. For a tailored look, cut it the same size. Always test fit before final sewing.
What is the best fabric for beginners?
Cotton or cotton blend is best for beginners. It is easy to cut, sews smoothly, washes easily, and is widely available in prints and solids. Canvas is also forgiving and great for stenciling projects.
Key Takeaways for Making Throw Pillow Covers
Making a throw pillow cover is fast, affordable, and endlessly customizable. Whether you choose an envelope back for simplicity, a zipper for polish, VELCRO for speed, or buttons for decorative flair, you will save money and get exactly the look you want. The envelope method takes just 10 to 15 minutes and requires only basic supplies. With proper sizing, careful cutting, and attention to corners, you can achieve professional results at home. Ready to start? Grab your fabric and sewing machine. Your dream decor is just a few stitches away.


