

A wobbly headboard that squeaks or knocks against the wall ruins sleep and damages your drywall over time. This annoying movement usually stems from loose bolts, weak joints, or gaps between your bed frame and the wall that allow shifting.
You can fix this issue permanently by tightening connections, reinforcing weak joints, and adding cushioning or anchors where needed. This guide details every step to stop a headboard from moving so your bedroom stays quiet and secure.
Tighten All Fasteners to Eliminate Wobble

Loose screws and bolts are the most common reason a headboard shifts during the night. Daily movement causes hardware to vibrate loose, creating gaps at the connection points between the bed frame and the headboard.
Inspect Every Connection Point
Start by checking all attachment points where the headboard meets the bed frame. Look for wobbly bolts, visible gaps at joints, or signs that wood fibers are stripping around screw holes. Use a wrench or screwdriver to tighten every fastener you find, ensuring each one grips the material firmly.
Upgrade to Longer Screws
Factory screws are often too short to anchor deeply into support beams, leading to instability. Replace them with screws that are one to two inches longer to reach solid wood or metal for a much stronger hold. Apply thread-locking adhesive to the threads to resist vibration and prevent future loosening.
Pro Tip: Check and tighten these fasteners every three to six months as part of regular bed maintenance.
Reinforce Weak Joints for Permanent Stability
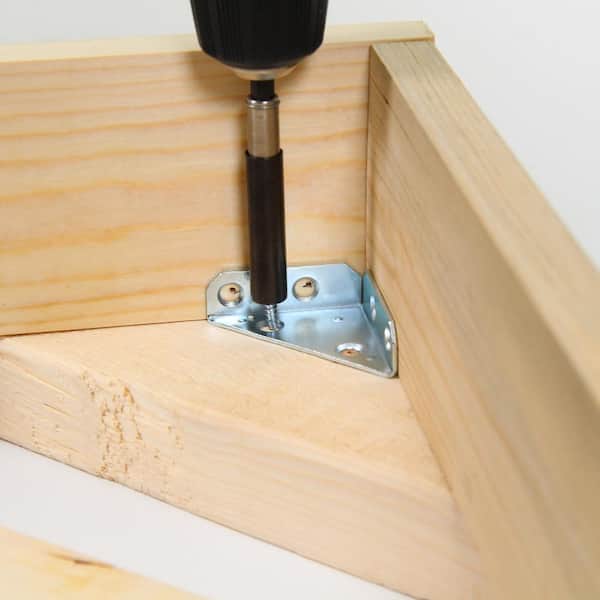
Tightening screws may not help if the joint structure itself flexes under pressure. You must reinforce these weak connections to stop side-to-side movement and eliminate persistent creaking noises.
Install Corner Braces
Metal or wooden corner braces add necessary rigidity at 90-degree joints where the headboard attaches to the frame. Position a brace at each joint, mark your drill points, and secure them with screws, using at least two braces per side for maximum stability. Choose rust-resistant steel braces for durability, especially if you have a metal bed frame.
Add a Backing Board
Hollow or thin headboards often flex in the middle, so attaching a quarter-inch plywood or MDF sheet across the entire back solves this. This board prevents warping, distributes force evenly, and creates a solid surface for wall pads or anchors. Cut the board to match your headboard dimensions and secure it with wood screws every six to eight inches.
Insert a Center Support Post
Wide headboards for queen or king beds benefit significantly from a vertical support post installed in the middle. This post reduces the unsupported span, stops central flexing, and transfers the load directly to the bed frame. Attach the post between the top rail of the headboard and the bed frame using L-brackets or bolts.
Stop Squeaking with Adhesive Bonds
Micro-movements at wooden joints are the primary cause of irritating squeaks that tightening alone cannot fix. Eliminating these tiny shifts requires bonding the materials together permanently.
Glue and Clamp Joints
Disassemble the headboard if possible and apply wood glue to all mating surfaces before reassembling. Reattach the pieces and clamp them tightly together, letting the glue dry for 12 to 24 hours before using the bed again. This creates a near-permanent bond that prevents shifting and noise effectively.
Warning: Only use wood glue on wooden joints and avoid applying it to metal-to-metal connections.
Fix Wall Gaps with Cushioning Materials
Even a stable headboard can knock against the wall if a gap exists between the furniture and the architecture. Cushioning this space absorbs impact and adds friction to prevent sliding.
Apply Non-Slip Pads
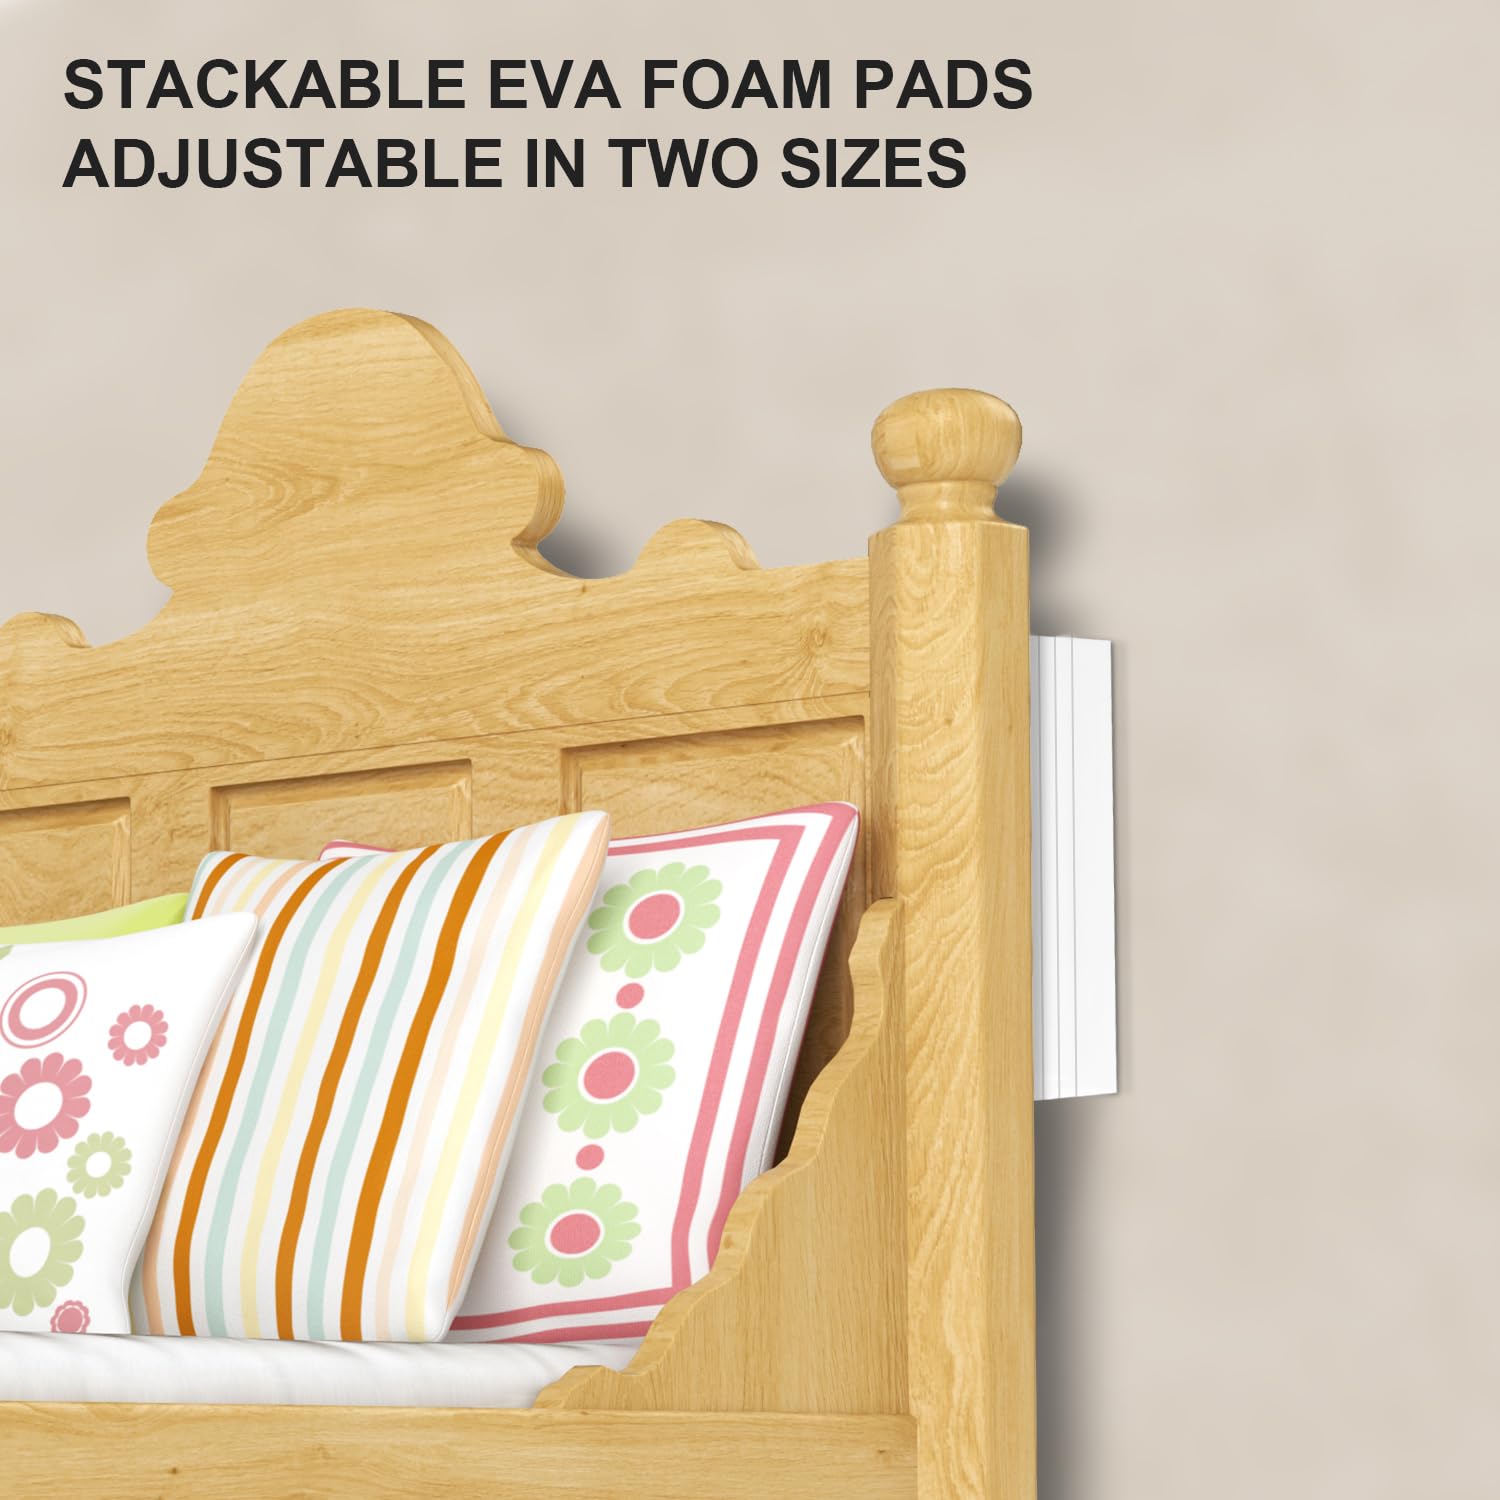
Stick rubber, felt, or foam pads to the back corners and center of the headboard to create a buffer. Place these pads at the top corners, bottom corners, and the center of the back panel where contact occurs most frequently. Use high-grip furniture pads designed for heavy items to prevent sliding and reduce noise effectively.
Install Foam Padding Layer

Use a full sheet of foam for louder banging sounds that pads alone cannot silence. Cut a piece of half-inch moving blanket foam, acoustic foam, or dense upholstery foam to size and attach it with double-sided tape or staples. This layer acts like a shock absorber, silencing movement instantly when the bed shifts.
Anchor the Headboard to the Wall
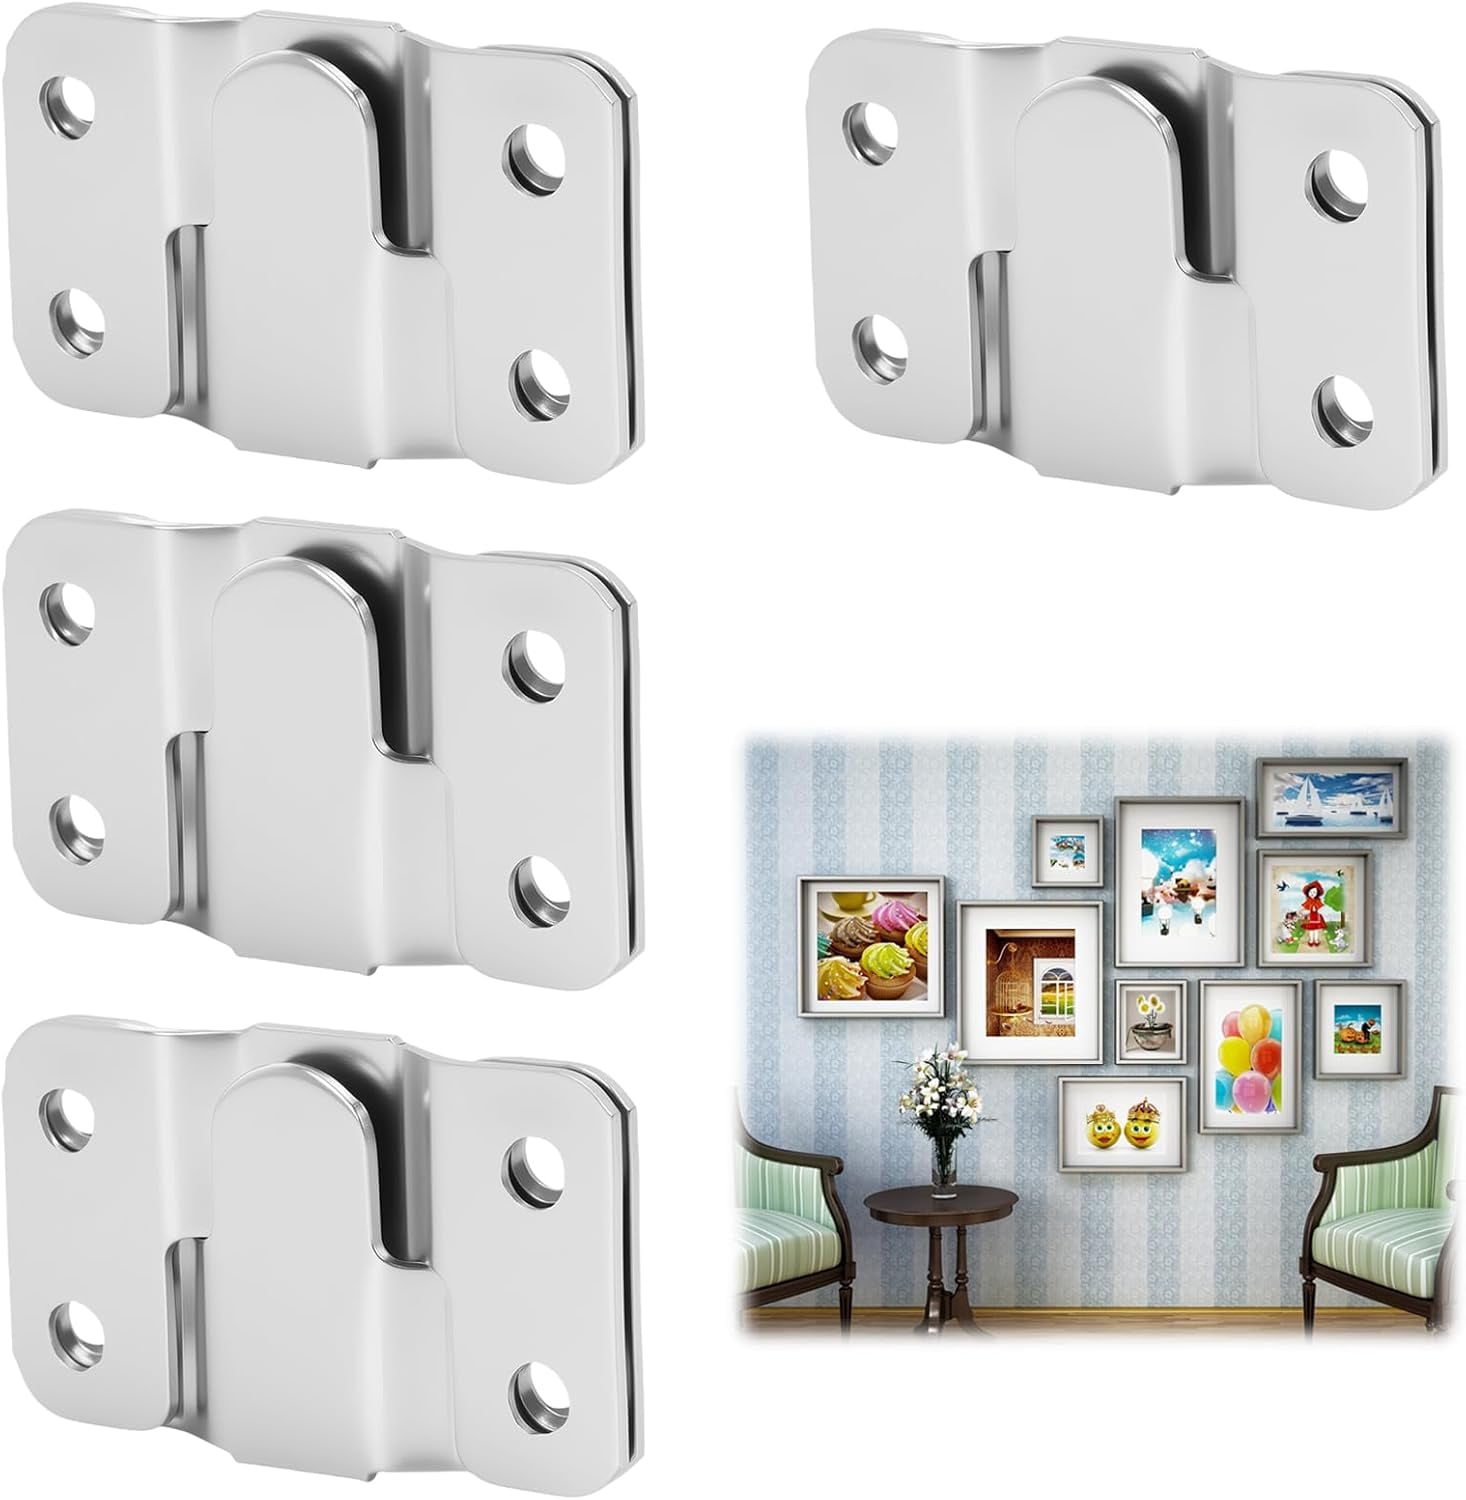
Mechanical wall anchoring is the ultimate solution when stability is critical, especially for heavy or tall headboards. This method physically connects the furniture to the building structure.
Use Wall-Mounted Brackets
Heavy-duty brackets connect the headboard directly to wall studs for zero movement. Locate wall studs using a stud finder, mount the brackets to the studs with lag screws, and then attach the other side to the headboard frame. Use at least two brackets for queen or king sizes, ensuring perfect alignment before final tightening.
Safety Note: Never use standard drywall anchors alone for heavy headboards unless they are rated for the specific load.
Install Adjustable Headboard Stoppers
Specialized anti-shake fixers fill the gap between the bed and wall without drilling into studs. These devices feature threaded rods that adjust to fit snugly, rubber tips to protect walls, and a locking mechanism to prevent shifting. Place the stopper between the headboard and wall, twist to extend until tight, and lock the position with the set screw.
Align and Level the Bed Frame Properly
A misaligned or wobbly bed frame undermines any headboard fix you attempt. The entire structure must be stable to ensure the headboard remains still.
Position Flush Against the Wall
Push the bed fully against the wall so the headboard makes even contact across its entire width. If the frame bows outward or sits at an angle, realign it to ensure the headboard brackets sit flat against the wall surface.
Level the Bed on Uneven Floors
Uneven flooring causes the bed to rock, transferring motion to the headboard. Slide a level across the headboard to identify which side is lower, then insert wooden or plastic shims under the short legs. Trim any excess shim material so the bed sits level and stable.
Upgrade to a Stable Bed Frame
Some bed frames are inherently unstable, and persistent problems may require a complete replacement. Upgrading ensures long-term peace without constant adjustments.
Choose Frames with Built-In Headboards
Platform beds with attached headboards eliminate separate connections entirely. With no joints to loosen, these designs offer superior stability compared to separate headboard kits. Look for solid wood construction with reinforced corner joints and integrated support legs.
Use Locking Mechanism Designs
Certain metal frames feature headboard clamps or slots that lock the piece firmly in place. These designs prevent lateral movement better than standard bolt-on kits and often require no extra tools for installation. Check compatibility with your mattress size before purchasing a new frame.
Test and Maintain the Fix
Verify your solution works under real conditions before considering the job done. Regular maintenance ensures the fix lasts for years.
Simulate Real-World Use
Push the headboard firmly from multiple angles to test stability. Sit on the edge and lean back, shake the top rail side to side, and listen closely for any remaining creaks or knocks. Close any remaining gaps with additional padding or minor adjustments as needed.
Perform Routine Maintenance
Check your work every three to six months to catch issues early. Tighten all screws and bolts, inspect foam pads for wear, and re-tighten wall anchors or stoppers if they have loosened. Replace compressed or damaged pads promptly to maintain effectiveness.
Choose the Right Commercial Product
Ready-made solutions can simplify stabilization if you prefer not to DIY every step. Several products offer specific benefits depending on your bed type.
Top Headboard Stabilizers Compared
- MQHOOB Adjustable Brackets: Best for metal frames, featuring heavy-duty steel construction.
- NUOLUX Headboard Stoppers: Ideal for renters, offering adjustable fits with easy installation.
- FRCOLOR Anti-Shake Fixer: Great for noise reduction with rubber tips that prevent wall damage.
- Solivara BK3 Bumper: A budget-friendly option for stopping knocking sounds.
- PENIKOKO 4-Pack: Suitable for king beds, including necessary screws and pads.
- 8PCS Anti-Shake Tool: A full kit option that comes with pads and hardware.
Most of these products include wall-protecting tips and require only a basic wrench or screwdriver for installation.
Troubleshoot Persistent Movement
If the headboard still moves after trying these steps, dig deeper into underlying causes. Floor instability or incorrect anchor choices often mimic headboard issues.
Check Floor and Frame Stability
Uneven flooring or a warped frame can cause movement that feels like a headboard problem. Place a level on the floor behind the bed and lift each leg to see if one bounces, indicating it is not seated properly. Fix this with shims or by moving the bed to a flatter spot in the room.
Verify Anchor Strength
For wall-mounted setups, confirm your anchors match your wall type, whether drywall, plaster, or concrete. Use toggle bolts for drywall when studs are not available and ensure the load rating exceeds the headboard weight. Heavy headboards over 50 pounds need robust anchoring to remain secure.
Prevent Future Movement Effectively
Stability is an ongoing process rather than a one-time fix. Consistent care prevents small issues from becoming major problems.
Schedule Quarterly Inspections
Set a reminder every three months to tighten bolts and test for wobble. Replace worn pads immediately to maintain the friction buffer between your bed and the wall.
Combine Multiple Methods
For the best results, use a layered approach to stop a headboard from moving. Tighten and reinforce joints first, add a backing board, apply wall padding, and install stoppers or anchors. Each layer reduces movement further, ensuring a silent and secure sleeping environment.
Frequently Asked Questions About Stopping Headboard Movement
Why does my headboard keep loosening after I tighten it?
Vibration from daily use naturally causes screws to loosen over time. Applying thread-locking adhesive to the threads or upgrading to longer screws that reach deeper into the frame can prevent this recurring issue.
Can I stop my headboard from moving without drilling into the wall?
Yes, you can use adjustable headboard stoppers that wedge between the bed and wall or apply thick non-slip pads to the back. These methods add friction and absorb impact without requiring permanent wall anchors.
What is the best material to cushion a knocking headboard?
High-density foam, moving blanket foam, or rubber furniture pads work best for cushioning. These materials absorb vibration and prevent the hard surface of the headboard from damaging your wall.
How often should I check my headboard connections?
You should inspect and tighten all fasteners every three to six months. Regular maintenance catches loose screws before they cause significant wobbling or noise problems.
Do I need a center support post for my headboard?
A center support post is highly recommended for wide queen or king headboards that flex in the middle. It reduces the unsupported span and transfers weight directly to the frame, stopping lateral movement.
Key Takeaways for How to Stop a Headboard from Moving
Stopping a headboard from moving starts with tightening loose fasteners and reinforcing weak joints with braces or backing boards. Adding cushioning materials and anchoring the unit to the wall provides the final layer of stability needed for a quiet night.
Combine these methods for the best results and perform regular maintenance checks every few months. Start by inspecting your current connections today to identify the root cause of your wobble.



