
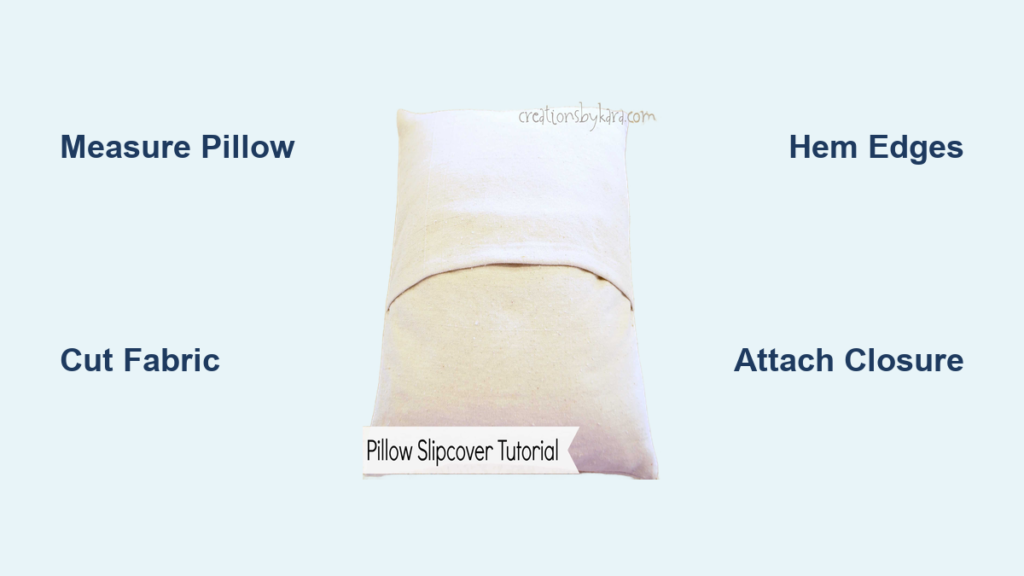
Nothing transforms a room faster than fresh throw pillows without spending a fortune. Learning how to sew a pillow slipcover gives you full control over fabric, fit, and design, letting you refresh your sofa, bed, or chair in just a few hours. Whether you are a beginner with a basic sewing machine or a seasoned crafter, this guide walks you through every step from choosing fabric to inserting your finished cover.
You will learn how to avoid common mistakes like a loose, flat look, which tools matter most, and how to make slipcovers that last. All methods use simple straight stitches and standard equipment. By the end, you will be able to create custom covers that hug your pillow tightly and look professionally finished.
Pick the Right Fabric
Choosing fabric sets the tone for your pillow look and durability. The best material depends on where the pillow will live and how often it is used.
Top Fabric Choices
Cotton and cotton blends work well for beginners and high-use areas. They are easy to sew, machine washable, and come in countless prints. Linen offers natural texture and elegant drape but wrinkles easily, making it best for low-traffic spaces. Twill or canvas provides strong, structured coverage with wrinkle resistance, perfect for a tailored upholstery look. Velvet or chenille delivers luxurious feel with rich color depth, though you must cut all pieces facing the same direction to maintain consistency.
Denim or upholstery fabric handles heavy daily use and lasts long, great for kids rooms or pet-friendly homes. Faux leather gives a wipeable, modern surface but can stick under the presser foot, so use a non-stick foot if available.
Pro Tip: Always pre-wash your fabric if it is washable. This prevents shrinkage after sewing, which can distort fit and cause puckering.
Avoid slippery or stretchy materials like satin or spandex until you have practiced on sturdier cottons.
Measure Your Pillow Insert

The secret to a plump, professional-looking pillow is making your slipcover slightly smaller than the insert.
For a full, overstuffed look, make the cover 1 to 2 inches smaller than the insert. For a tailored, crisp look, make it the same size as the insert. Never make it larger because this creates a saggy, ill-fitting result.
Example: For an 18 inch by 18 inch pillow form, cut your cover front to 17 inches by 17 inches for a lush, huggable finish.
Always measure your actual pillow, not just go by label size. Foam inserts compress over time, and down ones vary in fluff. Use a tape measure and write down exact dimensions before cutting.
Choose Your Closure Type
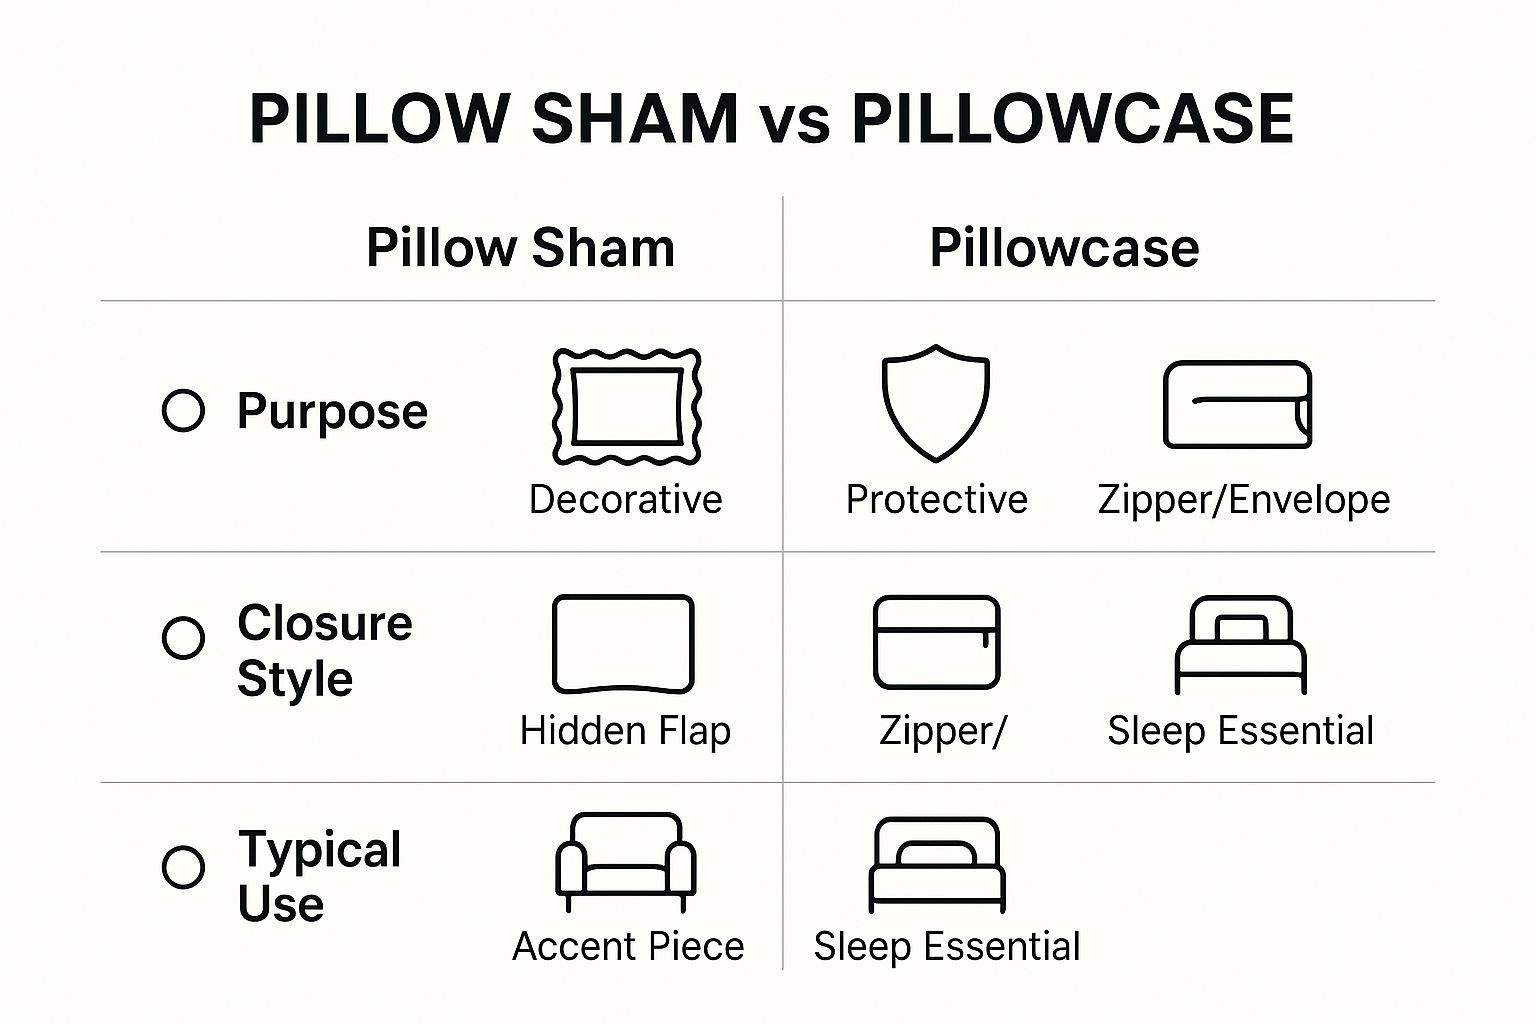
Three main methods let you remove the cover easily. Pick based on your skill level and desired look.
The envelope back works best for beginners. It requires no zipper or hardware, provides a clean front appearance, and is easy to wash and re-cover. The invisible zipper gives the most professional result with a hidden closure and full access to the insert, though it requires a zipper foot and intermediate skill. VELCRO tape is the fastest option, assembling in under 15 minutes with no special tools, though it offers a less refined finish.
Each method is detailed below. Choose the one that fits your tools and goals.
Sew an Envelope Back Slipcover
This is the easiest and most popular method. It uses overlapping flaps in the back, so no zipper is needed.
Cut the Fabric
Calculate width equals pillow width. Calculate length equals two times pillow height plus eight inches for overlap.
Example: For an 18 inch by 18 inch insert, cut 18 inches wide by 44 inches long. That is 18 times 2 plus 8 equals 44.
Use a rotary cutter and ruler for straight edges. Align the fabric grain with the pillow sides to prevent twisting.
Hem the Short Edges
Fold one short end half an inch to the wrong side and press with an iron. Fold again half an inch to hide the raw edge and press again. Pin or clip in place. Topstitch a quarter inch from the inner fold using a straight stitch. Backstitch at start and end.
Repeat on the other short end.
Pro Tip: For heavier fabrics like denim or canvas, use a one-inch double-fold hem. Fold one inch, then fold another half inch.
Create the Overlap Flaps
Lay the fabric right side up. Fold one end toward the center about two-thirds of the way. Fold the other end over it, creating an overlap of 8 to 10 inches. The total width where they meet should match your pillow width, for example 18 inches.
Pin the two side edges together to hold the shape.
Visual Check: Slide your pillow under the flaps to test fit. It should slide in snugly with slight resistance.
Sew the Side Seams
With pins in place, stitch both sides using a half-inch seam allowance. Backstitch at beginning and end for strength. Trim seam allowances to a quarter inch if using thick fabric to reduce bulk.
Finish and Insert Pillow
Clip corners diagonally a quarter inch from the stitch line to reduce bulk. Turn the cover right side out through the back opening. Use a pencil or point turner to push out corners. Press lightly with an iron. Insert your pillow form.
Time: 25 minutes. Skill: Beginner.
Sew an Invisible Zipper Slipcover
Want a seamless, store-bought look? The invisible zipper gives full access and hides completely.
Cut the Fabric
Cut two squares of fabric, each one inch larger than your finished cover size.
Example: For an 18 inch finished cover, cut two 19 inch by 19 inch squares.
If using patterned fabric like stripes or florals, make sure the design aligns when the pieces are joined.
Install the Invisible Zipper
Use an 18 inch invisible zipper or longer. If too long, backstitch across the tape 18 inches from the top to create a thread stop. Do not cut it.
Press the zipper teeth flat with an iron. Use a press cloth to protect fabric.
Place one fabric square right side up. Lay the zipper face down along one edge. The zipper coil should sit right at the fabric edge. Attach the zipper foot to your machine. Stitch as close to the teeth as possible.
Open the zipper. Flip it over and place the second fabric square right side down on the other half of the zipper. Align edges and pin. Stitch the second side, again getting as close to the teeth as possible.
Pro Move: Sew in two passes. Move the zipper pull down, sew halfway, lower the presser foot, pull the zipper past, then finish.
Sew the Perimeter
Open the zipper halfway. This is critical. If left closed, you cannot turn the cover right side out.
Fold the cover so right sides are together, matching all edges. Pin around the remaining three sides. Using a half-inch seam allowance, stitch all the way around. Backstitch at the start and end, especially near the zipper ends for durability. Trim corners diagonally to reduce bulk.
Finish and Insert Pillow
Turn the cover right side out through the open zipper. Use a point turner to shape the corners. Press the entire cover gently. Insert the pillow and zip closed.
Time: 40 minutes. Skill: Intermediate.
Sew a VELCRO Closure Slipcover

Need a quick fix? VELCRO tape lets you make a removable cover in under 15 minutes with no zipper foot needed.
Cut the Fabric
Width equals pillow width plus one inch. Length equals two times pillow height plus three inches.
Example: For a 12 inch by 12 inch insert, cut 13 inches by 27 inches.
Hem the Short Ends
Fold each short end one inch to the wrong side and press. Fold again half an inch and press again. Topstitch close to the inner fold.
These hems will hold the VELCRO strips.
Attach the VELCRO Strips
Cut two pieces of VELCRO sew-on tape to match the pillow width, for example 12 inches. Pin the hook side, the rough side, to the wrong side of one hemmed end. Pin the loop side, the soft side, to the right side of the other end. Sew all four edges of each strip securely.
Test Fit: Press the strips together to ensure they align and close smoothly.
Sew the Side Seams
Fold the fabric so right sides face inward, with the VELCRO strips overlapping, hook to loop. Position the closure about 3 to 4 inches below the top edge to create an overlap. Pin both sides. Stitch both side seams with a half-inch seam allowance.
Turn and Insert Pillow
Unfasten the VELCRO. Turn the cover right side out. Push out corners with a pencil. Insert the pillow and fasten.
Time: 12 minutes. Skill: Beginner.
Finish with Professional Touches
Even simple slipcovers look custom with these pro techniques.
Press After Every Step
Ironing flattens seams, sharpens corners, and gives a crisp finish. Press hems before stitching. Press seams after sewing. Press the entire cover after turning.
Reduce Bulk in Corners
Trim each corner diagonally about a quarter inch from the stitch line. This removes excess fabric and helps corners lie flat.
Backstitch for Strength
Always backstitch at the beginning and end of any seam, especially near zippers or stress points.
Use Clips Instead of Pins
For slippery fabrics like velvet or faux leather, fabric clips hold layers without snagging or shifting.
Match Patterns and Pile
If using a print or textured fabric, cut both pieces in the same direction. Pin and check alignment before sewing.
Customize Your Design
Make your pillow stand out with easy upgrades.
Add Trim or Piping
Sew pom-poms, tassels, or ricrac trim along the edges. Use a zipper foot to stitch close to the braid.
Try Topstitching
Use contrasting thread to outline the edges. This works great for modern or industrial styles.
Go Reversible
Use two different fabrics and make a double-sided cover. This works best with the envelope or zipper method.
Paint or Stencil
Use fabric paint on cotton or drop cloth canvas. Try stencils for monograms, quotes, or seasonal designs.
Mix Textures
Pair a velvet front with a linen back for visual interest and smart fabric use.
Avoid These Common Mistakes
Making a cover too loose creates a saggy appearance. Size it 1 to 2 inches smaller than the insert.
Forgetting to open the zipper before sewing the perimeter means you cannot turn the cover right side out. Always open halfway before sewing.
Uneven hems ruin the look. Press and pin before stitching.
Puckered seams result from wrong tension. Test on scrap fabric first.
Shrinking after washing happens if you skip pre-washing. Always wash and dry fabric before cutting.
Misaligned patterns look unprofessional. Pin and check alignment before sewing.
Critical: Never skip the half-inch seam allowance unless your pattern says otherwise. This small margin makes a big difference in fit.
Care and Maintenance Tips
Keep your slipcovers looking fresh by removing the insert before washing. Machine wash cold on gentle cycle. Line dry or tumble dry low. Zip zippers before laundering to prevent snagging. Press with a warm iron, using a press cloth on delicate fabrics. Store flat to avoid creasing.
Pro Tip: Hand-stitch a small fabric tag inside the cover with the pillow size and care instructions.
Frequently Asked Questions About Sewing a Pillow Slipcover
What is the easiest closure method for beginners?
The envelope back method is the easiest. It requires no zipper or special tools, uses simple straight stitches, and can be completed in about 25 minutes. The VELCRO option is also beginner-friendly and takes even less time.
How much smaller should a slipcover be than the pillow insert?
For a full, overstuffed look, make the cover 1 to 2 inches smaller than the insert. For a tailored look, make it the same size as the insert. Never make it larger because the cover will look saggy.
Can I use any fabric for a pillow slipcover?
You can use most woven fabrics. Cotton, linen, twill, canvas, velvet, and denim all work well. Avoid slippery fabrics like satin or stretchy materials like spandex until you have more experience. Always pre-wash fabric to prevent shrinkage after construction.
How do I install an invisible zipper without a special foot?
You need a zipper foot to install an invisible zipper properly. The zipper foot allows the needle to stitch close to the zipper teeth. Without it, the zipper will not sit flush against the fabric and will not be truly invisible.
How do I keep my slipcover from shrinking after washing?
Always pre-wash and dry your fabric before cutting. This removes natural oils and allows for any initial shrinkage. Use cold water and gentle cycles when washing finished covers. Line drying or tumble drying on low heat also helps maintain size.
Can I make a reversible slipcover?
Yes. Use two different fabrics and construct the cover using the envelope back or invisible zipper method. This lets you flip the cover to change the look seasonally or when one side gets dirty.
Final Thoughts on Sewing Pillow Slipcovers
Sewing a pillow slipcover is one of the fastest, most affordable ways to transform your space. With just fabric, thread, and a few hours, you can create custom decor that reflects your style and fits perfectly.
The envelope back is perfect for beginners and washable covers. The invisible zipper delivers a boutique finish for a polished look. VELCRO is unbeatable for speed and convenience.
No matter which method you choose, the key is in the details. Measure your actual pillow, cut with proper seam allowances, press after every step, and size the cover slightly smaller than the insert for that plump, professional look. Do that, and your DIY pillow will look like it came from a design catalog.
So grab your favorite fabric, fire up your sewing machine, and give your old pillows a stunning new cover. Your living room will thank you.



