
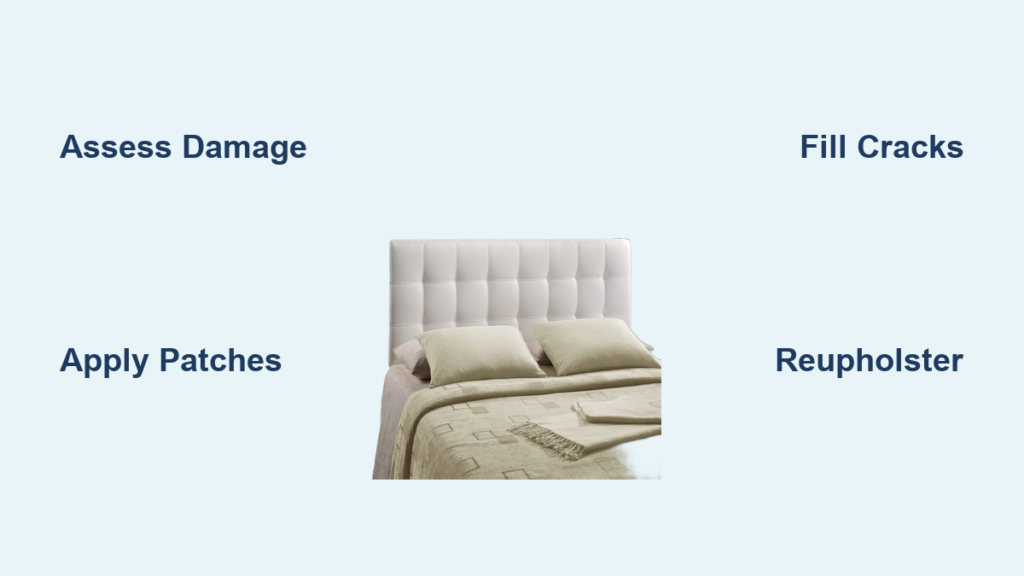
Is your bedroom eyesore caused by a peeling or cracking vinyl headboard ruining your sleep sanctuary? You do not need to buy expensive new furniture because learning how to repair a vinyl headboard saves money and restores your room instantly.
This guide details three proven methods ranging from quick patches for small tears to full reupholstery for severe damage. You will discover exactly which tools to use and how to prevent future flaking so your furniture lasts for years.
Assess the Extent of Vinyl Damage accurately
You must identify the specific type of failure before applying any glue or fabric. The success of your repair depends entirely on matching the solution to the severity of the degradation.
Identify the Failure Type
Vinyl headboards fail in predictable patterns that dictate your repair path.
* Peeling edges indicate weak adhesive bonds between layers.
* Cracks or flaking suggest material fatigue from UV exposure.
* Tears or holes often result from physical impact or sharp objects.
* Widespread bubbling means the backing has detached completely from the core.
Categorize the Damage Level
Use these benchmarks to choose your strategy.
* Minor: One or two small scuffs or localized peeling suitable for patching.
* Moderate: Visible cracks or shallow holes requiring filler and recoloring.
* Severe: Large areas lifting or deep tears needing full reupholstery.
Fix Small Tears With Vinyl Patches

Self-adhesive vinyl patches deliver fast and durable results for minor damage without drying time. This method works best for isolated tears or scuffs where the backing remains intact.
Gather Patch Repair Supplies
You will need specific items to ensure a strong bond.
* Self-adhesive leather or vinyl patch kit
* Rubbing alcohol and clean rags
* Scissors or a utility knife
* Hair dryer set to low heat
* Soft cloth or an old sock
Prepare the Surface Thoroughly
Proper cleaning is critical for adhesion longevity.
1. Wipe away dust with a dry rag to remove loose debris.
2. Trim frayed edges so the damaged area has clean borders.
3. Clean with rubbing alcohol to remove skin oils and residues.
4. Let the area dry completely before applying any patch.
Apply the Patch Properly
Follow these steps for a seamless finish.
1. Cut the patch 1–2 inches larger than the damage on all sides.
2. Peel 1–2 inches of backing and fold it over to protect the rest.
3. Align the exposed edge with one side of the damaged zone and press down.
4. Slowly peel the rest while smoothing the patch outward to push out air bubbles.
5. Use a hair dryer on low heat for 20–30 seconds to activate the adhesive.
6. Smooth again from center to edges for immediate use.
Pro Tip: For symmetry patch both armrests even if only one is damaged to maintain visual balance.
Repair Cracks and Flaking With Filler

When the surface is cracked but the backing is stable you need filler and recoloring for a seamless fix. This approach addresses material fatigue without replacing the entire cover.
Get the Right Filler Tools
Gather these supplies for a professional result.
* Leather or faux leather filler like Angelus
* Fine-grit sandpaper
* Putty knife or cotton swab
* Recoloring balm such as FORTIVO
* Clear vinyl sealant and leather conditioner
Clean and Prep the Area
Start with a clean slate to avoid trapping dirt.
1. Wipe with a mild leather cleaner to remove grime.
2. Gently lift loose pieces without pulling aggressively.
3. Let the area dry fully before applying filler.
Fill Cracks in Thin Layers
Apply the product carefully to avoid bumps.
1. Apply filler with a putty knife into cracks or holes.
2. Use thin layers because thick applications crack as they dry.
3. Let dry completely according to product instructions usually taking 1–2 hours.
Warning: Overfilling creates a raised bump so apply less than you think you need.
Sand for a Smooth Finish
Blending is key to an invisible repair.
1. Lightly sand the dried filler with fine-grit paper.
2. Blend the edges into the surrounding surface gently.
3. Wipe away dust with a dry cloth.
Recolor to Match the Original
Restore the aesthetic appeal with careful coloring.
1. Test color on a hidden area first to verify the match.
2. Apply recoloring balm in thin even coats with a sponge.
3. Let dry between coats and repeat until color matches perfectly.
Seal and Condition
Protect your work for long-term durability.
1. Apply a clear vinyl sealant to protect the repair.
2. Use leather conditioner to restore flexibility.
3. Repeat conditioning every 6–12 months to prevent future cracking.
Expert Note: In sunny or dry rooms condition every 6 months to avoid premature wear.
Reupholster for Full Restoration
Reupholstering is the only long-term fix when vinyl is extensively peeling or torn. This process replaces the entire surface for a like-new appearance.
Collect Reupholstery Tools
You need specific equipment for efficient removal and installation.
* Oscillating tool or staple remover
* Staple gun and staples
* Fabric scissors
* Heat gun or hair dryer
* High-durability vinyl fabric
* Dust cover fabric for the back
* Pliers or needle-nose pliers
Why an oscillating tool? It removes staples fast without damaging wood and succeeds in 99.9% of professional restorations.
Remove Old Fabric Safely
Take care not to damage the underlying frame.
1. Use the oscillating tool to cut through staples along the back edge.
2. Peel off the old vinyl starting from the center.
3. Scrape off glue residue and inspect the frame for damage.
4. Clean the wood surface to ensure it is smooth and debris-free.
Caution: Avoid gouging the frame by using steady light pressure with the tool.
Cut and Position New Fabric
Precision here prevents wrinkles later.
1. Lay the new vinyl face down on a flat surface.
2. Place the headboard frame on top centered correctly.
3. Mark excess fabric around the edges leaving 2–3 inches for wrapping.
Staple From Center to Corners
Maintain even tension throughout the process.
1. Start at the bottom center and pull fabric taut by hand.
2. Staple firmly into place.
3. Repeat at the top center then both side centers.
4. Work outward toward corners maintaining even tension.
Use Heat for Stiff Materials
Vinyl does not stretch easily so heat helps.
* Warm the fabric with a heat gun keeping it 6+ inches away.
* Heat as you go especially near corners.
* Stretch slightly while stapling for a drum-tight finish.
Master the Folded Corner
Clean corners define a professional job.
1. Approach the corner with excess fabric.
2. Fold it like a gift wrap to create a clean pleat.
3. Staple the fold securely.
4. Trim excess if needed.
Troubleshooting: If a crease forms remove the last few staples and reposition with more heat.
Attach the Dust Cover
Finish the back for a polished look.
1. Cut a piece of backing fabric to fit the rear.
2. Staple from the center outward on all four sides.
3. Ensure it is wrinkle-free to reduce stress on the front fabric.
Choose the Right Materials

Using durable and compatible supplies ensures your repair lasts for years. Cheap materials often lead to repeat failures within a year.
Best Vinyl Fabric Brands
Select high-quality options for longevity.
* Charlotte Fabrics: Industry standard for durability and fade resistance.
* Ultraleather: Premium alternative with excellent texture.
* Avoid cheap vinyl as it will peel again quickly.
Recommended Adhesives and Fillers
Trust proven products for strong bonds.
* E6000 or Gorilla Glue: Flexible options for custom patches.
* Angelus Leather Filler: Ideal for cracks and sands smoothly.
* FORTIVO Recoloring Balm: Easy color match and non-toxic.
Sealants That Protect
Extend the life of your repair with these.
* Lexol Vinyl Repair Spray: Quick seal with UV protection.
* Armor All Vinyl & Leather Repair: Adds shine and water resistance.
Prevent Future Damage
Even a perfect repair fails without proper care and environmental control. Protect your investment with these simple habits.
Avoid Common Mistakes
Steer clear of these frequent errors.
* Do not skip cleaning with alcohol as oils ruin adhesion.
* Do not apply thick filler because it cracks under stress.
* Do not over-condition since excess oil softens adhesives.
* Do not rush corners as poor folds lead to early wear.
Protect the Headboard
Control the environment to reduce degradation.
* Keep out of direct sunlight because UV rays degrade vinyl fast.
* Use a soft pillow to reduce friction from daily use.
* Keep the room dry since humidity weakens backing adhesives.
Maintain With Regular Care
Consistent maintenance extends life significantly.
* Dust weekly with a soft cloth.
* Clean monthly with a mild cleaner.
* Condition every 6–12 months to maintain flexibility.
Longevity Tip: High-quality vinyl combined with conditioning can last 10+ years.
Know When to Replace

Sometimes repair is not worth the effort or cost involved. You should consider replacement if the frame is cracked or warped. Mold penetration into the foam or backing also necessitates discarding the piece. However for most cases especially with sentimental furniture repairing a vinyl headboard saves 70–90% of replacement costs.
Frequently Asked Questions About Vinyl Headboard Repair
Can I repair a peeling vinyl headboard without reupholstering?
Yes you can fix minor to moderate peeling using self-adhesive patches or leather filler. These methods work well when the damage is localized and the backing remains intact.
What is the best adhesive for vinyl headboard repairs?
E6000 and flexible Gorilla Glue are the top choices for custom patches. Self-adhesive vinyl patches are also excellent for quick fixes without curing time.
How do I stop my vinyl headboard from peeling further?
Clean the area with alcohol apply a flexible filler if needed and seal with a vinyl protectant. Keep the headboard out of direct sunlight and condition it every 6 months.
Is it better to patch or reupholster a cracked headboard?
Patch small cracks or isolated flaking areas to save time and money. Choose full reupholstery if the cracking is widespread or the material is falling off in large sections.
How long does a vinyl headboard repair last?
A proper patch or filler repair can last several years with regular conditioning. Full reupholstery with high-quality fabric can restore the headboard for 10 years or more.
Key Takeaways for Fixing Your Vinyl Headboard
Repairing a vinyl headboard is a cost-effective solution that restores both appearance and function to your bedroom. Whether you choose a quick patch filler application or full reupholstery proper preparation and quality materials are essential for success.
Start by assessing the damage level to select the right method and always clean surfaces thoroughly before applying any product. Take action today to fix your peeling headboard and extend the life of your furniture significantly.



