
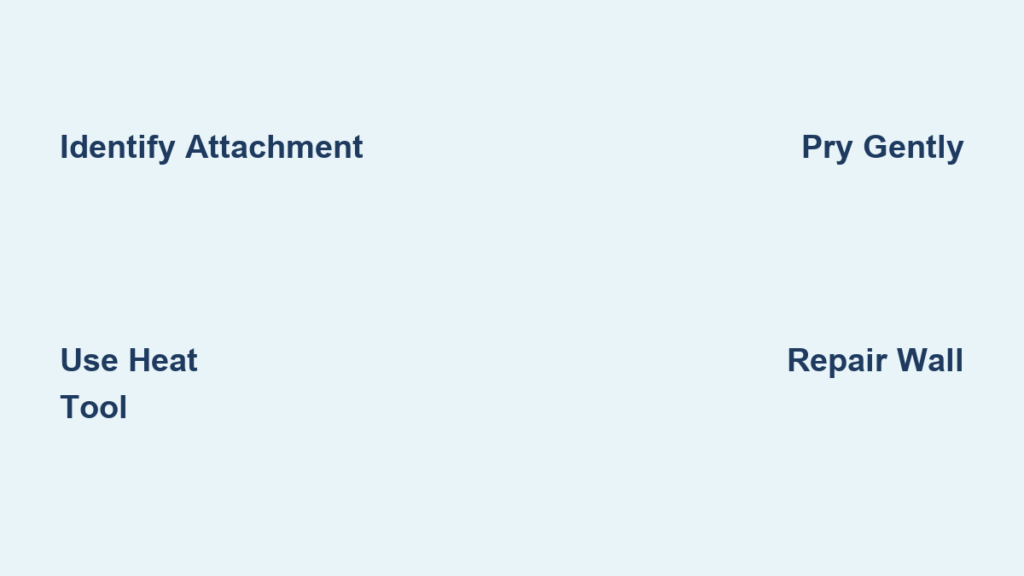
You have decided to refresh your bedroom or prepare for a move, but now you face a wall-mounted headboard that refuses to budge. Trying to force it off can ruin your drywall or destroy the furniture if you do not know how to remove headboard from wall correctly.
This guide shows you exactly how to identify hidden screws, break adhesive bonds with heat, and detach heavy brackets without causing harm. You will learn the specific tools needed and the step-by-step methods to complete this task safely and efficiently.
Identify Your Headboard Attachment Method
You must determine how your unit is secured before applying any force. Using the wrong technique can crack drywall or snap wooden frames instantly.
Check for Hidden Screws Under Buttons
Many tufted headboards hide fasteners beneath decorative elements.
* Gently twist cloth-covered buttons to see if they unscrew like caps.
* Pull back fabric ruffles or trim along the bottom edge to reveal screw heads.
* Inspect the center panel closely, as this is a common spot for primary fasteners.
Use a flashlight to look deep into seams. If you see metal threads, you are dealing with mechanical fasteners.
Test for Adhesive or Tape Bonds
Some modern designs and RV units rely entirely on glue.
* Look for double-sided mounting tape often used in mobile homes.
* Check for silicone or construction adhesive creating a seamless floating look.
* Insert a putty knife gently under the bottom corner to feel for sticky resistance.
If the unit feels stuck with an elastic pull rather than a solid lock, adhesive is likely the culprit.
Locate Mounting Brackets and Cleats
Heavy units often use specialized hardware for support.
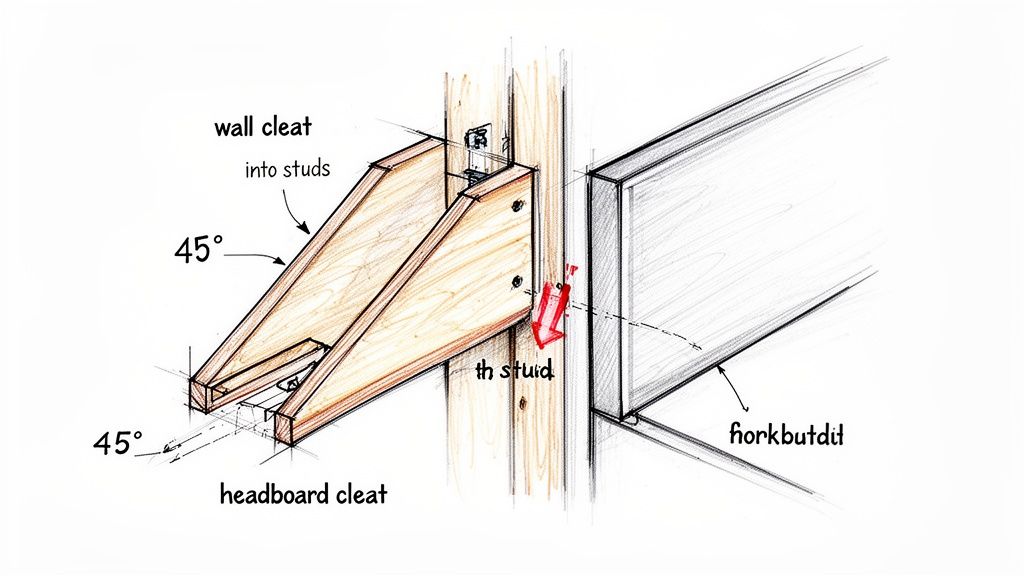
* French cleats require lifting the unit upward to disengage interlocking strips.
* L-brackets anchor the headboard directly into wall studs.
* Vertical slots allow the unit to slide down into place and need an upward yank to remove.
Run a stud finder behind the unit to locate structural anchors before pulling.
Gather Essential Tools for Removal
Having the right equipment prevents accidental damage to your walls and furniture.
Inspection and Detection Gear
You need to see what is hidden behind the unit.
* Flashlight: Illuminates dark gaps behind the headboard edges.
* Stud finder: Locates wooden studs where heavy brackets are anchored.
* Phone camera: Takes close-up photos of tight spaces for later reference.
Fastener Removal Tools
Select the correct driver for your specific screws.
* Screwdrivers: Bring both Phillips and flat-head varieties in multiple sizes.
* Socket wrench set: Essential for larger bolts found in heavy-duty installations.
* Penetrating oil: Use WD-40 to loosen rusted or stuck screws before turning.
Prying and Heating Equipment
These tools help separate adhered units safely.
* Plastic trim removal tool: Separates glued units without gouging drywall.
* Metal putty knife: Slides under edges to break tough adhesive seals.
* Heat gun or hair dryer: Softens tape and silicone for easier removal.
Always wear gloves and lay down drop cloths to protect your flooring during the process.
Remove Mechanically Fastened Headboards
Most residential units use screws or bolts that require specific removal steps.
Expose All Concealed Fasteners
Start by uncovering every screw holding the unit in place.
1. Unscrew any fabric buttons that act as caps for underlying bolts.
2. Peel back decorative flaps or ruffles along the perimeter.
3. Check top and side seams for small access holes or removable panels.
Take photos as you work to help with reassembly if you plan to reinstall the unit later.
Loosen Screws Gradually and Safely
Do not remove all screws at once if the headboard is heavy.
* Loosen each screw slightly before returning to remove them fully.
* Have a helper support the weight of the unit while you work.
* Apply penetrating oil to stripped screws and wait five minutes before trying again.
Using a rubber band between the screw head and driver can provide extra grip for stubborn fasteners.
Disengage Specific Mounting Systems
The final removal motion depends on your hardware type.
* French Cleats: Apply firm upward pressure to slide the headboard off the wall cleat.
* Vertical Slots: Lift the unit straight up to dislodge legs from the track.
* L-Brackets: Unscrew both sides while a helper holds the unit to prevent tipping.
Never pull outward on cleat systems as this can damage the wall surface.
Detach Adhesive-Bonded Headboards Safely
Forced pulling causes massive damage when glue or tape holds the unit.
Apply Heat to Soften the Bond
Set your heat gun or hair dryer to a medium setting.
* Warm the bottom edge first since gravity helps with separation.
* Move the heat source in slow circles over a six-inch section for 20 to 30 seconds.
* Avoid overheating vinyl or fabric surfaces to prevent melting or scorching.
Keep the heat tool moving constantly to protect the wall and headboard material.
Insert Tools to Break the Seal
Once the adhesive is warm, begin separating the unit.
1. Slide a plastic trim tool or putty knife behind the warmed edge.
2. Gently twist or push to create a small initial gap.
3. Work the tool sideways to extend the opening along the wall.
Never use metal pry bars on adhesive-bonded units because they tear drywall easily.
Work Progressively Across the Surface
Continue the process in small, manageable sections.
* Move from the bottom to the top or side to side while maintaining control.
* Reapply heat immediately if the adhesive hardens or resistance increases.
* Have a helper support the weight as the bond weakens to prevent dropping.
Pull the headboard straight away from the wall once most of the bond is broken.
Handle Complex or Unknown Installations
Older homes and custom RV builds often have obscure mounting methods.
Investigate Center and Bottom Panels
Look for non-obvious entry points to find hidden hardware.
* Remove center buttons to expose main structural screws.
* Check bottom edge caps for removable plastic or wood covers.
* Probe behind ruffles with a thin tool to feel for screw heads.
Assume a combination of screws and adhesive if the method is not immediately clear.
Avoid Force Until Confirmed
Aggressive yanking can cause catastrophic damage to your wall.
* You might punch through hollow RV walls or damage internal wiring.
* Drywall anchors can crack and create large holes if pulled incorrectly.
* Internal insulation may get torn if the wall structure is compromised.
Stop immediately if you feel unusual resistance and re-evaluate the attachment points.
Consult Professionals if Needed
Hire an expert for bespoke, heavy, or high-value units.
* Furniture movers often have experience with complex disassembly.
* RV technicians can access build sheets revealing hidden hardware specs.
Professional help is cheaper than repairing a destroyed wall or ruined headboard.
Repair Walls After Headboard Removal

Address wall damage immediately after removing the unit for a clean finish.
Remove Adhesive Residue Completely
Leftover tape or silicone must be cleared before patching.
* Scrape gently with a plastic putty knife to remove bulk material.
* Use heat again to soften stubborn residue for easier removal.
* Clean the area with rubbing alcohol or adhesive remover after testing a small spot.
Ensure the surface is completely smooth before applying any filler.
Fill Holes and Patch Damage
Repair the wall based on the severity of the damage.
* Screw holes: Apply spackle or wood filler with a putty knife and sand smooth when dry.
* Large gaps: Cut away loose paper, apply joint compound in layers, and feather the edges.
* Torn drywall: Replace damaged sections entirely if the hole is too large for filler.
Sand between coats of joint compound to achieve a seamless blend with the surrounding wall.
Match Paint or Wall Covering
Finishing the repair requires matching the existing surface.
* Use leftover paint or take a chip to a hardware store for color matching.
* Consider painting the entire wall if touch-ups are visible on faded surfaces.
* Install decorative panels or shelves to cover imperfections if painting is not an option.
Framing the area with art can distract the eye if the paint match is not perfect.
Special Tips for RV and Mobile Homes
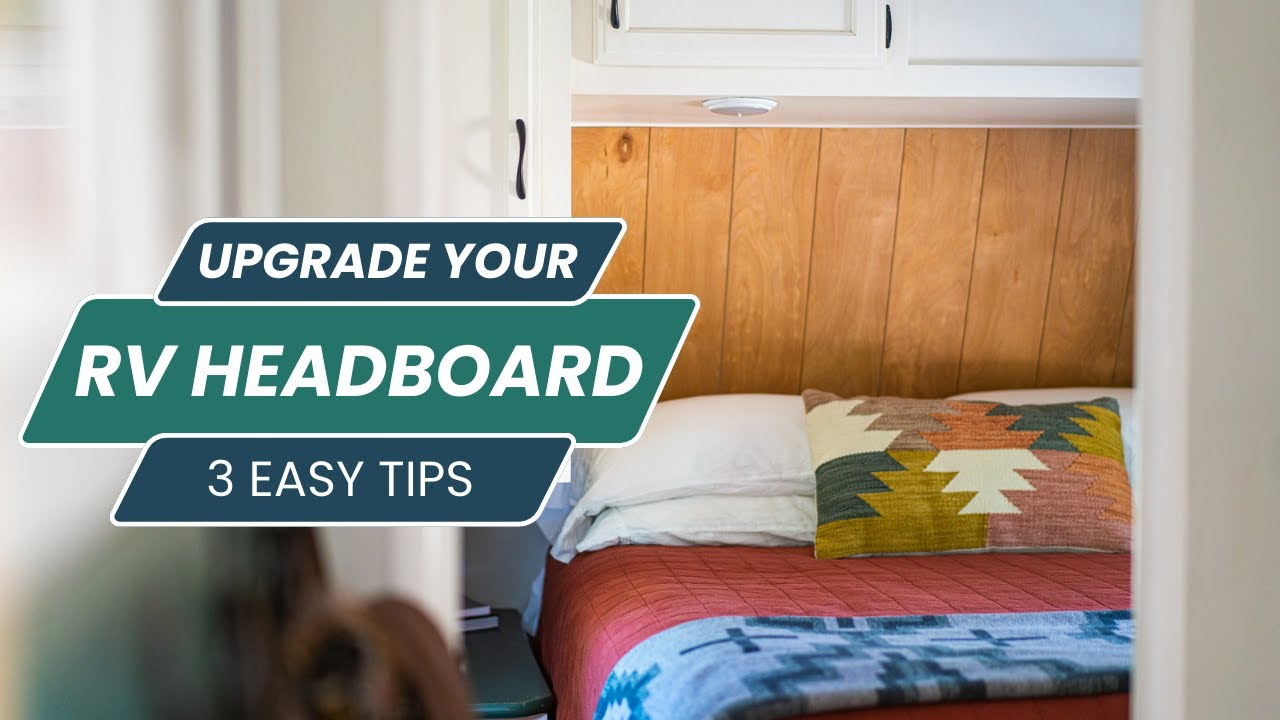
RV headboards pose unique challenges due to lightweight walls and curved surfaces.
Watch for Wall Integrity Issues
RV walls are thin composite or laminated panels that damage easily.
* Excessive prying can puncture the surface or damage internal wiring.
* Always use plastic tools and apply even, gentle pressure during removal.
* Expect less structural support compared to residential drywall.
Protect the thin wall material at every step of the process.
Expect Model-Year Variability
Manufacturers change mounting methods frequently between years.
* A 2007 model might use screws hidden under buttons.
* A 2015 model could be fully taped with no mechanical fasteners.
* Always inspect your specific unit rather than assuming based on the year.
Do not rely on general rules when working with specific RV brands like Newmar or Winnie.
Upgrade to Modular Headboards
Many owners replace old glued units with better alternatives.
* Modular cushioned pads install one at a time for easy maintenance.
* Magnetic or hook-and-loop systems allow for simple future removal.
* These upgrades offer better comfort and flexibility for mobile living.
Consider this upgrade if you want to avoid difficult removals in the future.
Frequently Asked Questions About Removing Headboards
Can I remove a headboard without damaging the wall?
Yes, if you identify the attachment method first and use the correct tools. Mechanical fasteners require careful unscrewing, while adhesive bonds need heat and plastic tools to separate gently without tearing drywall.
What tool is best for removing adhesive headboards?
A heat gun or hair dryer combined with a plastic trim removal tool works best. The heat softens the glue or tape, and the plastic tool breaks the seal without gouging the wall surface.
How do I find hidden screws on a tufted headboard?
Check under cloth-covered buttons, behind fabric ruffles, and along the bottom trim. These decorative elements often act as caps covering the actual screw heads holding the unit to the wall.
Is it safe to remove an RV headboard alone?
It is risky due to thin walls and awkward angles. Having a helper support the weight while you work prevents accidental drops and allows you to focus on gentle removal techniques.
What should I do if the screw is stripped during removal?
Apply penetrating oil like WD-40 and wait five minutes. Try using a rubber band between the screw head and driver for extra grip, or switch to a slightly larger screwdriver tip.
How do I fix the wall after removing the headboard?
Scrape off any adhesive residue, fill screw holes with spackle, and sand the area smooth. Paint over the patch to match the surrounding wall or install a decorative element to cover the spot.
Key Takeaways for Removing Your Headboard Safely
Successfully learning how to remove headboard from wall depends on patience and proper identification of the mounting system. Whether you are dealing with hidden screws under buttons or stubborn adhesive bonds, using the right tools like heat guns and plastic pry bars prevents costly damage to your walls.
Always start with a thorough inspection and never apply force until you are certain of the attachment method. Gather your tools, enlist a helper for heavy units, and follow the specific steps for your installation type to ensure a clean and safe removal process.



