
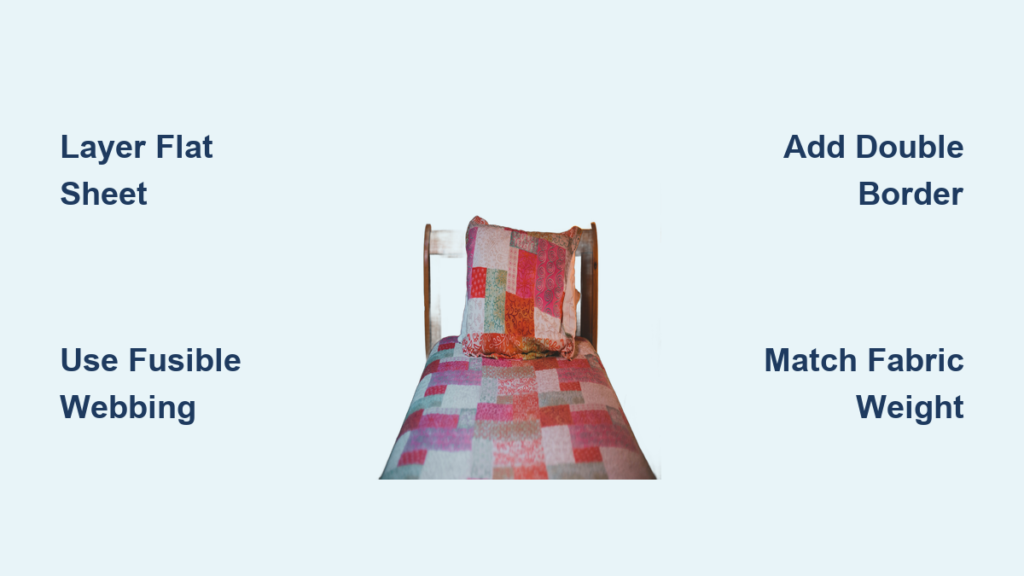
Your favorite quilt looks perfect until you pull it over a thick mattress, revealing awkward gaps where the fabric falls short. This common issue occurs because modern beds are deeper than older models, leaving many standard bedspreads unable to reach the floor. You do not need to buy new bedding to solve this problem.
You can make a bedspread larger using simple no-sew hacks or permanent sewing techniques that add inches of coverage. This guide details every method from layering flat sheets for instant length to constructing double-layered borders with batting. You will learn how to match fabrics, choose the right tools, and execute a fix that looks intentional and professional.
Instant No-Sew Fixes to Extend Bedspread Length

Renters and those avoiding permanent changes can use layering or adhesive methods to gain immediate coverage. These solutions require zero sewing skills and deliver results in under an hour.
Layer a Flat Sheet for Quick Coverage
Drape a matching flat sheet across the foot and sides of your bed to bridge the gap. Fold the sheet lengthwise or in thirds and position it over the bottom section of your existing bedspread.
- Select a solid color or subtle print that complements your current comforter.
- Use a fitted sheet folded in half for a denser and more structured appearance.
- Tuck the top edge slightly under the main bedspread to secure the layer.
This technique adds 8 to 12 inches of coverage and creates a modern layered aesthetic. It works perfectly for guest rooms or temporary seasonal updates.
Apply Fusible Webbing for Permanent Edges
Fusible webbing acts as an iron-on adhesive that bonds fabric strips to your bedspread without stitching. This method creates a washable and durable extension suitable for cotton quilts.
- Cut a fabric strip from an old sheet or matching material to be 7 inches wide.
- Iron the fusible webbing onto the wrong side of your new fabric strip.
- Position the strip along the short edge of the bedspread where you need length.
- Press with a hot iron for 10 to 15 seconds per section to activate the bond.
Repeat this process on all sides or just where coverage is lacking. The bond remains strong through multiple wash cycles.
Use Liquid Stitch for Flexible Seams
Liquid Stitch and similar fabric glues create strong flexible seams without a needle. Apply this adhesive to attach wider borders or corner patches to lightweight quilts.
- Apply glue in zigzag lines along the edge of the bedspread.
- Press the new fabric firmly into place and weigh it down with heavy books.
- Let the glue dry overnight before using the bed.
This method works best for lightweight cotton bedspreads. Avoid using heavy glues on thick comforters with dense batting as the bond may struggle under the weight.
Attach Removable Borders with Velcro
Sticky-back Velcro allows you to create detachable extensions for heirloom or dry-clean-only quilts. This approach lets you remove the extra fabric before cleaning the main piece.
- Cut fabric strips to your desired length and hem the outer edges.
- Apply one side of the Velcro strip to the edge of the bedspread.
- Attach the opposite Velcro strip to the extension fabric.
- Snap the pieces together when dressing the bed.
You can easily remove these extensions for washing or style changes. This method is ideal for seasonal rotations or preserving delicate fabrics.
Sewn Border Methods to Make a Bedspread Larger
Sewing a border provides a permanent integrated solution that adds warmth and structure. These methods require basic sewing skills but yield professional results that last for years.
Construct a Double-Layered Border with Batting
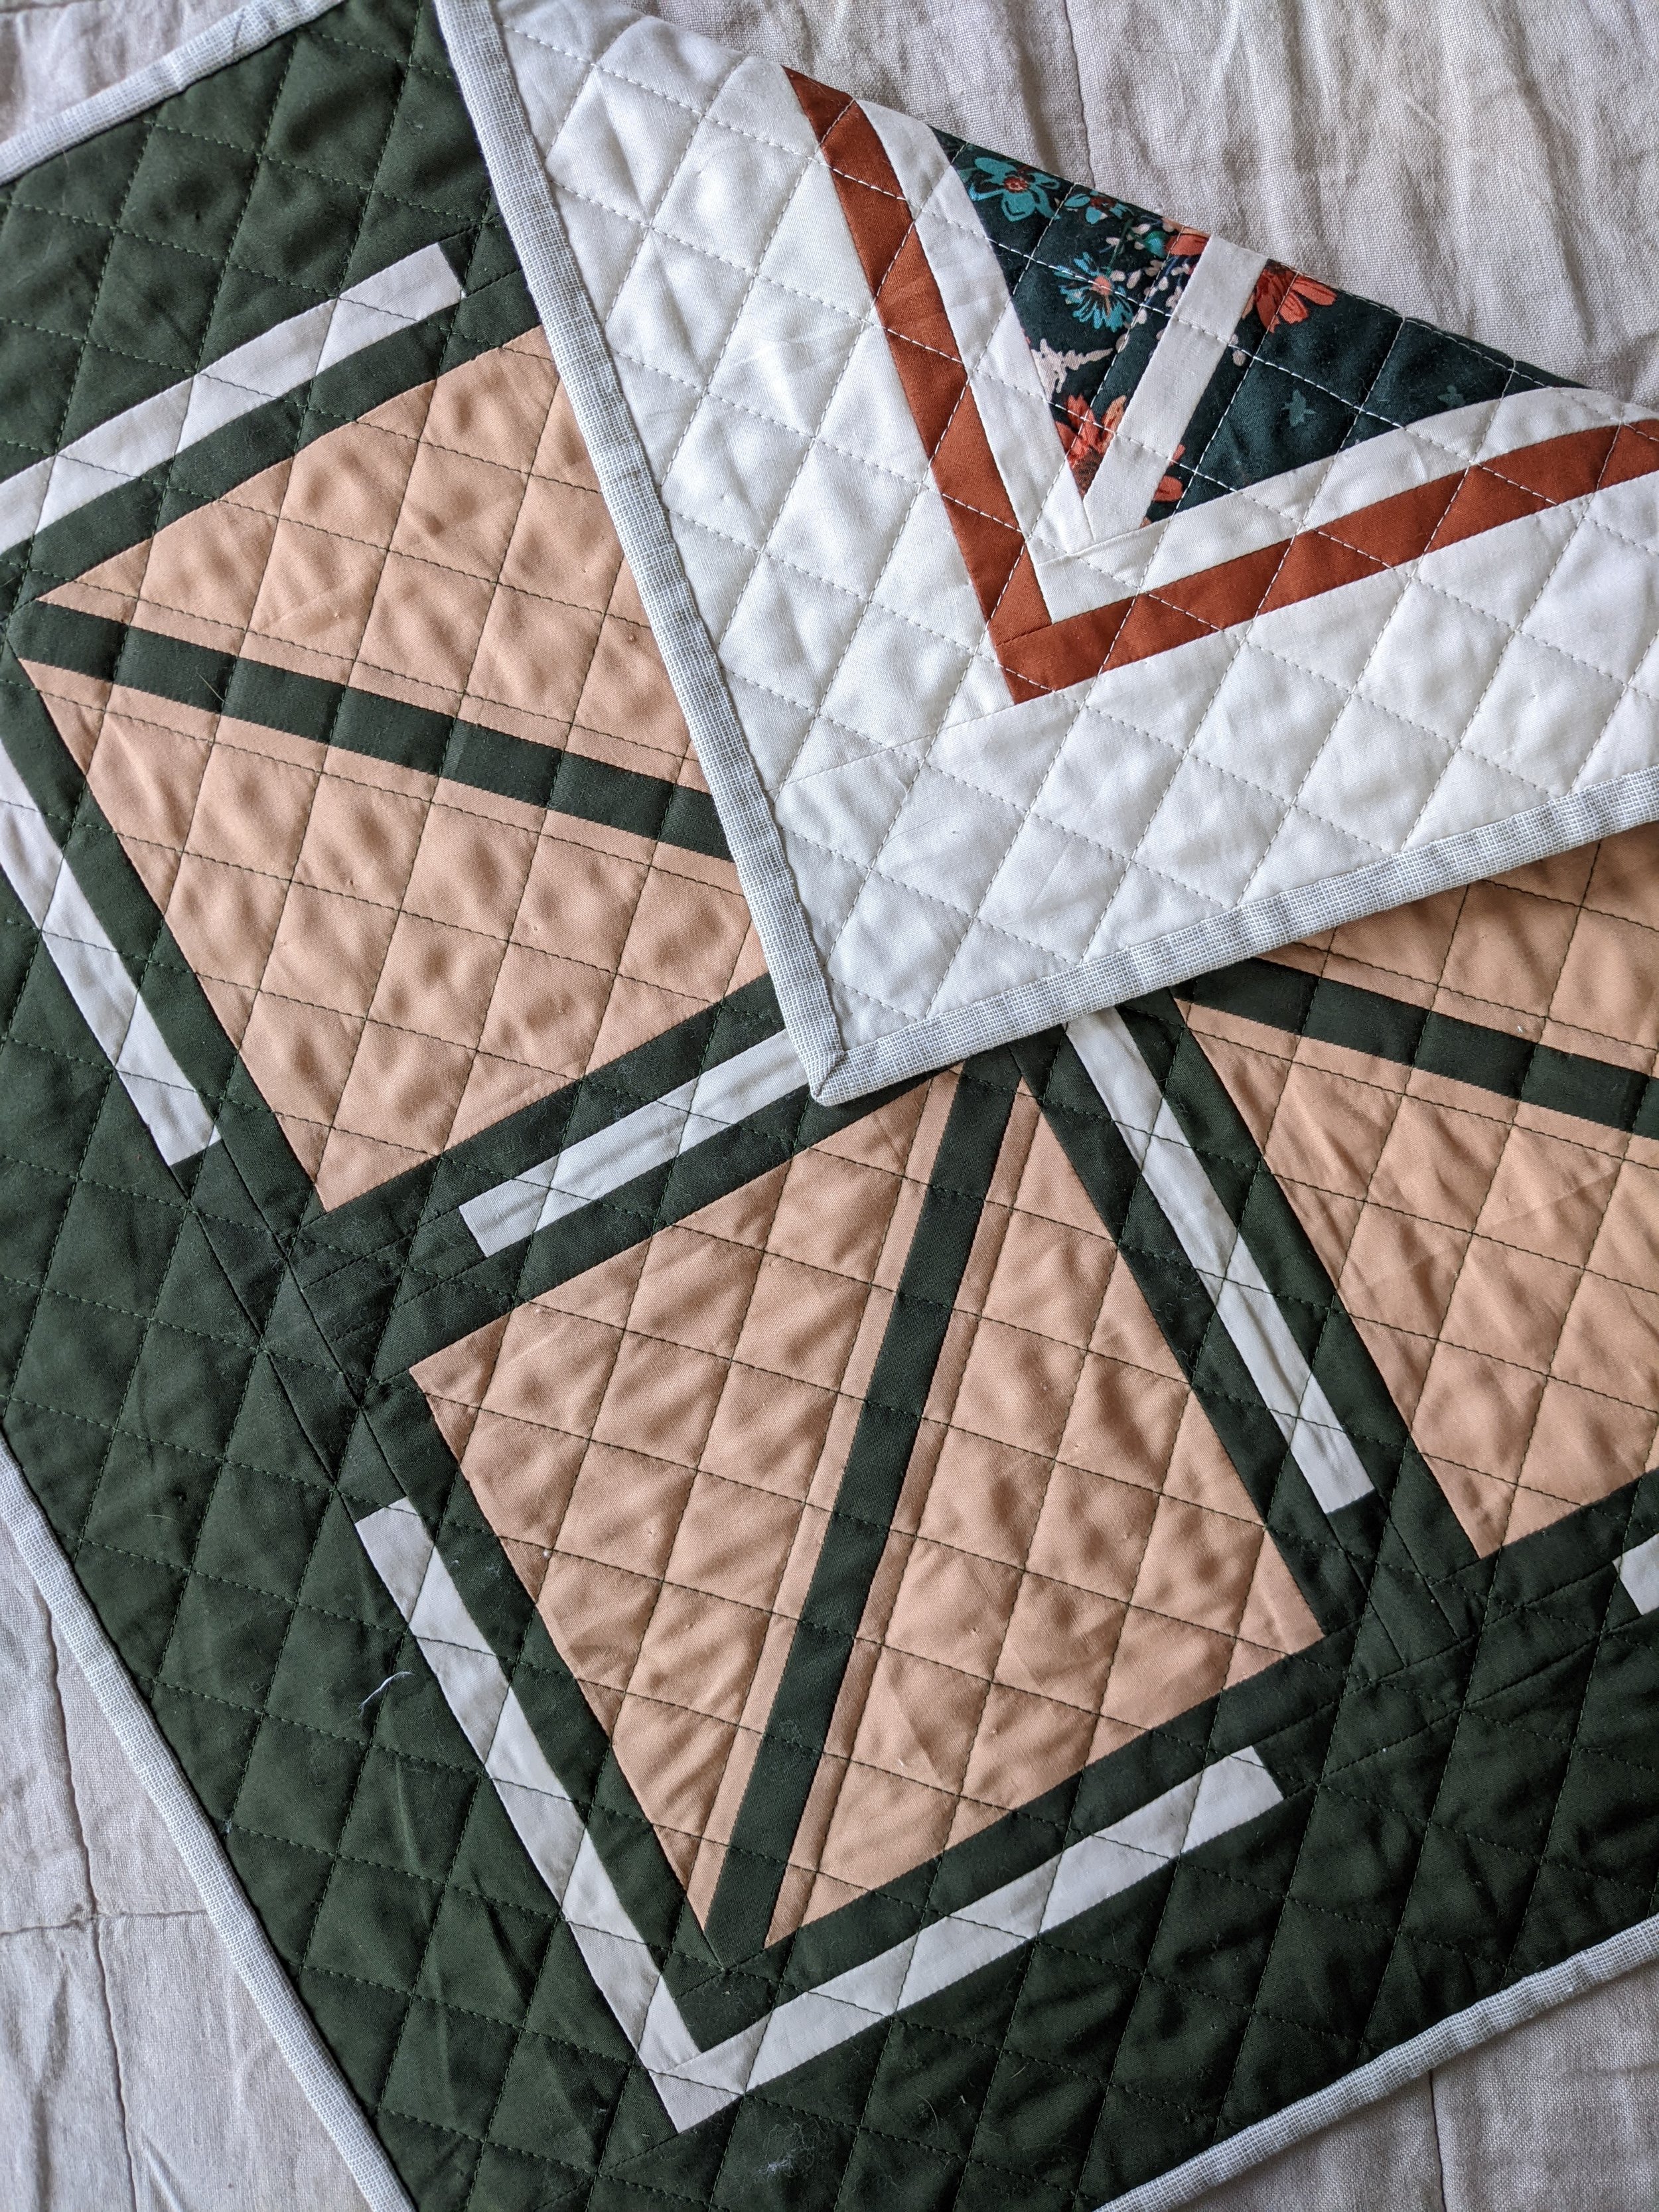
This technique adds a padded border that matches the original thickness of your quilt while preserving the existing binding. It is the most effective way to make a bedspread larger without dismantling the whole piece.
Materials Needed:
* 2 yards of matching or coordinating fabric
* Muslin cut into 7-inch strips
* Cotton batting cut into 6-inch wide strips
* Black thread for the top and off-white thread for the bobbin
Steps:
1. Cut border fabric and muslin into 7-inch wide strips and sew them right sides together.
2. Turn the tube right side out and press it flat to create a double layer.
3. Insert the 6-inch wide batting into the tube to prevent bulk at inner seams.
4. Quilt every 5 inches with straight lines to secure the layers.
5. Pin the finished border to the bedspread edge aligning raw edges.
6. Sew with a half-inch seam using black thread on top.
7. Topstitch for reinforcement and a clean finish.
The result is a 4-inch drop extension with a professional appearance. A queen quilt resized this way can reach dimensions like 94 by 84 inches. The double layer mimics original quilt thickness while the batting adds necessary warmth.
Add a Single-Layer Fabric Extension
Beginners can add a single layer of solid fabric directly to the existing binding for a simpler fix. This method hides minor alignment flaws and looks like an intentional design choice.
- Hem the outer edge of your extension fabric before starting.
- Cut strips 6 inches wider than needed to include seam allowances.
- Align the new fabric with the center of the original binding.
- Sew in place leaving a thin strip of the old binding visible on top.
Solid colors or small-scale prints work best for this method. The visible sliver of original binding creates a piped edge effect that elevates the look.
Reconstruct the Quilt by Removing Binding
Advanced crafters can remove the original binding entirely to rebuild the perimeter with new blocks. This labor-intensive process offers invisible integration for heirloom pieces.
- Carefully unpick all existing binding from the four sides.
- Extend the batting by zigzagging new pieces to the edge.
- Sew new quilt blocks or wide borders to the top and backing.
- Re-layer the quilt and apply entirely new binding.
This process takes 6 to 10 hours for a queen size and requires precise pattern matching. It is best reserved for quilts where aesthetics are critical and other methods will not suffice.
Create Asymmetric Additions for Targeted Fit
Add fabric asymmetrically if only one side or the foot of the bed lacks coverage. This smart approach saves time and materials when the width is sufficient but length is short.
- Rip an old sheet into 6-inch wide strips.
- Sew or glue these strips only to the foot edge of a double bed quilt.
- Rotate the quilt sideways and add side extensions to compensate for length issues.
This method solves specific fit problems without altering the entire perimeter. It is perfect for quilts that are wide enough but simply too short.
Material Selection Tips for Seamless Blends

Choosing the right materials ensures your extended bedspread looks unified rather than patched. Proper selection prevents sagging and maintains the original drape.
Match Fabric Weight and Drape
Use fabric with similar thickness to your original piece to ensure consistent hanging. Lightweight cotton will not support a heavy quilt while thick denim will distort a delicate coverlet.
- Source old sheets or thrifted bedding for compatible weights.
- Hold potential fabric next to the bedspread to test the swing rate.
- Look for remnant fabric from the same collection for perfect matches.
If the fabric swings at the same rate as the original it is a good match. Mismatched weights cause uneven wear and an unprofessional appearance.
Use Consistent Batting Weight
Match the original batting weight when adding padded borders to prevent uneven loft. Mixing light and heavy batting creates visible steps in the finished product.
- Piece small batting scraps together with a wide zigzag stitch for stability.
- Ensure the new batting matches the ounces per square inch of the old.
- Avoid overlapping thick batting at seams to reduce bulk.
Consistent batting ensures the border feels and looks like part of the original design.
Select Thread Strategically
Use black thread on top and off-white in the bobbin to hide stitches on both sides. This combination blends dark thread into most tops while light bobbin thread disappears on light backs.
- This strategy minimizes visible stitching on the reverse side.
- It creates a balanced appearance regardless of fabric color.
- It is essential for the double-layered border method.
Proper thread selection makes the difference between a homemade look and a professional finish.
Measure and Test Before You Cut
Avoid costly mistakes by visualizing the final look and testing the fit before cutting any fabric. Smart planning ensures your extension proportions are correct.
Visualize the Final Look
Lay the bedspread flat and place potential border fabrics beside it to check the aesthetic. Fold the fabric to the intended width and step back to see if it looks balanced.
- Borders should be proportional with 4 to 6 inch additions working for most beds.
- Avoid overly wide strips over 8 inches unless the original quilt is very large.
- Ensure the color and pattern complement rather than compete with the original.
A quick visual test prevents regrettable design choices before you commit to sewing.
Fit-Test on the Actual Bed
Place the bedspread on the mattress with your topper and ruffle before sewing any extensions. Mark where the fabric should end with tape to determine the exact gap.
- Measure the gap to find your required extension length.
- Account for the weight of the fabric pulling down slightly.
- Check all four sides as beds are not always perfectly symmetrical.
Measuring on the actual bed accounts for mattress depth and bedding layers.
Account for Seam Allowances
Calculate fabric size by adding extra inches for seams and overlaps. Failing to include these measurements results in a border that is too short.
- Add 1 inch for seam allowance on each side.
- Add 1 inch for corner overlap if mitering.
- Cut border fabric 6 inches wide to add 4 inches of visible drop.
Precise calculations ensure the final dimensions match your target size exactly.
Real Problems and Proven Fixes
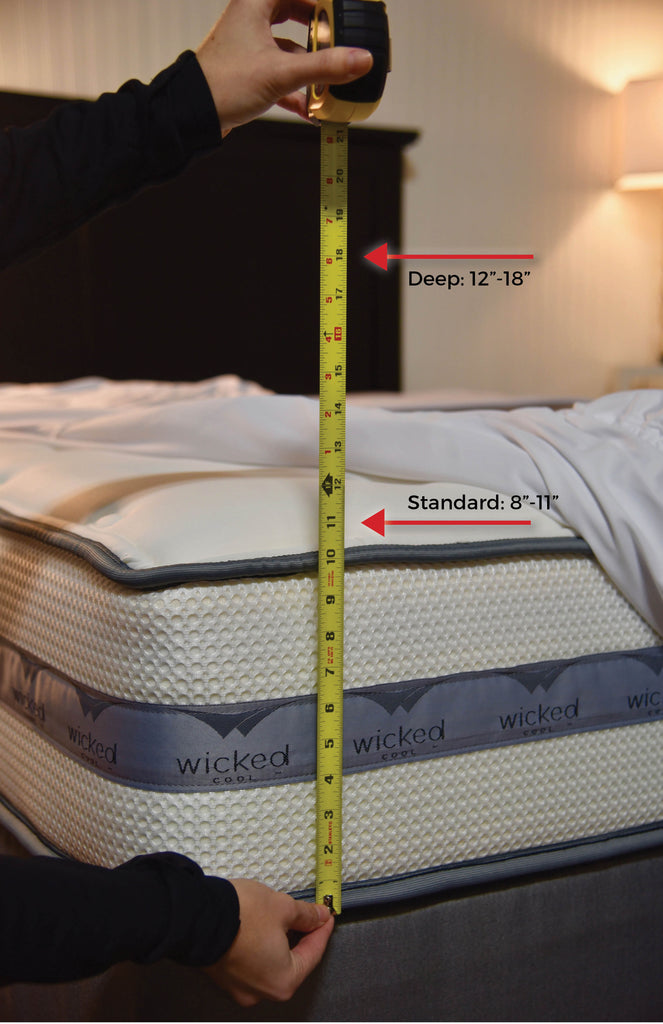
Common sizing issues have specific solutions based on real user experiences. Understanding these scenarios helps you choose the right repair strategy.
Quilt Does Not Cover the Mattress
Modern mattresses are 12 to 16 inches deep while older quilts were made for 8 to 10 inch beds. This depth difference causes coverage gaps that ruin the look of the room.
Fix: Add 4 to 6 inch borders using the double-layer method. This extends coverage without looking bulky or disproportionate.
Quilt Made in One Location for Another Bed
Users often sew a quilt in one place for a bed in another location without measuring first. This geographical mismatch frequently results in a quilt that falls short by several inches.
Solution: Add a 6-inch solid fabric border to compensate for the missing length. The result looks intentional and tailored to the specific bed.
Need for Washable and Durable Fixes
Some users require a solution that withstands regular machine washing without falling apart. Durability is key for primary bedrooms and daily use.
Best method: Use a double-layered border with batting and straight-line quilting. This construction adds edge reinforcement and holds up well to washing.
Adhesive methods are also washable if you follow product instructions carefully.
Choose the Right Method for Your Skill Level
Select a technique based on your sewing ability and the value of the item you are fixing. Not every method suits every user or situation.
Non-Sewer or Renter Options
Use layering or Velcro attachments if you cannot sew or need reversible changes. These methods cause no damage to the bedding and allow for style rotation.
- No sewing machine or skills required.
- Change styles seasonally with ease.
- Ideal for rental properties or borrowed items.
Beginner Sewer Techniques
Try single-layer fabric extension if you can sew a straight line. This simple approach hides imperfections and looks like a deliberate design choice.
- Requires only basic straight seams.
- Works well with solid colors.
- Provides a permanent fix with low difficulty.
Intermediate Quilter Projects
Go for a double-layered border with batting if you want warmth and structure. This method preserves the original binding and offers a professional finish.
- Adds significant warmth to the edges.
- Maintains structural integrity of the quilt.
- Requires moderate sewing skills and patience.
Advanced Crafter Challenges
Attempt full reconstruction with mitered corners if you need seamless integration. This highest skill level project allows for perfect pattern matching.
- Delivers undetectable additions.
- Requires significant time and precision.
- Best for heirloom quilts needing restoration.
Budget-Conscious Solutions
Repurpose old sheets or thrifted bed skirts to keep costs low. A single twin sheet can yield over 40 inches of 6-inch border strips.
- Utilize existing household linens.
- Thrifted bed skirts offer pre-hemmed deep fabric.
- Minimizes new material purchases.
Maintenance and Longevity of Extended Bedspreads
An extended bedspread can last for years with proper care and maintenance. Following specific washing and durability tips ensures your hard work remains intact.
Washing Tips for Extended Quilts
Machine wash your resized bedspread on cold with a gentle cycle to protect the new seams. Tumble dry on low heat or air dry to prevent shrinking or adhesive failure.
- Double-layer borders hold up well to standard washing.
- Adhesive bonds remain secure when following temperature guidelines.
- Avoid high heat which can weaken glue or shrink fabric unevenly.
Durability Boosters for Long-Term Use
Topstitch borders for extra strength and use wide zigzag stitches to join batting scraps. These small steps prevent tearing and separation over time.
- Reinforce corners with back-and-forth stitching.
- Check adhesive bonds periodically for signs of wear.
- Repair loose threads immediately to prevent unraveling.
Proper reinforcement extends the life of your modified bedspread significantly.
Reversibility Considerations
Stick to non-sew methods if you need to reverse the changes later. Layered sheets and Velcro borders offer full reversibility for temporary needs.
- Remove layered sheets anytime for a different look.
- Detach Velcro borders before cleaning dry-clean-only items.
- Avoid permanent glue on valuable or antique textiles.
Choose your method based on whether you need a permanent or temporary solution.
Frequently Asked Questions About Making Bedspreads Larger
Can I make a bedspread larger without sewing?
Yes, you can use layering techniques with flat sheets or lightweight blankets to add instant length. Adhesive options like fusible webbing and Liquid Stitch also provide permanent bonds without a needle.
What fabric works best for extending a bedspread?
Choose fabric with a similar weight and drape to your original quilt to ensure a consistent look. Old sheets, thrifted bedding, or clearance fabric from the same collection are excellent choices.
How much extra fabric do I need to add for a proper fit?
Most modern mattresses require an additional 4 to 6 inches of drop to cover the sides and foot properly. Measure the gap on your specific bed to determine the exact amount needed.
Will adding a border ruin the look of my quilt?
No, if you match fabrics and use techniques like the double-layered border, the addition can look intentional and professional. Careful planning and testing ensure the extension blends seamlessly.
Is fusible webbing durable enough for regular washing?
Yes, fusible webbing creates a washable and strong bond when applied correctly with heat. It is a reliable alternative to sewing for cotton fabrics and lightweight quilts.
How do I prevent bulk when adding batting to borders?
Cut the batting slightly narrower than the fabric strips to prevent overlap at the inner seams. Using a wide zigzag stitch to piece batting scraps also reduces thickness.
Key Takeaways for Making Your Bedspread Larger
You do not need to replace a beloved bedspread just because it is too short for your current bed. From quick no-sew tricks using sheets to expert-level reconstructions with batting, making a bedspread larger is achievable at every skill level. Focus on matching material weights, testing the fit on your actual bed, and choosing a method that suits your lifestyle.
Your updated bedspread will look intentional, luxurious, and perfectly tailored with the right approach. Start by measuring your gap and selecting the technique that fits your tools and time availability today.



