

A loose headboard ruins sleep and damages walls, so learning how to stick headboard to wall properly is essential for safety. Many homeowners skip critical steps like finding studs, leading to costly repairs or injuries from falling furniture.
This guide reveals the exact methods to mount heavy wood boards or lightweight panels without failure. You will discover specific techniques for drilling into studs, using hidden brackets, and safe no-drill alternatives for rentals.
Why Studs Are Mandatory for Headboard Safety
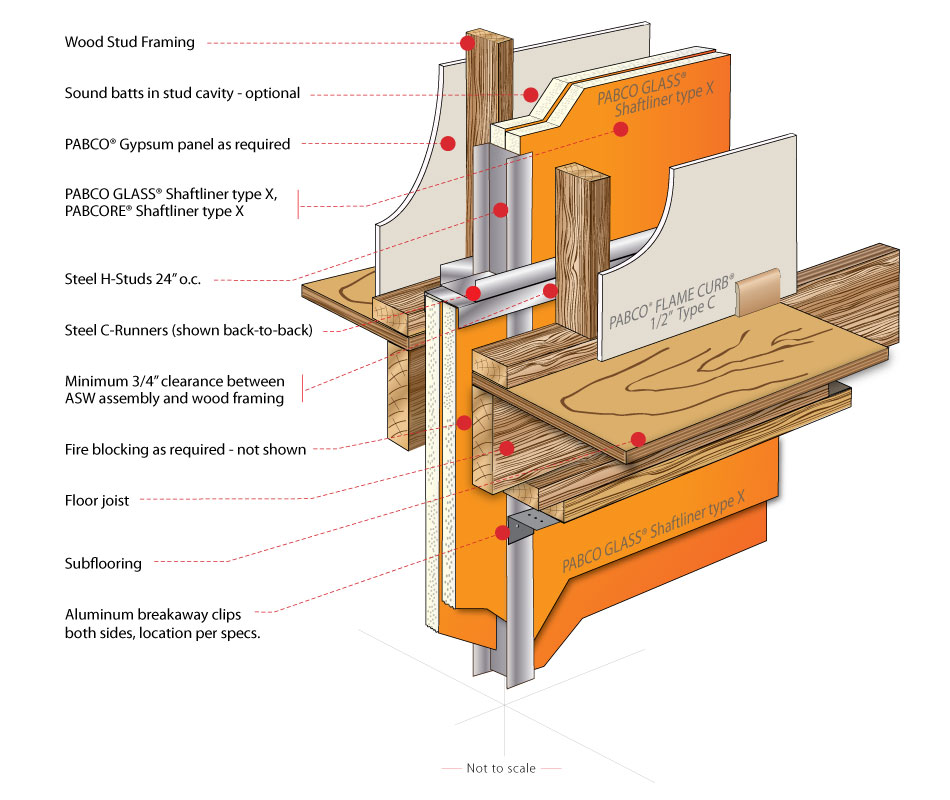
Drywall alone cannot support the dynamic weight of a person leaning against a bed. The gypsum core crumbles under pressure, causing screws to pull out and the headboard to crash down.
You must anchor all heavy mounting hardware directly into wooden or metal wall studs. These vertical framing members provide the structural integrity needed to hold significant weight over time.
How to Locate Studs Accurately
Finding the center of a stud is the most critical step in this entire process. Missing the center means your screw only grabs drywall, offering zero real support.
- Use an electronic stud finder to scan the wall horizontally.
- Mark the edges where the device signals a stud presence.
- Find the midpoint between your two marks for the center.
- Verify by knocking; a solid thud indicates wood behind the surface.
What If I Cannot Find Studs?
If your wall has metal studs or unusual spacing, you may need specialized toggles. However, these are generally inferior to wood stud connections for heavy loads.
Always aim to hit at least two separate studs to distribute the weight evenly across the wall. This prevents the headboard from tilting or pulling away from one side.
Select the Correct Mounting Method for Your Board
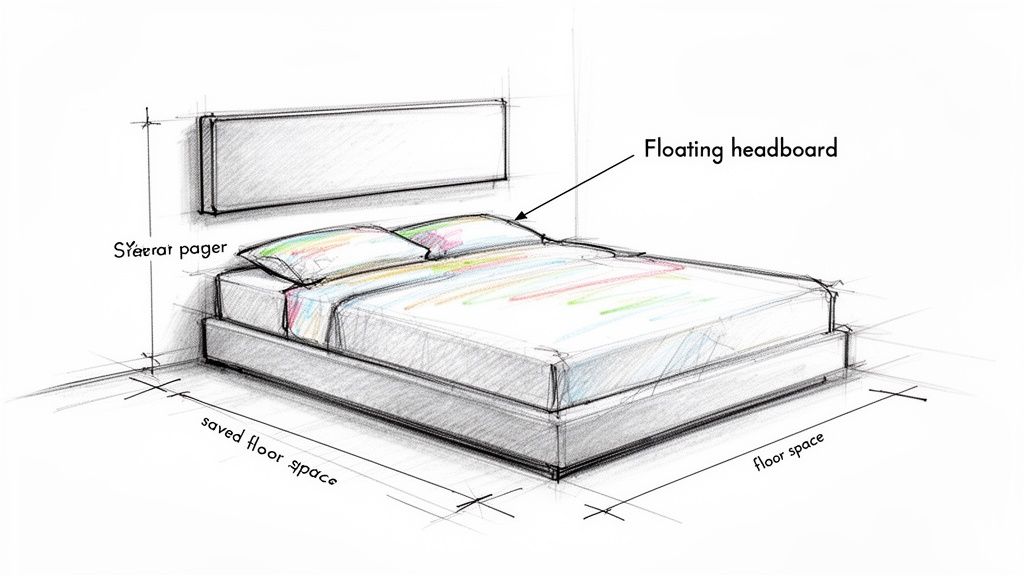
Not every headboard requires the same installation technique. Choosing the wrong system can lead to instability or visible hardware that ruins the aesthetic.
Evaluate your specific board type before buying screws or brackets. The material and weight dictate the necessary support structure.
Floating vs. Fixed Panel Installation
A floating headboard hangs slightly off the floor, creating a modern illusion of suspension. This style relies entirely on strong brackets anchored deep into studs.
Fixed panels cover a larger wall area and often distribute weight across multiple anchor points. Both styles look sleek but require precise leveling to avoid a crooked appearance.
Matching Hardware to Headboard Weight
Lightweight foam panels might survive with heavy-duty adhesives, but solid wood demands metal brackets. Using weak hardware for a heavy board is a recipe for disaster.
- Solid Wood: Requires lag bolts and L-brackets or a support beam.
- Upholstered Panels: Need French cleats or hidden rail systems.
- Lightweight Foam: Can use high-strength adhesive strips if under 15 pounds.
- Adjustable Models: Require articulated arms designed for movement.
Install Heavy Duty Brackets Into Studs
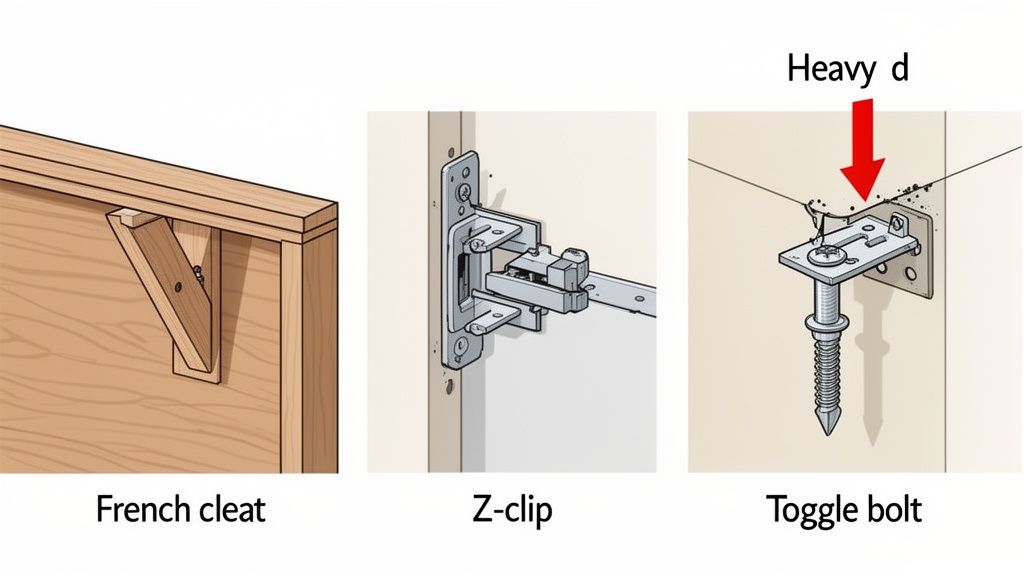
Metal brackets provide the most reliable support for permanent installations. They transfer the load from the headboard directly into the wall framing.
This method works best for standard floating designs and heavy wooden boards. Precision during the marking phase ensures the final result is straight and secure.
Step-by-Step Bracket Installation
Follow this sequence to ensure your brackets hold maximum weight without slipping.
- Hold the headboard against the wall at your desired height.
- Mark the top corners and use a spirit level to draw a straight line.
- Transfer bracket hole locations from the headboard to the wall line.
- Drill pilot holes directly into the center of your located studs.
- Secure brackets to the wall using 3-inch lag screws.
- Attach the headboard to the brackets with the provided hardware.
Choosing the Right Bracket Type
Select a bracket style that matches both the weight of your board and your visual preferences.
- L-Brackets: Best for basic support where hardware visibility is not an issue.
- French Cleats: Ideal for heavy wood boards as they interlock for superior strength.
- Hidden Mounts: Perfect for frameless designs where you want no visible hardware.
- Articulating Arms: Necessary if you need to tilt or pivot the headboard.
Build a Wooden Beam for Maximum Support
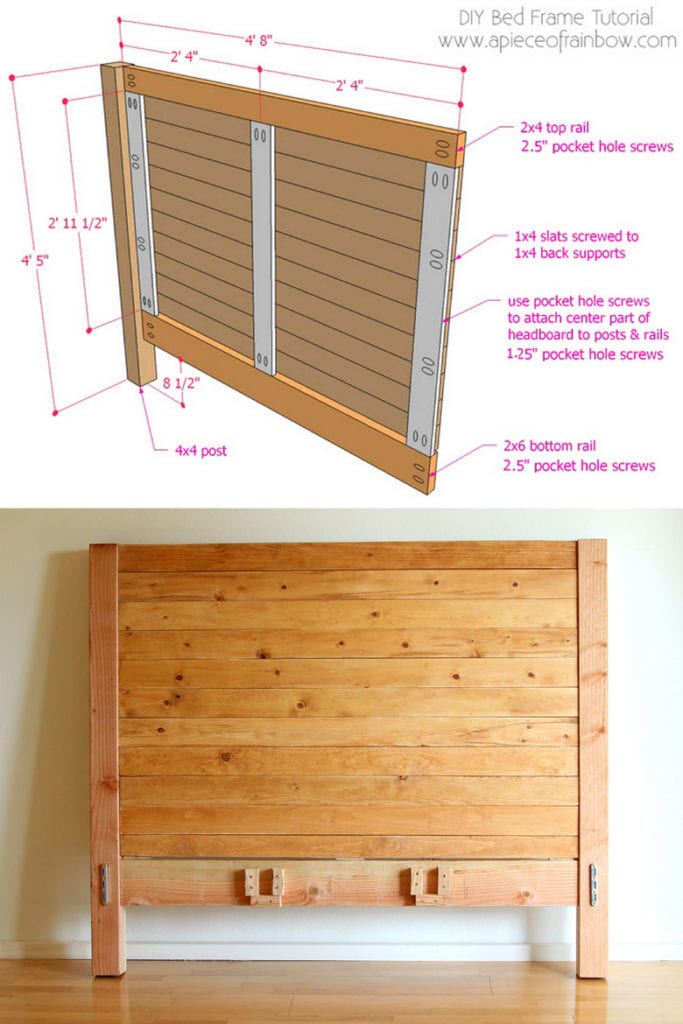
Heavy solid wood headboards often exceed the capacity of standard brackets. A horizontal wooden beam distributes the load across three or more studs for ultimate stability.
This approach mimics a built-in bed frame and prevents stress concentration on single points. It is the safest method for oversized or particularly dense materials.
Constructing the Support Beam
You will need a piece of 2×6 or 2×8 lumber cut to the width of your headboard.
- Cut the beam to match the exact width of your headboard.
- Position the beam horizontally at your desired headboard height.
- Drill pilot holes through the beam into at least three wall studs.
- Secure the beam using long lag bolts with washers.
- Place the headboard on top of the beam and screw down through the bottom.
This creates a solid shelf effect that completely eliminates wobbling. It also allows you to mount the headboard slightly away from the wall for LED lighting integration.
Achieve a Seamless Look with Hidden Mounts
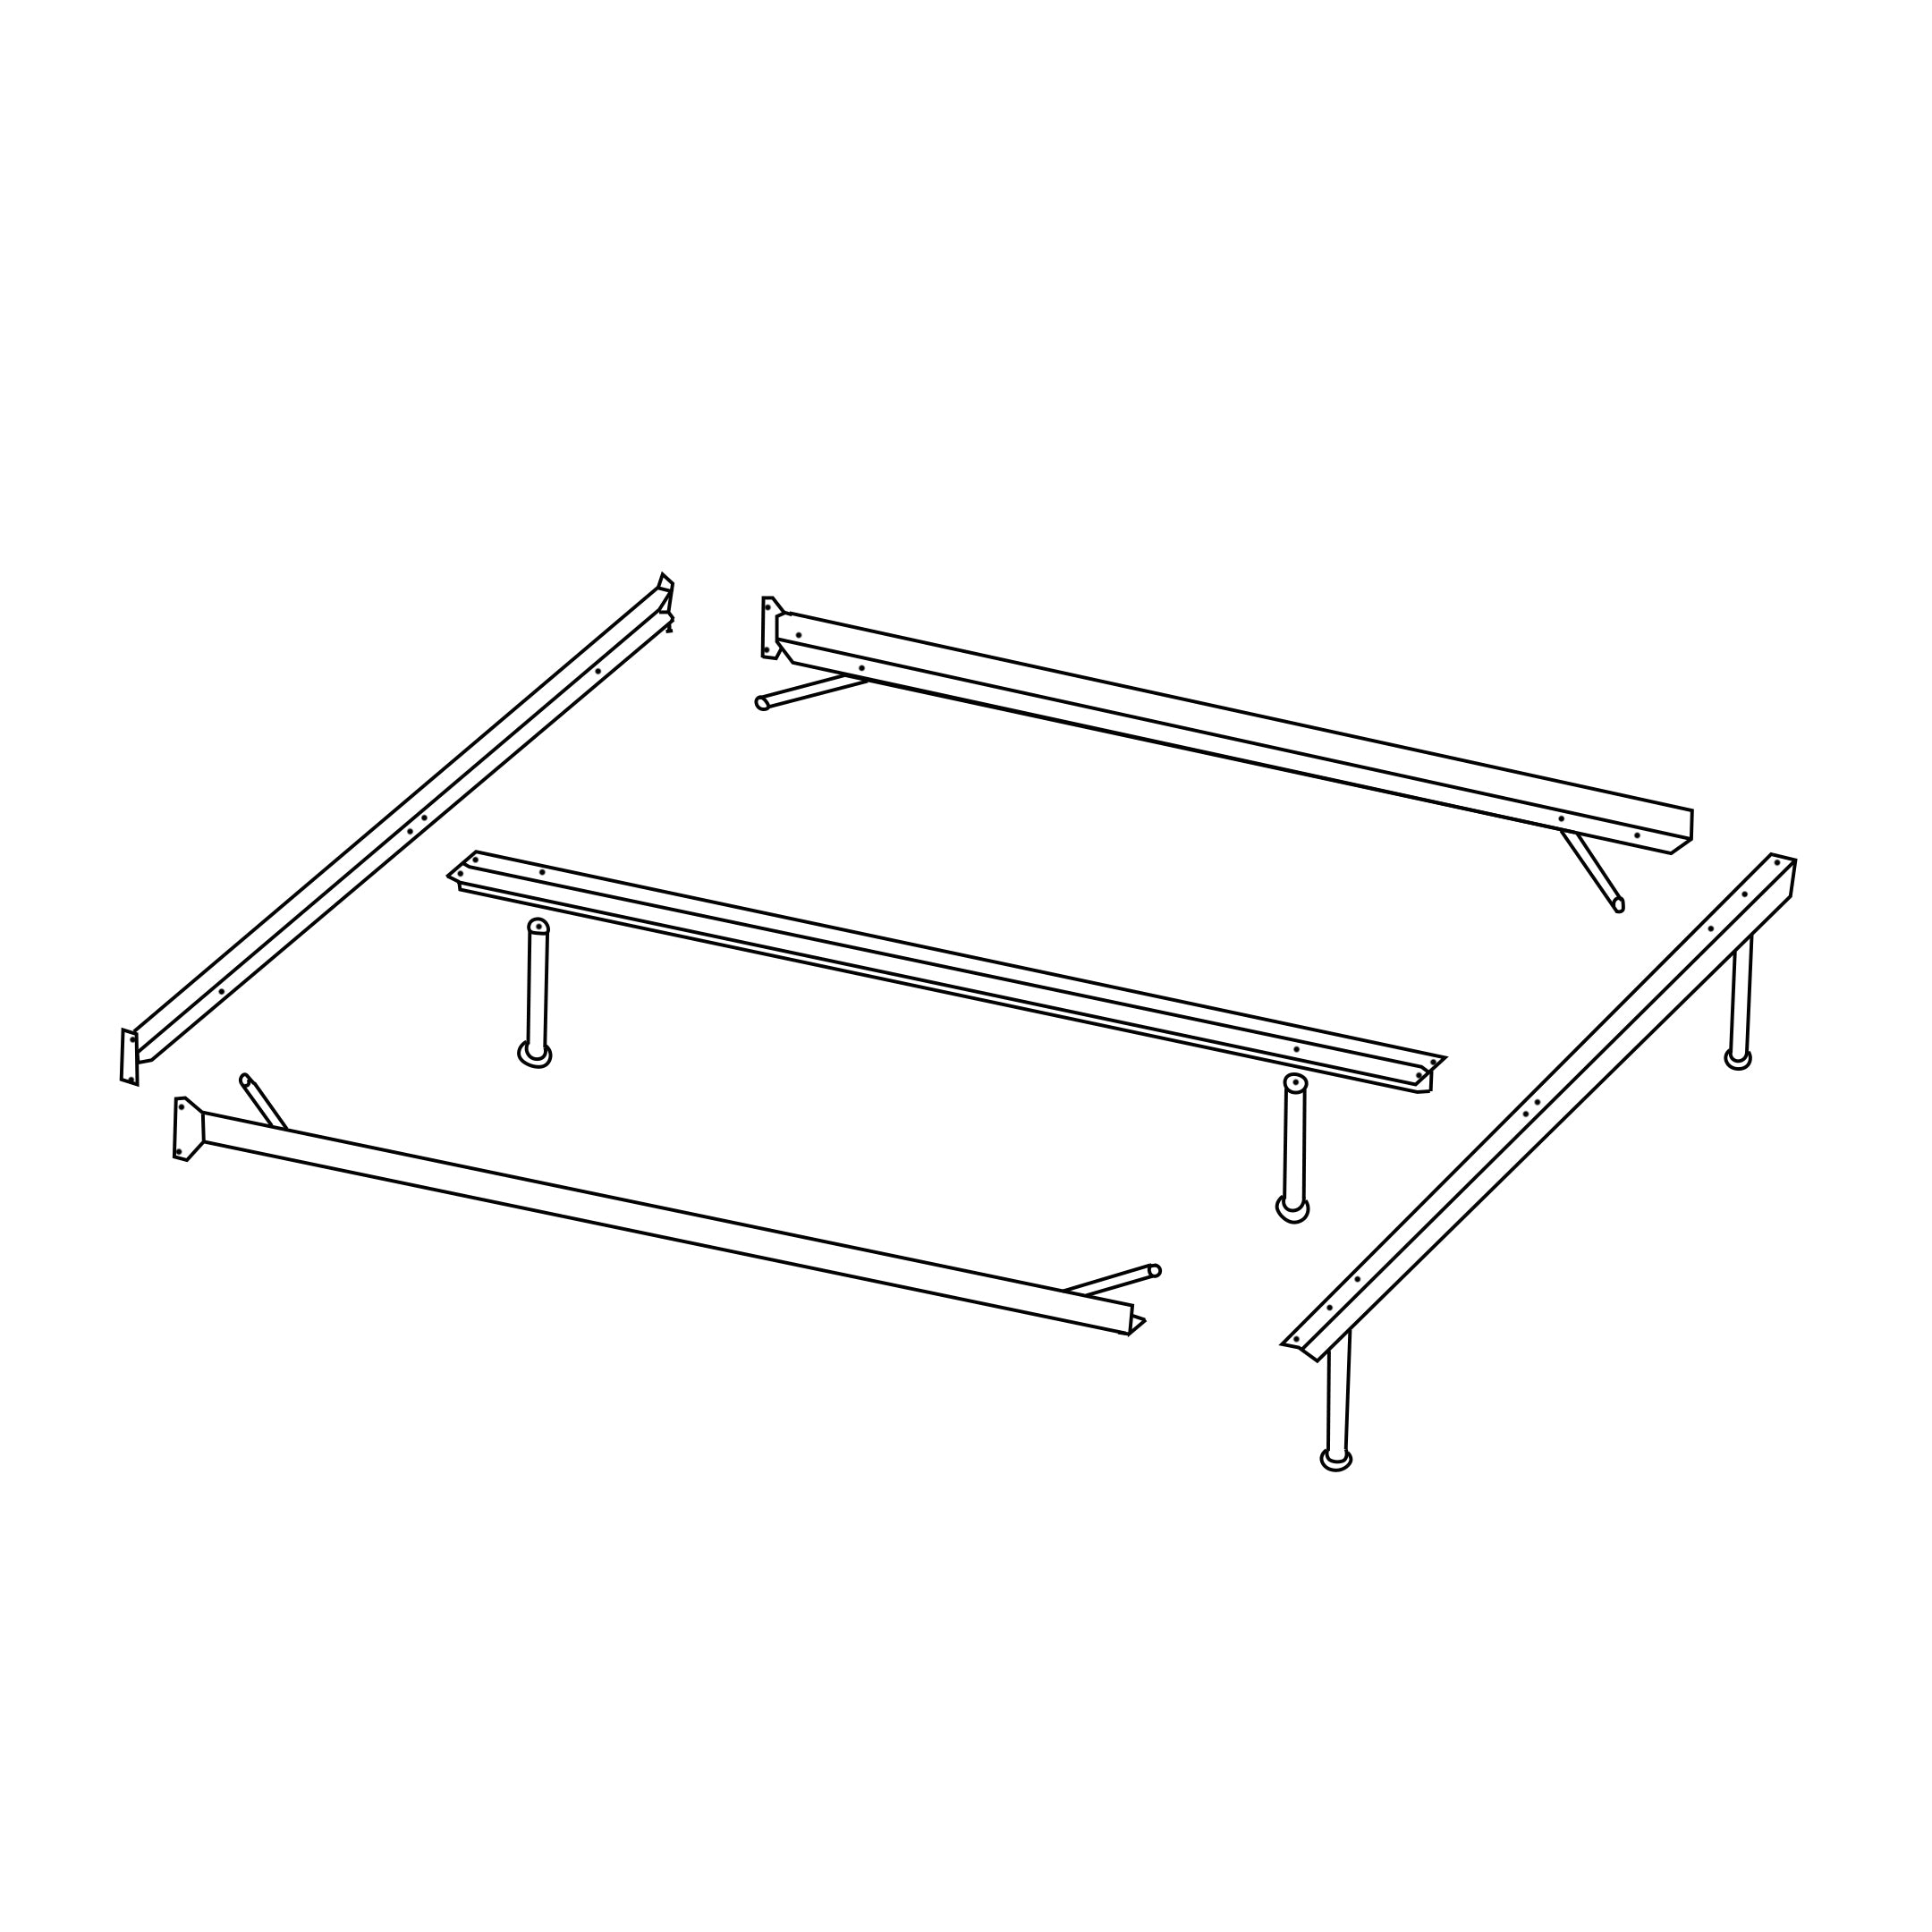
Modern bedrooms often feature headboards with no visible screws or brackets. Hidden mounting systems keep the hardware concealed behind the board for a clean finish.
These systems usually involve a rail attached to the wall and a corresponding slot on the headboard. Accuracy is paramount because you cannot adjust the position once locked.
Using Templates for Precision
Most hidden mount kits include a paper or plastic template to guide your drilling.
- Tape the template to the wall at the correct height.
- Use a level to ensure the template is perfectly straight.
- Drill through the template guides directly into the wall studs.
- Install the mounting rails or Z-clips into the pilot holes.
- Slide the headboard down onto the rails until it locks.
Pro Tip: If your kit lacks a template, measure and mark your stud centers on the headboard back first. Then transfer these exact measurements to the wall to ensure perfect alignment.
Safe No Drill Options for Rentals

Drilling holes is often forbidden in dorm rooms or strict rental agreements. In these cases, you must rely on adhesive technology, though with significant limitations.
This method is strictly for lightweight headboards under 15 pounds. Attempting to stick a heavy board with glue will result in failure and potential wall damage.
Applying Heavy Duty Adhesive Strips
Products like 3M VHB or Command Large Strips can hold light panels if applied correctly.
- Clean the wall surface and headboard back with rubbing alcohol.
- Allow the surface to dry completely before applying strips.
- Press the strips firmly onto the headboard for 30 seconds.
- Remove the backing and press the headboard against the wall.
- Hold pressure for one minute and wait one hour before use.
Limitations of Adhesive Mounting
Adhesives struggle with shear force, which occurs when you lean back against the bed. Humidity and temperature changes in dorms can also weaken the bond over time.
Warning: Never use adhesive strips for headboards where people will sleep or lean regularly. This is a temporary visual solution, not a structural one.
Prevent Common Installation Mistakes
Errors during installation can lead to immediate failure or long-term damage to your wall. Avoiding these common pitfalls ensures your headboard stays secure for years.
Many people skip the leveling step or use screws that are too short. These small oversights compromise the entire installation.
Ignoring the Level Check
An unlevel headboard looks unprofessional and places uneven stress on brackets. Always use a spirit level before tightening any screws permanently.
Even a slight tilt can cause the headboard to slide or wiggle during use. Double-check your line after drilling pilot holes but before inserting screws.
Mismatching Screw Length to Stud Depth
Using screws that are too short means they only grip the drywall or the edge of the stud. You need at least 1.5 inches of screw penetration into the solid wood of the stud.
- Light Loads: Use #10 screws, 2 inches long.
- Medium Loads: Use #12 screws, 3 inches long.
- Heavy Loads: Use lag bolts with washers, 3 to 4 inches long.
Maintain Stability Over Time
Your headboard installation requires occasional checks to ensure continued safety. Vibrations from daily use can slowly loosen screws over months or years.
Regular maintenance prevents minor issues from becoming major accidents. This is especially true for articulated mounts or heavy wooden beams.
Inspection Schedule and Actions
Check your mounting hardware every three to six months.
- Inspect all visible screws and brackets for looseness.
- Tighten any lag bolts that have backed out slightly.
- Check adhesive mounts for peeling edges or bubbling.
- Test for wobble by gently pushing the headboard from different angles.
If you notice any movement, re-tighten the hardware immediately. For adhesive mounts, replace the strips if you see any sign of separation from the wall.
Frequently Asked Questions About Mounting Headboards
Can I mount a headboard to drywall without studs?
No, drywall alone cannot support the dynamic load of a headboard. You must anchor into studs for any board heavier than a few pounds to prevent collapse.
What is the best method for a heavy wooden headboard?
A horizontal wooden beam attached to three or more studs offers the strongest support. This distributes the weight evenly and prevents bracket failure.
How high should I mount my headboard on the wall?
Standard mounting height places the top of the headboard 48 to 54 inches from the floor. Adjust this based on your mattress thickness and personal preference.
Will adhesive strips damage my painted walls?
High-quality adhesive strips designed for rentals usually remove cleanly if followed correctly. However, pulling them too fast or leaving them for years can peel paint.
Do I need special tools to install a floating headboard?
You primarily need a stud finder, drill, spirit level, and screwdriver. These basic tools allow you to locate studs and install brackets accurately.
Key Takeaways for Sticking Headboard to Wall
Successfully learning how to stick headboard to wall depends on respecting weight limits and finding solid anchors. Always prioritize mounting into wall studs rather than relying on drywall or adhesives for heavy boards.
Choose your method based on your specific headboard material and rental restrictions. Whether you use a wooden beam for heavy wood or hidden cleats for a modern look, proper installation ensures safety and style.
Inspect your mounts regularly and tighten any loose hardware to maintain stability. Start by locating your studs today to prepare for a secure and professional upgrade to your bedroom.



