
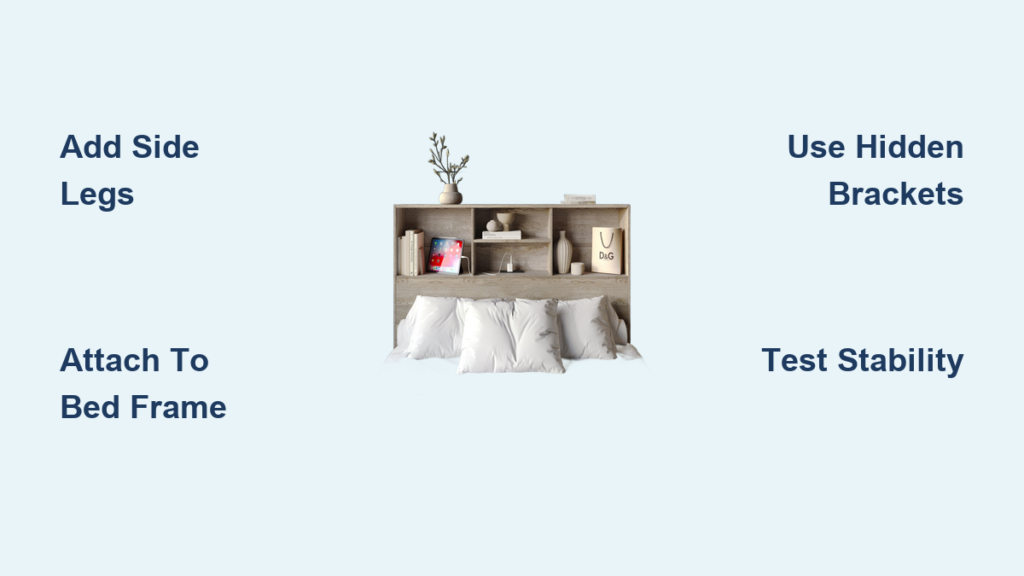
A wobbly freestanding headboard ruins the peace of your bedroom and poses a real safety risk. Tall units often tip when bumped because they lack a wide base or wall anchors to keep them upright.
You can fix this instability by adding floor supports, attaching directly to your bed frame, or installing hidden brackets. This guide details three proven methods to secure your unit safely using common tools.
Install Side Support Legs for Maximum Stability

Adding legs to the sides of your headboard creates a tripod effect that prevents tipping. This method works best for heavy units or rooms with high foot traffic where accidental bumps occur often.
Cut Timber to Exact Height Measurements
Measure the distance from the floor to the underside of your headboard panel. Cut two pieces of 70 x 35mm MGP10 untreated pine to match this height precisely. These legs will extend down to the floor and provide a solid foundation. Ensure the cut is straight so the leg sits flush against the floor surface.
Attach Legs Using Pilot Holes and Screws
Place the headboard face down on a soft cloth to prevent scratches. Align the timber legs with the outer edges of the headboard base. Drill two pilot holes through the top of each leg into the headboard wood to prevent splitting. Drive 60mm wood screws through these holes to lock the legs in place permanently.
Convert Supports into Functional Side Tables
You can extend the top of each leg outward to create a small shelf. Build a rectangular platform using the same pine timber and attach it to the top of the leg. This addition gives you space for a lamp or book while keeping the headboard rigid.
Pro Tip: Glue felt pads to the bottom of each leg to protect your flooring and prevent slipping on hard surfaces.
Attach Headboard Directly to Bed Base Frame

Screwing the headboard to the internal frame of your bed base offers a low-profile solution. This approach keeps the floor clear and works well if your bed stays in one spot permanently.
Locate Solid Internal Timber Studs
Remove your mattress and inspect the underside and back of the bed base. Look for solid timber supports or metal-reinforced corners that can hold weight. Avoid attaching to fabric, foam, or thin plywood as these materials cannot support the headboard. Tap the surface to find dense spots where the internal frame lies.
Pre-Drill Holes to Prevent Splitting
Mark drilling points on the back of the headboard where it aligns with the bed frame studs. Use a drill bit slightly smaller than your screw diameter to create pilot holes. This step ensures a tight fit and stops the wood from cracking when you drive in the fasteners.
Drive Long Screws for Deep Penetration
Position the headboard upright against the bed base and align your marked holes. Drive 70mm to 80mm wood screws through the back of the headboard into the bed frame. Choose screws long enough to penetrate deep into the frame but short enough to avoid poking through the front.
Warning: Do not over-tighten screws as this can crack soft timber or compress foam-backed panels permanently.
Use Concealed Bracket System for Clean Look
A hidden bracket system provides a minimalist appearance with zero visible hardware. This method requires building a custom wooden frame that locks the headboard in place between vertical supports.
Build Sturdy Wooden Support Frame
Construct a rectangular frame from 70 x 35mm pine that fits snugly between the bed base and headboard. The frame must span the full width of the bed and sit perfectly level. Assemble the pieces with wood glue and screws to ensure maximum rigidity before installation.
Mount Vertical Brackets to Frame
Attach large metal L-brackets or custom vertical supports to the front of your wooden frame. These brackets should stand upright with their top edges below the lowest point of the headboard. Standard hardware store brackets are typically 235mm tall so verify your clearance matches this height.
Slide Headboard Into Bracket Slots
Lift the headboard and slide its bottom edge between the vertical brackets you installed. Once positioned correctly, drive screws through the back of each bracket into the headboard structure. Pre-drill all holes to avoid splitting the wood during this final assembly step.
Expert Note: If standard 235mm brackets are too short, order custom steel brackets or extend existing ones with additional metal plates.
Choose Right Method for Your Bedroom

Selecting the best technique depends on your headboard weight, room layout, and how much modification you want to make. Each option offers a different balance of safety, simplicity, and style.
Prioritize Side Legs for Heavy Units
Choose side support legs if safety is your top concern or if you have children and pets. This method anchors the headboard to the floor and eliminates tipping risk through physics. It is the only reliable choice for extra-wide or very tall units that lack internal support.
Select Bed Frame Screws for Simplicity
Opt for direct attachment if you want a quick fix and your bed remains stationary. This method requires only basic tools and preserves floor space entirely. Confirm your bed base has solid internal framing before drilling to ensure a secure hold.
Pick Hidden Brackets for Modern Design
Select the hidden bracket system if you love a clean, built-in look without visible legs. No screws or legs show, making the headboard appear to float securely against the bed. This method demands precise measurements and sufficient vertical clearance for the brackets.
Gather Essential Materials and Tools
Collect all necessary items before starting to ensure a smooth installation process. Having the right equipment ready prevents interruptions and helps you finish the job efficiently.
Required Building Materials
- 70 x 35mm MGP10 untreated pine timber
- 60mm to 80mm wood screws
- Wood glue for stronger joints
- Felt floor pads for leg bottoms
- Large L-brackets or vertical support brackets
Necessary Installation Tools
- Power drill with screwdriver and drill bits
- Measuring tape for accurate dimensions
- Spirit level to ensure perfect alignment
- Screwdriver for final tightening
- Saw for cutting timber to size
- Sandpaper for smoothing rough edges
Time Estimate: Plan for 1 to 2 hours depending on your chosen method and experience level.
Test Stability and Maintain Safety
Regular checks ensure your secured headboard remains safe and stable over time. Proper maintenance prevents accidents and extends the life of your repair work.
Apply Firm Pressure to Test Hold
Push firmly on the top of the headboard from multiple angles after installation. There should be no wobbling, shifting, or creaking sounds during this test. Recheck all connections and ensure legs are level if you detect any movement.
Inspect Connections Every Few Months
Examine screws and joints every 3 to 6 months for signs of loosening. Tighten any loose fasteners immediately and replace damaged wood or brackets right away. Heavy use can cause connections to weaken over time so regular checks are vital.
Protect Floors and Prevent Damage
Always use felt or rubber pads under any floor-contact points to stop scratches. For carpeted floors, consider non-slip pads to prevent legs from sinking or shifting unexpectedly. This simple step protects your investment and keeps the unit stable.
Final Thoughts on Securing Your Freestanding Headboard
Securing a freestanding headboard protects your family and preserves your bedroom decor. You can achieve rock-solid stability by adding side legs, screwing to the bed frame, or installing hidden brackets.
Match your chosen method to your specific needs for safety, simplicity, or style. Always pre-drill holes and use quality materials to ensure your headboard stays secure forever.
Frequently Asked Questions About Headboard Stability
Can I secure a freestanding headboard without drilling into the wall?
Yes, you can secure it by adding side support legs that reach the floor or by attaching it directly to the bed base frame. Both methods provide stability without damaging your walls.
What type of wood is best for building headboard support legs?
Use 70 x 35mm MGP10 untreated pine for its structural integrity and ease of customization. This timber size offers sufficient strength to support heavy headboards effectively.
How do I stop my headboard from tipping forward?
Create a wider base of support by installing floor legs that extend beyond the bed edges. Alternatively, anchor the unit to the internal timber frame of your bed base for rigid support.
Will attaching the headboard to the bed base damage the frame?
No damage occurs if you locate solid internal studs and pre-drill pilot holes before screwing. Avoid over-tightening screws to prevent crushing soft materials or splitting the timber.
Can I make the support legs look like furniture?
Yes, you can extend the top of the support legs to create small side tables or shelves. Finish the wood with paint or stain to match your existing bedroom decor seamlessly.
What screw length should I use for securing headboards?
Use wood screws ranging from 60mm to 80mm to ensure deep penetration into the bed frame or support legs. Longer screws provide a stronger hold but must not poke through the front surface.



