
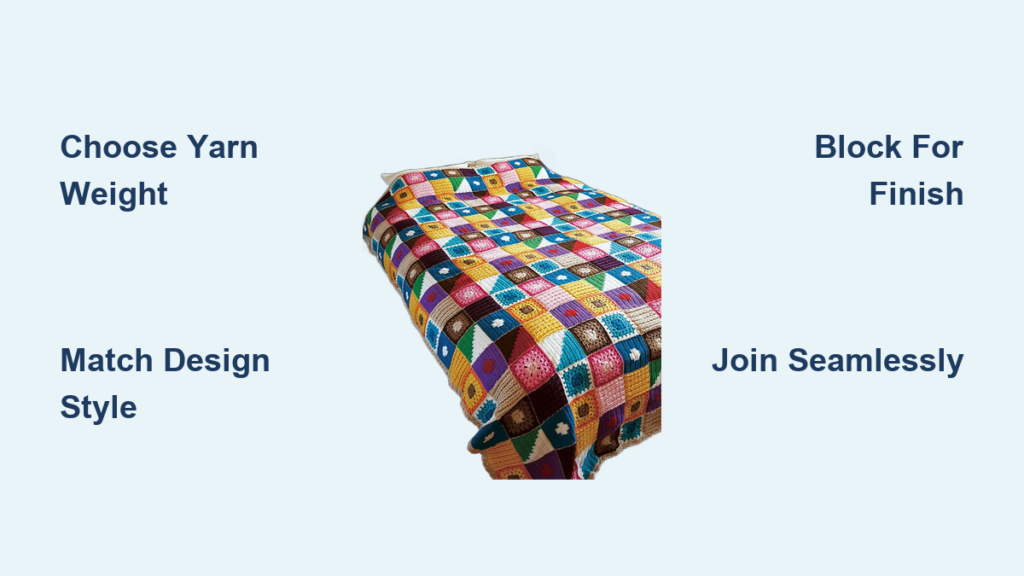
Transforming your bedroom into a personalized sanctuary starts with the right handmade touch. A stunning crochet bedspread pattern blends artistic flair with cozy functionality to create a true focal point for your decor. Whether you crave delicate lace or bold geometric shapes, these projects offer endless ways to express your unique style.
This guide walks you through selecting designs, choosing materials, and mastering techniques for flawless results. You will learn how to scale projects from baby throws to king-sized heirlooms with confidence. Discover expert tips on yarn selection, stitch execution, and professional finishing methods below.
Select Your Ideal Design Style
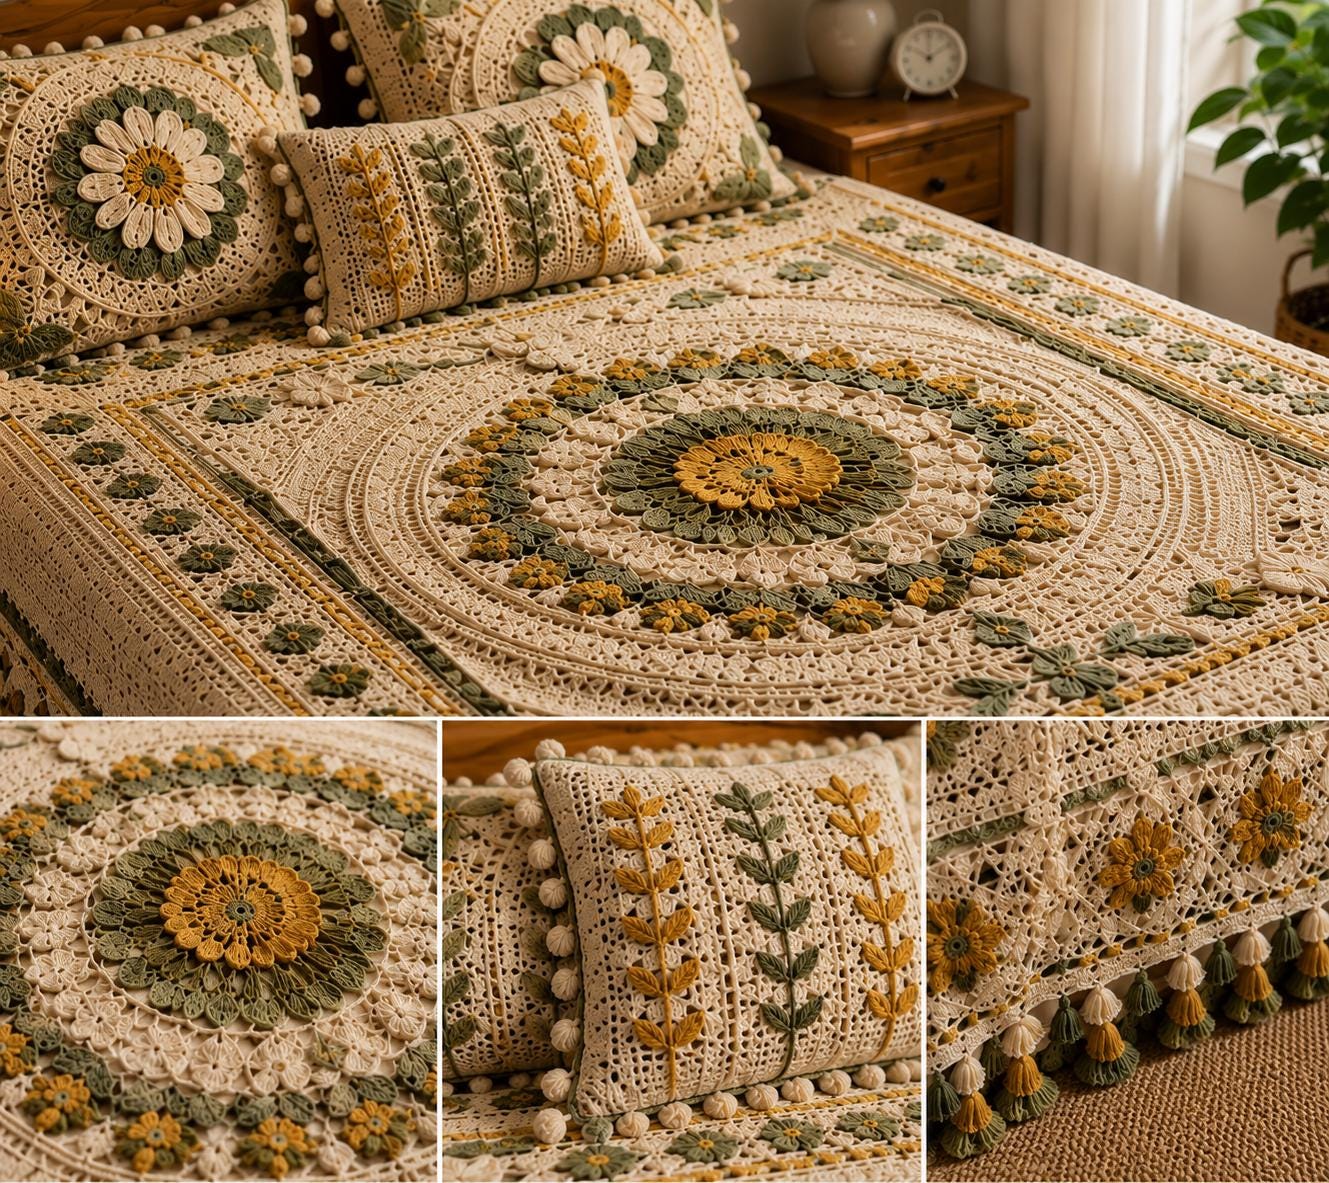
Choosing a specific aesthetic sets the tone for your entire project journey. Each style brings a distinct mood to your space, ranging from romantic vintage charm to sleek modern flair.
Define Your Color Palette
Your color choice directly shapes the atmosphere of the room. Solid-color spreads in white or ecru deliver timeless elegance by relying on stitch texture for visual interest. Dusty rose tones add soft romance that fits perfectly within farmhouse or shabby-chic interiors.
Try color-blocked designs for a bolder artistic impact. These divide the spread into defined sections like navy and cream stripes or pastel gradient panels. Boho styles often mix multiple hues in flowing floral arrangements accented with tassels for extra whimsy.
Match Motifs to Your Decor Theme
Floral patterns bring the beauty of nature indoors effectively. English garden motifs with roses and vines evoke a sun-drenched Tuscan villa feel. Three-dimensional crocheted roses add lifelike depth perfect for traditional or cottage-style bedrooms.
Geometric designs suit modern spaces with their clean lines. Hexagons, diamonds, and cubes create structured textures that look sophisticated. Some patterns use post stitches to generate a 3D cube effect that adds dynamic shadow play across the surface.
Lace and openwork styles offer incredible lightness to any room. Using treble crochets or filet grids, they filter sunlight softly which makes them ideal for summer coverlets. Ribbed textures provide subtle elegance without complex motifs using front- and back-post stitches.
Combine Multiple Elements Strategically
Dual-motif spreads layer visual interest beautifully for advanced crafters. Imagine alternating floral rounds with solid granny squares to blend vintage charm with modern simplicity. This approach lets you mix yarn weights and colors strategically throughout the project.
Mixing elements makes the work more engaging and uniquely yours. You can adjust the ratio of motifs to control the overall density and look. Planning this combination early ensures a balanced final result.
Select Materials and Tools
Choosing the right materials ensures durability, proper drape, and ease of work during construction. Never substitute blindly since each fiber and hook size affects the final look significantly.
Pick the Right Yarn Weight
Yarn weight determines thickness, warmth, and your working speed noticeably. Worsted weight is most common for bedspreads because it is warm and works up quickly with a 5.0 mm hook. It is ideal for granny stitch afghans and floral throws.
Use Size 10 cotton thread for delicate lace projects requiring fine detail. It is strong and perfect for heirloom pieces like the Provincial pattern needing about 14,200 yards. Bulky yarn speeds up ribbed or modern geometric throws but uses more material per inch.
Choose Fiber for Care and Feel
Cotton offers softness and durability ideal for frequently washed spreads. It holds its shape well and blocks beautifully for a crisp finish. Blends with acrylic add stretch and machine-washability for busy households.
Acrylic alone is budget-friendly and colorfast but may pill over time. Avoid low-quality acrylic for large projects as it can feel stiff and trap heat uncomfortably. Lace-weight yarn suits 3D rose effects where finesse matters most for the final look.
Use soft cotton or silk blends for luxurious drape and sheen. These fibers elevate the piece from a simple blanket to a work of art. Always consider how the fiber feels against skin before committing to a large purchase.
Use the Correct Hook Size
Hook size must match your yarn and pattern gauge precisely for best results. A Steel No. 7 (1.65 mm) hook is essential for Size 10 thread to maintain tight, even stitches in lacework.
For worsted weight, go with a 5.0 mm (Size H) hook for standard tension. Ribbed throws often use 5.5 mm for a looser, more flexible fabric drape. Larger hooks from 6.0 to 8.0 mm create airy textures quickly but reduce overall warmth.
Always test your gauge before starting the main project. Crochet a sample motif and if it does not measure exactly as specified, adjust your hook size immediately.
Plan Size and Layout Accurately
A well-planned spread fits your bed perfectly with balanced overhang on all sides. Skipping this step risks an ill-fitting final piece that looks awkward on your bed.
Measure Your Bed Accurately
Start by measuring your mattress dimensions precisely with a tape measure. Add 12 to 18 inches on all sides for proper drop length and coverage. For a queen bed measuring 60 by 80 inches, aim for at least 72 by 92 inches to allow 6-inch overhang per side.
Standard sizes vary based on bed type and personal preference.
* Twin or Full beds need 54 by 68 inches up to 60 by 72 inches.
* Queen beds often use 63 by 98 inches or 72 by 90 inches.
* King beds require 70 by 105 inches or larger dimensions.
Adjust based on your preference for dramatic floor-skimming drops. Some prefer a tailored look while others want maximum coverage.
Map Motifs on Graph Paper
Sketch the layout on graph paper if your pattern uses motifs like squares or hexagons. Each square represents one motif to help calculate how many you will need total. This helps determine where color changes occur in the design.
A 70 by 105 inch spread with 5.75 inch motifs requires roughly 12 motifs wide by 18 long. Plan seam placement and joining method early to avoid confusion later. Use this map to test color blocking or motif arrangement before buying yarn.
Master Key Crochet Techniques
The technique you choose defines the character of your finished spread completely. Learn foundational and advanced stitches to execute any pattern confidently and correctly.
Use Core Stitches Strategically
Single crochet creates a tight and dense fabric best for warm winter spreads. It minimizes gaps but works slower than other stitches due to its height. Double crochet is faster with gentle drape ideal for afghans and medium-weight blankets.
Treble crochet is tall and open, making it perfect for lace patterns. It lets light through and reduces yarn usage significantly compared to shorter stitches. Combine them by using double crochet for body rows and treble for lace borders.
Learn Decorative Stitches
Shell stitches cluster five double crochets in one stitch for a scalloped edge. This adds dimension to borders or center panels effectively. Granny stitch groups three double crochets separated by chains for classic squares.
Filet crochet creates images or patterns using filled and open spaces on a grid. This is great for monograms or botanical silhouettes within the fabric. These stitches elevate simple fabrics into works of art with minimal effort.
Build 3D Effects
Shaping is key for 3D roses or cube illusions in your design. Crochet roses in the round by increasing and decreasing to form petals naturally. Attach them individually to a base fabric for maximum impact.
Cube effects rely on strategic post stitches for their visual depth. Work front- and back-post double crochets around previous rows to push sections forward. Video tutorials are essential here so watch them before attempting to avoid confusion.
Assemble with Seamless Joins

How you join pieces affects both comfort and appearance of the final product. Raised seams can be uncomfortable while invisible joins look professional and polished.
Join Motifs as You Go
Join motifs during the final round instead of sewing them later. Use slip stitches or single crochets through both loops of adjacent pieces for stability. This keeps tension even and reduces bulk along the seams significantly.
Try the join-as-you-go method for a nearly invisible connection. It links squares with a chain-and-clusters technique that mimics the pattern look. This method saves time and creates a smoother surface overall.
Use Invisible End Weaving
Weave in all ends as you go, especially with frequent color changes. Use a yarn needle to thread tails through the back of several stitches securely. Trim close but not too close to prevent unraveling later.
Never leave long tails as they can unravel or show through sheer fabric. Secure ends thoroughly to ensure longevity of your handmade creation. This step is crucial for a clean and professional appearance.
Block Before Final Assembly
Block each piece before joining if you are working with separate motifs. Pin motifs to size on a padded surface and mist with water then let dry completely. This evens out stitches and ensures all pieces are identical in size.
Unblocked pieces may warp or pucker when joined, ruining the symmetry. Blocking guarantees a uniform look across the entire bedspread surface. It is a critical step for high-quality results.
Finish with Professional Blocking

Blocking transforms a handmade piece into a polished heirloom ready for display. It is not optional but essential for achieving the best possible outcome.
Wet Block Delicate Lace
Soak fine thread lace like Size 10 cotton in lukewarm water with mild wool wash. Gently press out excess water without wringing to prevent fiber damage. Lay flat on towels or blocking mats for drying.
Pin every corner and scallop to exact measurements using rust-proof T-pins. Check dimensions frequently as it dries to ensure accuracy. This opens up lacework and sharpens stitch definition for a crisp finish.
Spray Block Heavier Spreads
Mist heavier worsted or bulky yarns lightly with a spray bottle. Stretch gently into shape and pin to your desired dimensions carefully. Avoid soaking thick fabric as it takes too long to dry and may stretch.
Let dry completely in a well-ventilated area away from direct sunlight. Direct sun can cause fading in colored yarns over time. This method works well for denser fabrics needing slight shaping.
Add Final Embellishments
Attach fringe or tassels only after blocking is complete. Cut uniform lengths with six to eight inches being standard for most designs. Fold in half, pull loop through edge stitch, and pass ends through loop to secure.
Space them evenly every two to three stitches along corners or borders. Trim tips straight for a clean and polished look. These details add a final touch of personality to your work.
Maintain Your Handmade Heirloom
Proper care preserves beauty for years and keeps your investment looking new. Follow fiber-specific guidelines to avoid damage during cleaning and storage.
Wash Gently and Dry Flat
Always check yarn labels before washing your creation. Most cotton and acrylic blends can be machine-washed on a gentle cycle with cold water. Delicate lace or pure cotton thread should be hand washed to prevent fiber stress.
Never use bleach or harsh detergents that can weaken fibers. Always lay flat to dry because hanging causes stretching under weight. Wet crochet is heavy and will distort if hung vertically.
Store Properly Off-Season
Fold neatly and store in a cool, dry place when not in use. Use breathable cotton bags instead of plastic to prevent moisture buildup and mildew. Avoid cedar chests unless lined as raw wood can transfer odors.
Place lavender sachets to deter moths naturally without chemicals. Keep out of direct sunlight which fades dusty rose, ecru, and light shades. Proper storage ensures your piece remains vibrant for generations.
Refresh with Light Reblocking
Your spread may lose shape after several uses over time. Revive it with a quick spray block to restore its original form. Mist lightly, reshape, and let dry completely before using again.
This restores drape and stitch clarity without full washing. Regular maintenance keeps your handmade item looking its best always. It is a simple step that makes a huge difference.
Frequently Asked Questions About Crochet Bedspread Patterns
How much yarn do I need for a full-size bedspread?
A large lace bedspread measuring 70 by 105 inches requires approximately 14,200 yards of Size 10 cotton thread. Smaller worsted weight projects may need 20 to 30 balls depending on yarn weight and pattern density.
What is the best yarn for a durable bedspread?
Cotton offers excellent durability and softness for frequently washed items. Cotton and acrylic blends provide added stretch and machine-washability for busy households.
Can beginners make a crochet bedspread?
Yes, beginners can start with modern granny stitch patterns using worsted weight yarn. These projects work up quickly and allow you to learn basic techniques before attempting complex lace.
How do I ensure my bedspread fits my bed?
Measure your mattress and add 12 to 18 inches on all sides for proper overhang. Use graph paper to map out motifs and calculate the exact number needed for your target dimensions.
Is blocking necessary for crochet bedspreads?
Blocking is essential to even out stitches and give a professional finish. It opens up lacework and ensures all motifs are uniform in size before joining.
Key Takeaways for Your Crochet Bedspread Pattern Success
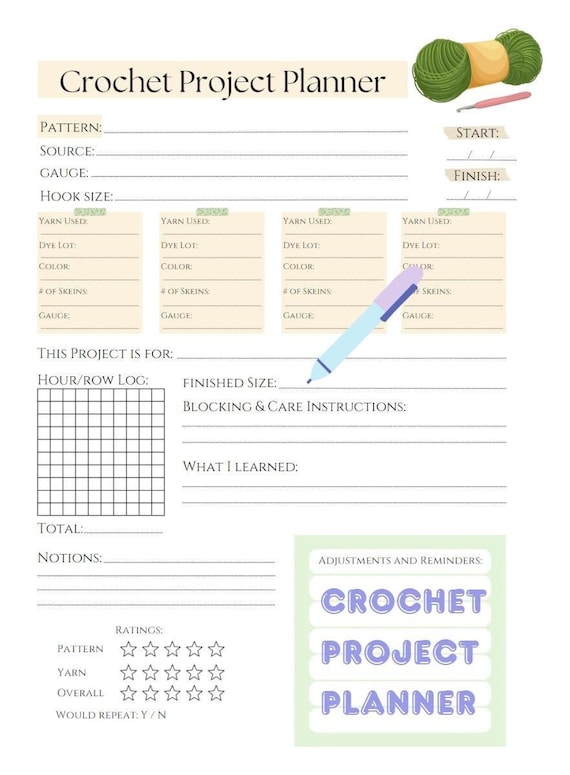
Creating a stunning crochet bedspread pattern requires careful planning and the right materials. Focus on selecting a style that matches your decor and choosing high-quality yarn for lasting durability. Mastering basic stitches and blocking techniques ensures a professional finish every time.
Start with a simple design if you are new to large projects. Gradually work your way up to intricate lace or 3D elements as your skills improve. Your handmade bedspread will become a treasured centerpiece for years to come.



