
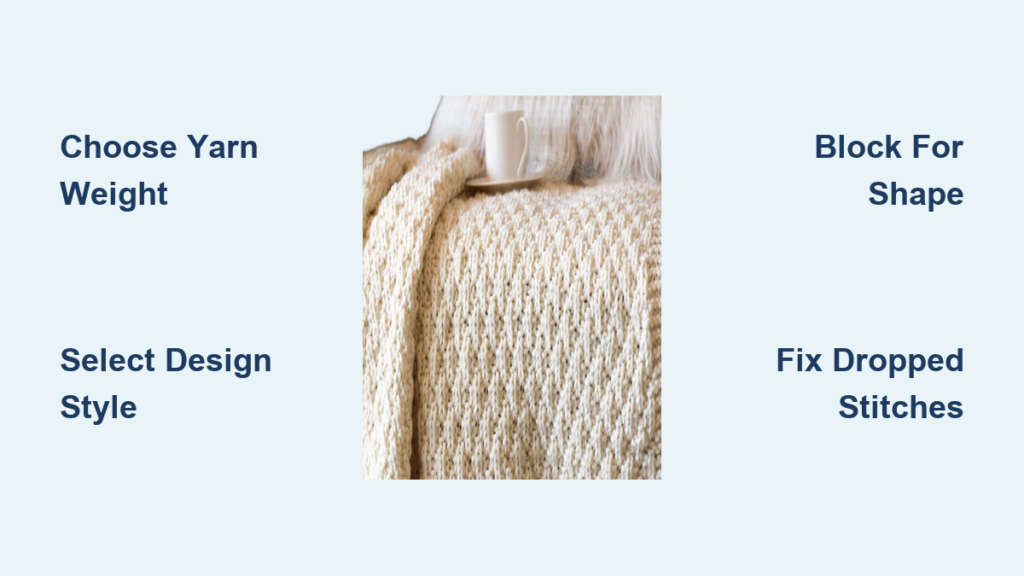
Imagine transforming your bedroom with a handcrafted treasure that offers unmatched warmth and texture. A knitted bedspread pattern allows you to create a heirloom piece that store-bought blankets simply cannot replicate.
You will learn how to select the perfect yarn, choose between Fair Isle or cable designs, and master the finishing techniques needed for a professional result. This guide ensures your large-scale project remains manageable from the first cast-on to the final block.
Select the Ideal Yarn for Large Projects
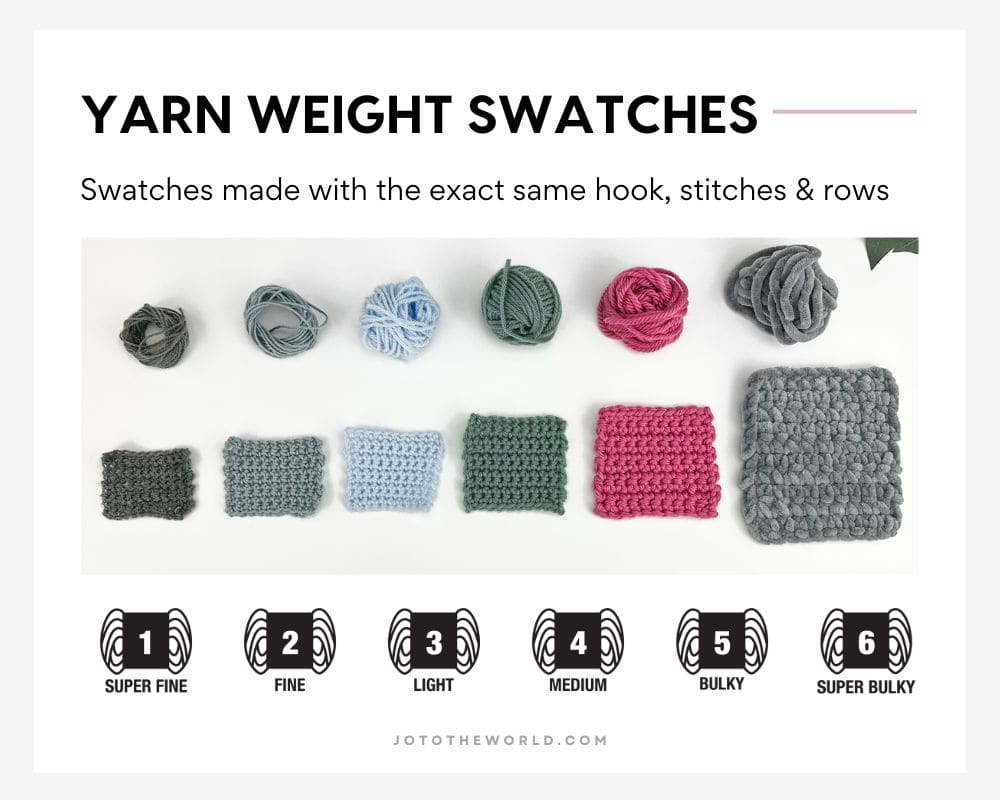
Choosing the correct fiber determines the weight, drape, and care requirements of your final bedspread. You must balance warmth with practicality since this item covers a large surface area.
Compare Wool Cotton and Acrylic Fibers
Wool provides excellent elasticity and stitch definition, making it perfect for complex cables. Cotton offers a heavy drape and breathability but lacks stretch, which can strain your wrists during knitting. Acrylic is lightweight and machine washable, offering a budget-friendly option for beginners.
Choose Between Worsted and Bulky Weights
Most patterns recommend worsted or bulky weight yarn to complete the project in a reasonable timeframe. Bulky yarn creates a plush, cozy texture ideal for cold climates. Worsted weight allows for more intricate stitch details and lighter coverage for year-round use.
Pick a Design Style That Matches Your Skill

Your chosen aesthetic dictates the techniques you will use and the visual impact of the room decor. Consider your experience level before committing to complex colorwork.
Execute Fair Isle and Colorwork Designs
Fair Isle patterns use two colors per row to create vibrant geometric motifs. Keep floats loose on the wrong side to prevent the fabric from puckering. Limit your color changes to maintain a supple fabric that drapes well over the mattress.
Create Texture With Cable Knits
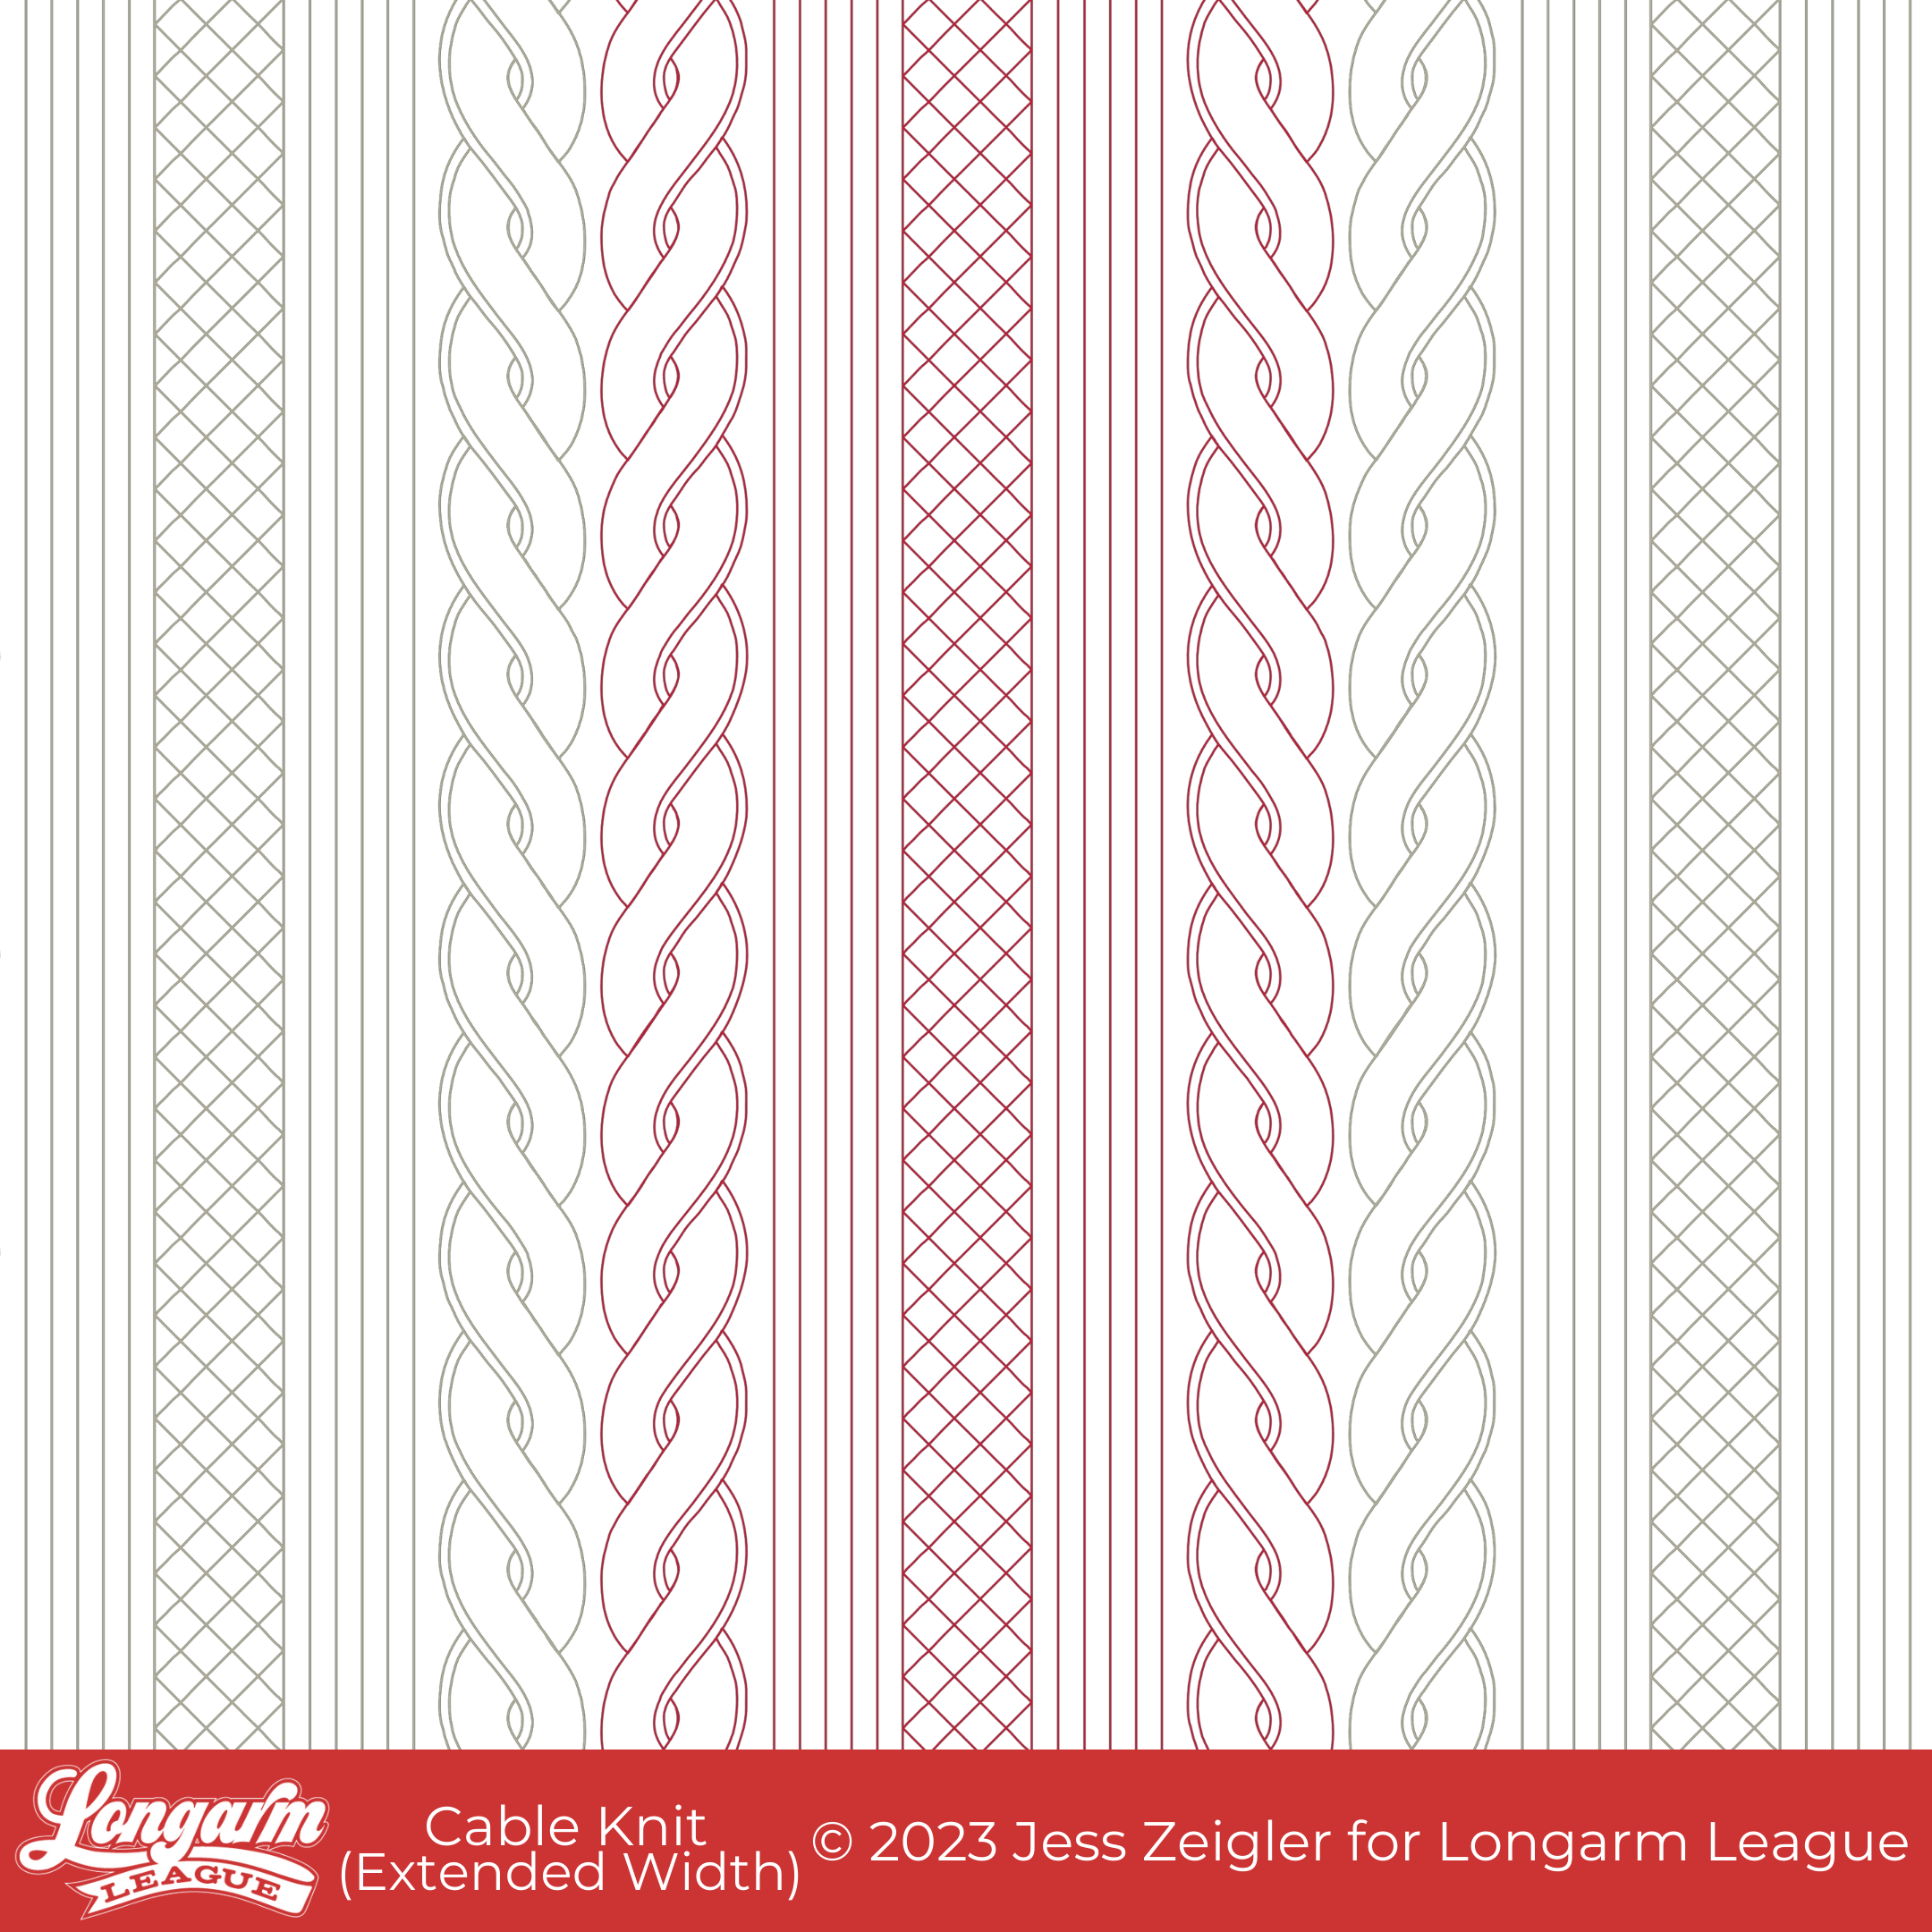
Cable knitting involves crossing stitches to form raised, rope-like designs. These textures look stunning in solid colors where light and shadow highlight the depth. Repeat cable panels across the width and frame them with smooth stockinette borders for balance.
Build Bold Shapes Using Intarsia
Intarsia allows for large blocks of color without carrying yarn across the entire row. Use separate bobbins for each color section to manage yarn tension effectively. This technique is perfect for sharp chevrons, diamonds, or abstract modern art styles.
Apply Essential Knitting Techniques for Success
Large-scale projects require specific methods to manage the sheer volume of stitches involved. Proper tool selection prevents fatigue and ensures consistent results.
Utilize Circular Needles for Comfort
Even when knitting flat, use circular needles with a 32 to 40-inch cable to hold hundreds of stitches. This setup distributes the weight of the project onto your lap rather than straining your wrists. Bamboo needles provide grip for slippery yarn, while metal offers speed for tight knitters.
Decide Between Panels or One Piece
Many knitters prefer working in panels to make the project more manageable and easier to block. You can seam these sections together later using an invisible join method. Alternatively, working in one piece eliminates seams but requires very long circular needles and ample space.
Maintain Consistent Tension Throughout
Uneven tension often appears at color changes or after long knitting sessions. Block your gauge swatch before starting to understand how your yarn behaves. Practice carrying yarn loosely and check your edge stitches regularly to ensure they match the center tension.
Calculate Accurate Size and Gauge Measurements
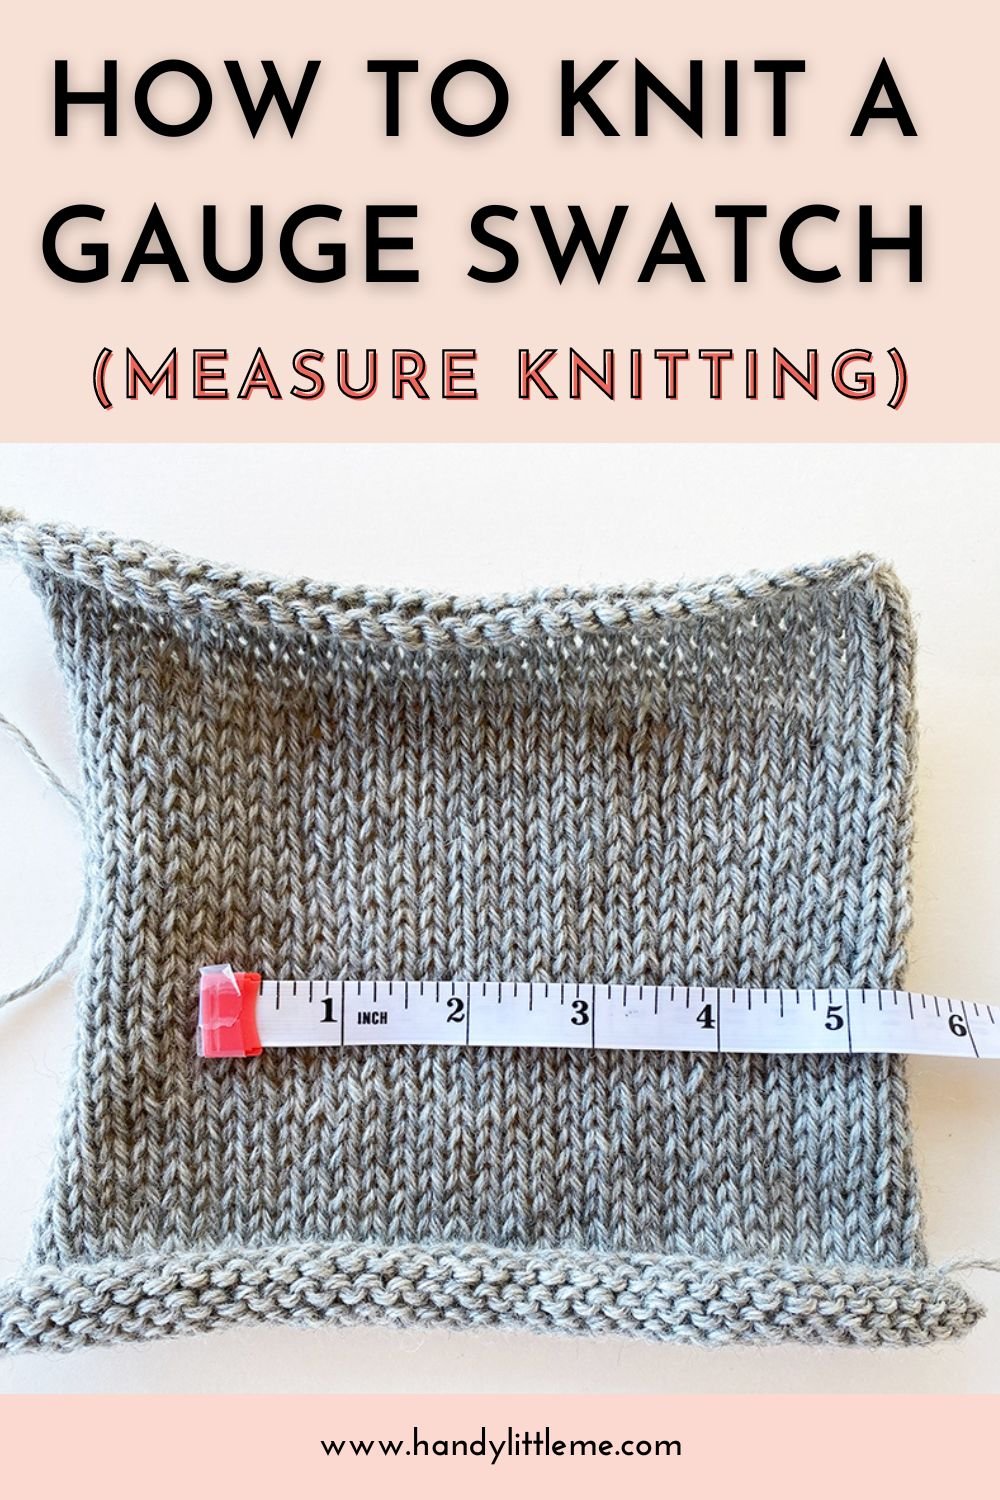
Precision in the planning phase prevents the heartbreak of a bedspread that is too small or misshapen. Always verify your gauge against the pattern requirements.
Review Standard Bed Dimensions
A standard queen-sized bedspread typically measures 90 inches wide by 100 inches long. King sizes require approximately 108 inches in width to cover the mattress and pillows adequately. Add extra length if you desire a dramatic drop over the sides of the bed frame.
Swatch to Determine Stitch Count
Knit a 4×4 inch swatch in your intended pattern and wash it before measuring. Count your stitches per inch and multiply by your target width to find the total cast-on number. Adjust your needle size up or down if your stitch count does not match the pattern gauge.
Assemble and Finish Your Knitted Masterpiece

Proper assembly turns individual knitted pieces into a cohesive and polished final product. Attention to detail during this stage elevates the professional look of your work.
Join Panels With Invisible Seams
Use the mattress stitch to seam panels together for a flat and nearly invisible join. Work from the right side and pick up the horizontal bars between edge stitches carefully. Align your pattern rows precisely to ensure cables or color blocks continue seamlessly across the join.
Block the Fabric for Perfect Shape
Blocking is essential to even out stitches and set the final dimensions of your bedspread. Wet the piece thoroughly, lay it on a clean surface, and pin it to your exact measurements. Allow it to dry completely for up to 48 hours to lock in the shape.
Add Decorative Fringe or Tassels
Enhance the edges with fringe or tassels for a traditional and cozy finish. Cut yarn strands twice your desired fringe length and fold them in half. Pull the loop through the edge stitch and thread the ends through the loop to secure tightly.
Maintain and Care for Your Handmade Textile
Proper maintenance extends the life of your hard work and keeps the fibers looking fresh. Follow specific cleaning instructions based on your chosen yarn type.
Hand Wash Gently in Cool Water
Hand wash your bedspread in cool water using a mild detergent suitable for fibers. Gently squeeze out water without wringing or twisting, which can distort the knit structure. Rinse thoroughly until no soap suds remain to prevent residue buildup.
Dry Flat Away From Direct Sunlight
Always lay flat to dry on a large towel or drying rack to maintain the correct shape. Reshape the edges while the fabric is still damp to ensure straight lines. Keep the piece out of direct sunlight to prevent colors from fading over time.
Store Seasonally With Moth Protection
Fold the clean, dry bedspread neatly and store it in a breathable cotton bag. Add cedar blocks or lavender sachets to deter moths, especially if you used wool. Avoid plastic containers that trap moisture and potentially cause mildew growth.
Troubleshoot Common Knitting Problems
Even experienced knitters encounter issues when working on such large projects. Quick fixes prevent small mistakes from becoming major disasters.
Repair Dropped Stitches Immediately
Use a crochet hook to ladder up any dropped stitches before they unravel further. Pick up the loop from the row below and pull it through to the current row. Secure the stitch immediately to stop the run from progressing down the fabric.
Prevent Edge Curling in Stockinette
Stockinette stitch naturally curls at the edges, which can ruin the drape of a bedspread. Prevent this by adding a border of garter stitch or seed stitch around all four sides. A border of 2 to 4 inches provides enough weight to keep the edges flat.
Test for Color Bleeding Before Washing
Soak a small sample of your yarn in water to check for colorfastness before washing the whole piece. If the water changes color, rinse the yarn until it runs clear or consider dry cleaning. Never wash dark and light colored sections together if bleeding occurs.
Customize Your Pattern for Unique Results
Make your bedspread truly yours by adjusting colors, sizes, and stitch combinations. Personal touches transform a standard pattern into a custom home decor item.
Combine Multiple Stitch Patterns
Mix cables with colorwork panels to create visual interest and texture variation. Sketch your layout on graph paper to ensure the repeats align symmetrically. Balance complex sections with simpler stitches to avoid an overly busy appearance.
Select a Personal Color Palette
Choose colors that complement your existing bedroom decor for a cohesive look. Use neutrals and earth tones for a calming effect or bold jewel tones for drama. Select one dominant color and two accent shades to keep the design unified.
Scale the Pattern for Different Beds
Adapt your knitted bedspread pattern to fit twin beds or children’s rooms by reducing stitch counts. Recalculate the number of pattern repeats based on your specific gauge and desired dimensions. You can also use leftover yarn to create matching pillow covers or throws.
Frequently Asked Questions About Knitted Bedspreads
How long does it take to knit a full-size bedspread?
Completion time varies by skill level and yarn weight, but bulky yarn projects may take 40 to 60 hours. Worsted weight projects with complex cables or colorwork can take 80 to 100 hours or more.
Can I use a knitted bedspread pattern for a throw blanket?
Yes, you can easily scale down the stitch count to create a matching throw or lap blanket. Simply reduce the number of pattern repeats to achieve your desired smaller dimensions.
What is the best needle size for a bedspread project?
Needle size depends on your yarn weight, but most patterns suggest US 8 to US 11 for worsted or bulky yarn. Always check your pattern recommendation and adjust based on your gauge swatch results.
Is it better to knit a bedspread in one piece or panels?
Knitting in panels is often easier to manage and allows for easier blocking of individual sections. One-piece construction eliminates seaming but requires very long circular needles and significant workspace.
How do I prevent my knitted bedspread from stretching out?
Use a yarn with good elasticity like wool or a wool blend to help the fabric bounce back. Proper blocking and avoiding hanging the wet piece to dry will also maintain its original shape.
Key Takeaways for Your Knitted Bedspread Pattern Journey
Creating a knitted bedspread pattern project requires patience, but the result is a functional masterpiece for your home. Focus on selecting the right yarn weight, maintaining consistent tension, and blocking your work properly for the best finish.
Start your project today by swatching your yarn and choosing a design that excites you. With careful planning and attention to detail, you will craft a timeless textile that brings warmth and beauty to your bedroom for years.



