
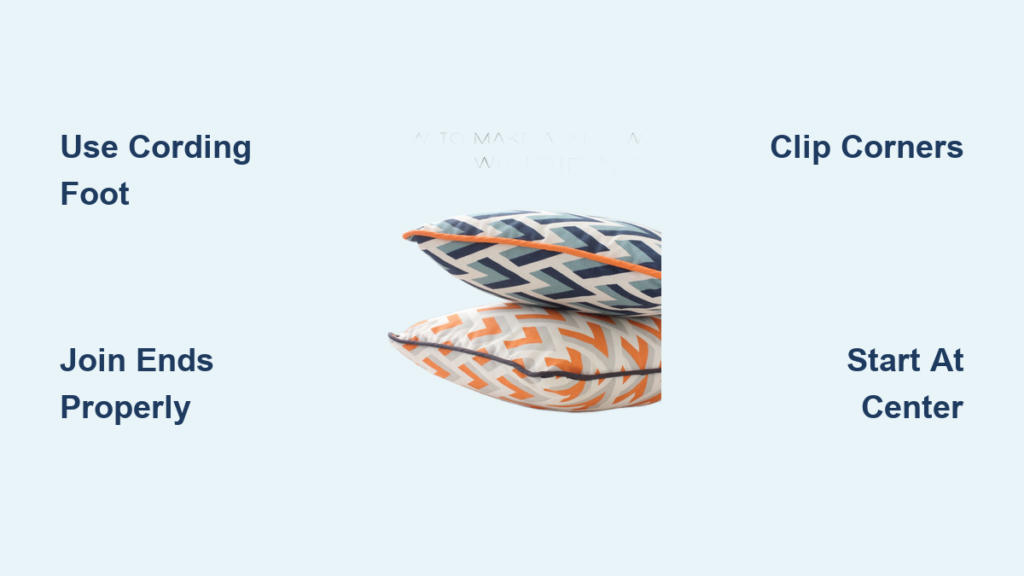
Adding cording to a pillow transforms a simple cushion into a polished, custom-designed piece that rivals store-bought designer versions. If you have ever wondered how professional decorators achieve those crisp edges and luxurious finishes, the secret is piping, also known as cording. This guide walks you step by step through how to sew cording into a pillow cover, whether you are using pre-made trim or crafting your own fabric-covered piping.
You do not need advanced sewing skills to achieve professional results. With a sewing machine, a zipper foot, and attention to detail, you can elevate throw pillows into statement decor pieces. Below, you will learn exactly what it takes to achieve that couture-level finish in your own home.
Choose Your Cording Type for Your Project

Selecting the right cording type is the foundation of your project. There are two main options, and your choice affects how you cut, join, and sew the trim.
Fabric-covered cording lets you match or contrast the cord perfectly with your pillow fabric. It is made by wrapping a cotton cord in a bias or straight-grain fabric strip. The major advantage is that you can butt the inner cord ends together inside the fabric tube for an invisible join.
Pre-made braided piping comes with a fixed core and attached flange. It is convenient but requires a different joining technique. Since the cord is solid, you must overlap and flatten the strands within the seam allowance rather than butting them together.
Select the Right Cording Diameter
Cording comes in diameters like 1/8″, 1/4″, or 1″. For most pillows, 1/4″ offers the best balance between visibility and proportion. It is visible enough to define edges without overwhelming the design.
Thicker cording works well on large, bold pillows, while thinner trim suits delicate fabrics. Use a denim needle (90/14 or 100/16) and polyester thread to handle the extra thickness. Always test your stitch on scrap fabric first to adjust tension and ensure smooth feeding.
Cut Fabric and Cording to the Right Size
Measure Pillow Panels Accurately
Start with a firm pillow form. Standard sizes include 14″ × 14″, 16″ × 16″, or 18″ × 18″. Cut your front and back fabric panels to match the form, or cut 1 inch smaller for a snug, plump fit.
For a 20″ × 20″ pillow, 3/4 yard of fabric is usually sufficient. Use durable upholstery-weight materials like cotton, linen, or velvet for best results.
Calculate Exactly How Much Cording You Need
Cording runs along the entire perimeter of the pillow. Calculate the length using this formula:
Perimeter + 5 inches
For example, a 14″ × 14″ pillow: 14″ × 4 = 56″ + 5″ = 61″ total
Add 10% extra (about 6 to 7 inches) to account for mistakes or re-dos, especially when working with bias-cut strips.
If making your own piping, cut fabric strips 1.5″ wide for a 1/4″ cord using this formula:
(Cord diameter × 2) + 1″ seam allowance
For a 1/4″ cord: (0.25″ × 2) + 1″ = 1.5″
Cut on bias grain for curved edges or straight grain for square pillows to minimize stretch.
Make Custom Fabric-Covered Cording
Wrap and Stitch the Cord
If you are using a cotton cord and custom fabric, assemble the piping yourself. Place the cord centered on the wrong side of the fabric strip, then fold the long edges over the cord, meeting at the center bottom.
Use a zipper or cording foot to stitch as close to the cord as possible, about 1/8″ away, without sewing into the cord itself. Keep your stitch length at 3.0 mm for flexibility.
Use cotton-wrapped polyester or Dual Duty XP thread for strength. Guide the fabric gently to prevent twisting as you sew.
Join Fabric Strips Diagonally
For longer cording, join multiple strips at a 45° angle. Place the ends right sides together, sew across the diagonal, then trim the seam to ¼” and press open. This method reduces bulk and keeps the strip feeding smoothly through your machine.
Attach Cording to the Pillow Front Panel
Start at the Bottom Center
Place the pillow front right-side up on your work surface. Begin cording at the center of the bottom edge, which is the least visible spot.
Pin the raw edge of the cording to the raw edge of the fabric, right sides together. Leave 1 to 3 inches of cording unsewn at both ends for joining later.
Use a zipper foot to sew close to the cord. Backstitch at the start for security, then sew slowly, guiding the cording with your fingers to prevent twisting.
Handle Corners Without Puckering
Stop sewing ½” before each corner. Lower the needle, raise the presser foot, and make 5 to 6 small snips into the cording fabric only, spaced about 3/8″ apart. Do not cut the seam line itself.
Pivot the fabric, lower the foot, and continue sewing. The snips allow the cording to bend smoothly without creating puckers or lumps.
Use a stick pin just above the corner to hold the cording in place as you sew past it. Bury the needle (leave it inserted) while turning the fabric for better control.
Join Cording Ends Without Bulky Seams
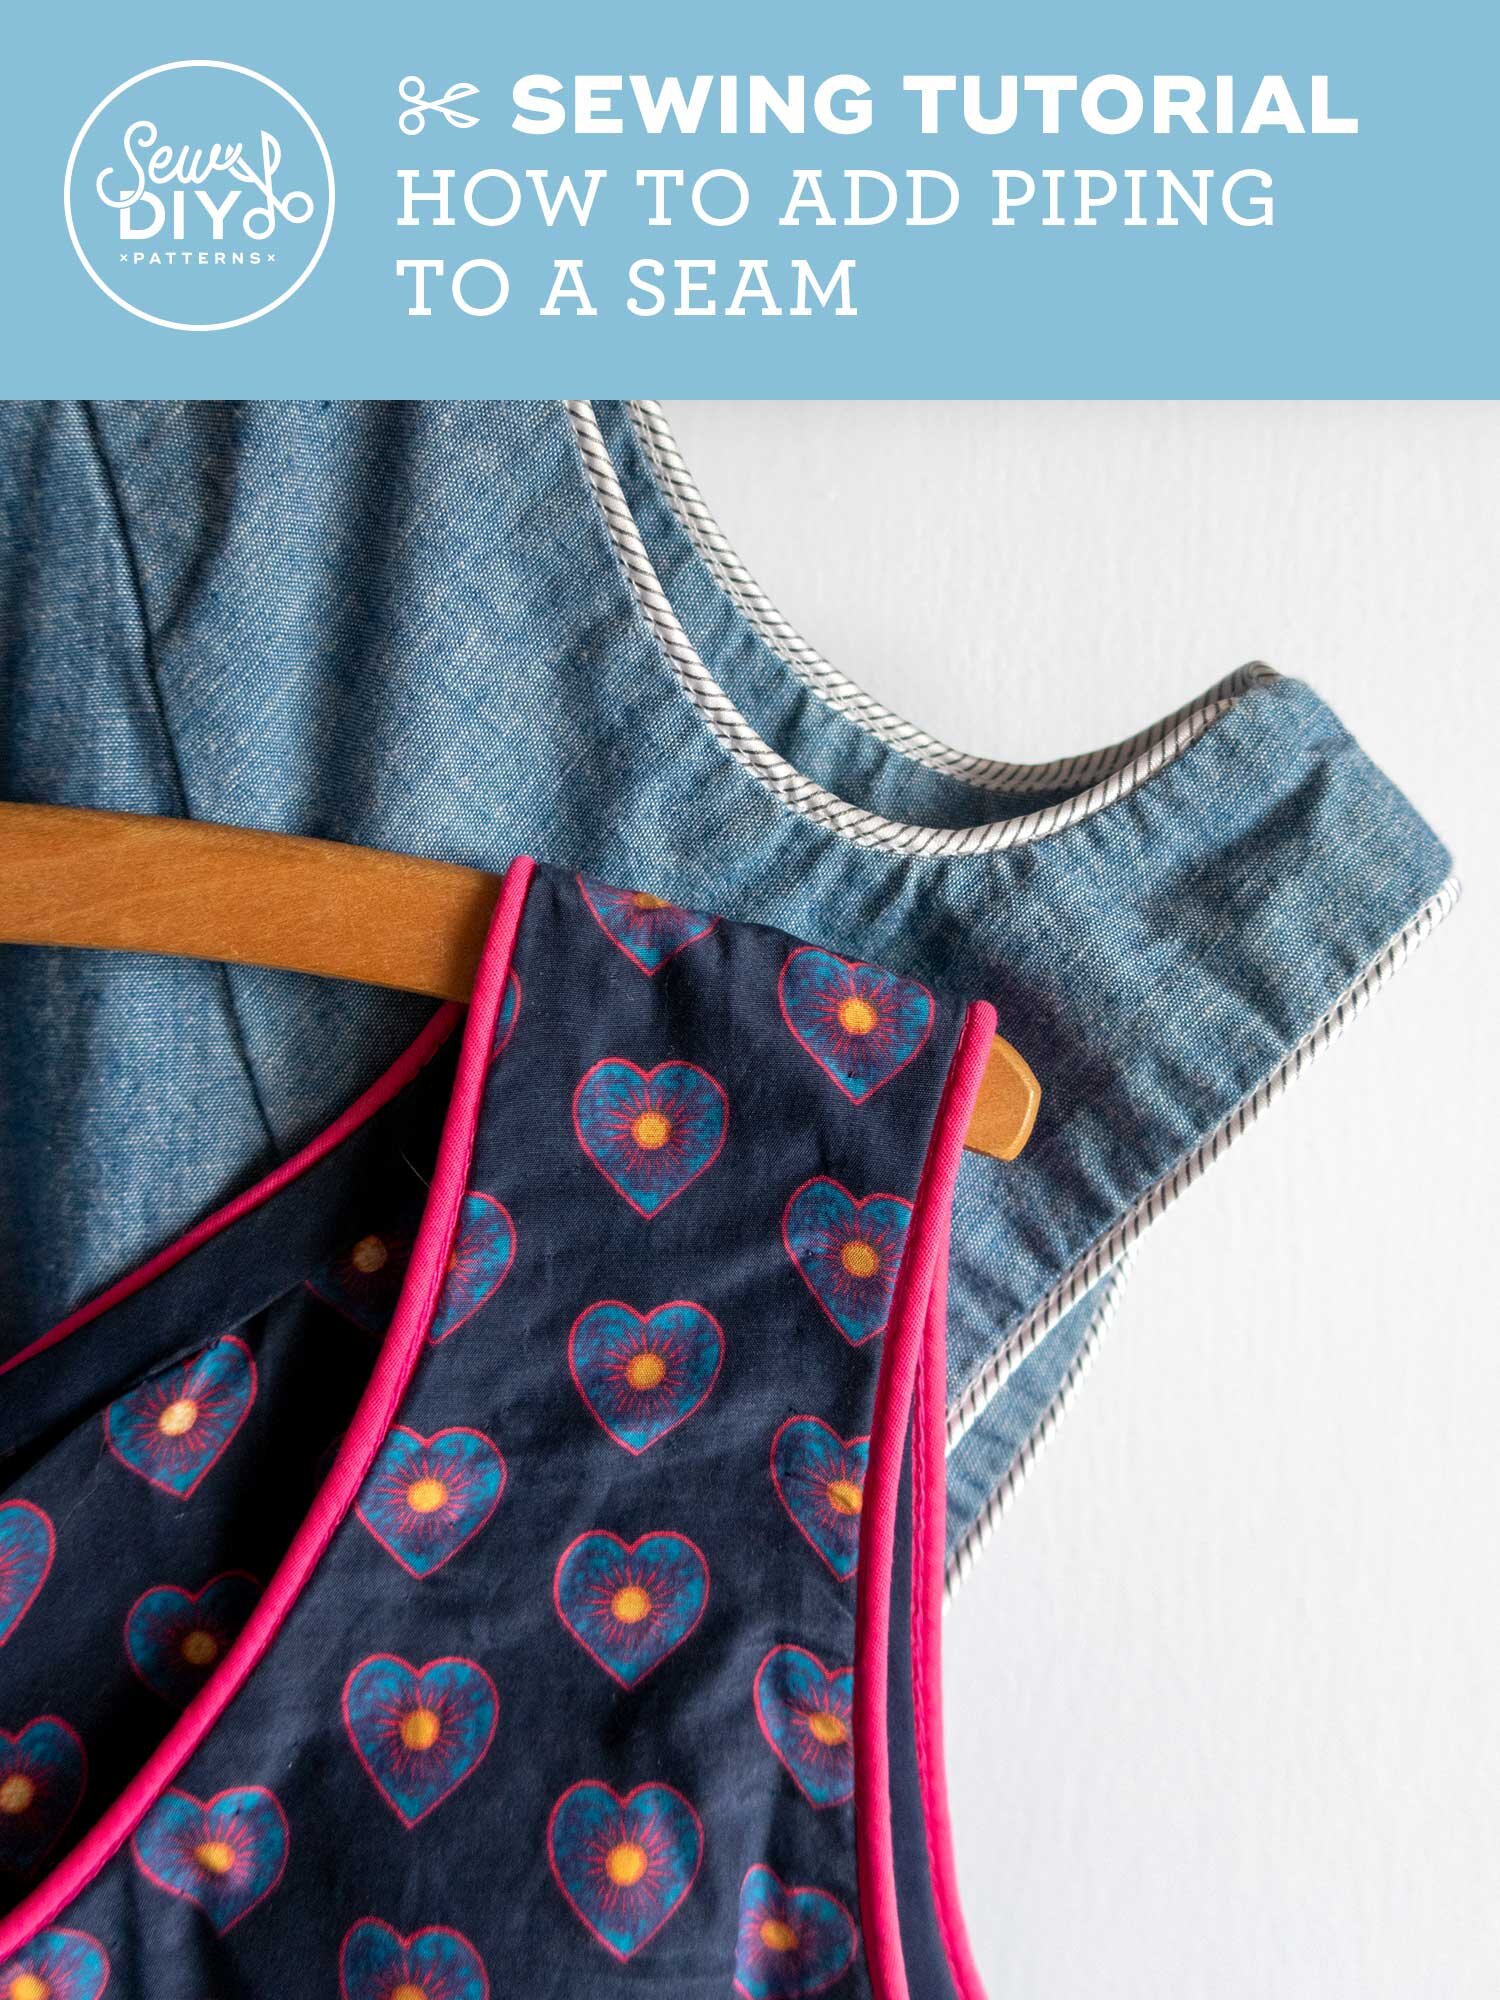
The Angled Seam Method for Covered Cording
A clean end join prevents visible lumps. For fabric-covered cording, follow these steps:
Overlap the ends near your starting point, with the new end on top. Cut the bottom (already sewn) cording ¼” from the edge of the top piece.
On the top end, notch ¼” from the corner and cut a 45° diagonal toward the outer point. Place the angled ends together to form a right angle, creating a straight seam when opened.
Sew with a ¼” seam allowance, then press open gently. Trim the inner cord ends at 45° angles so they meet flat without creating a bump. Fold the fabric over and sew over the joint with the cording foot to secure.
Pro Tip: For an even smoother join, unpick the last inch of the starting tail, remove the cord, butt both cord ends together inside the fabric tube, and re-stitch closed.
Overlap Method for Braided Trim
Pre-made braided piping cannot be butted like covered cording. Instead, leave a 1″ gap between your start and end points. Tape the ends with masking tape to prevent unraveling.
At the start, untwist the strands and lay them flat, pointing downward. At the end, untwist and lay over the starting strands. Sew over the entire junction, flattening the flange into the seam allowance.
Some sewers separate three strands, lay them at right angles, and stitch them down before overlapping. This distributes bulk evenly across the seam.
Select the Best Closure Method for Your Pillow
Envelope Back for Simplicity
The envelope back is ideal for beginners. Cut two back pieces the same width as the front, with height about ¾ of the total (for example, 12″ for a 16″ pillow). Hem one panel by folding ½” twice, pressing, and stitching.
To assemble, place front and back right sides together, pin around all edges with ½” seam allowance, and sew close to the cording. Clip corners diagonally to reduce bulk, then turn right side out through the envelope opening and insert the pillow form.
Pros: No special foot needed, easy to remove and wash. Cons: Visible overlap, less formal appearance.
Invisible Zipper for a High-End Finish
For a seamless, professional look, use an invisible zipper. First, press the zipper coils flat with a warm iron and press cloth.
Pin one zipper tape to a back panel, right sides together. Use a regular zipper foot on the cording side due to the bulk, sewing 1/8″ from the coil. Close the zipper, match the second panel, then open it partially and pin the other tape.
Switch to an invisible zipper foot for the second side. The coil fits into the groove. Sew from top to within ½” of the bottom, then reinforce with short seams above and below the zipper stops.
After sewing the remaining three sides, turn through the open zipper. The cording hides the tape for a clean finish.
Hand-Stitched Opening for Hidden Closure
For a completely invisible closure on the bottom, sew three sides while leaving a 4-inch opening in the center. Clip corners, turn right side out, and push out corners with a stiletto.
Insert the pillow form, then fold raw edges ½” inward and align with the cording. Close with an invisible ladder stitch: pick up a thread from each fold, alternating sides, and pull snug after every few stitches. Knot and bury the thread.
Finish and Inspect Your Completed Pillow
Press for a Crisp Look
Gently press seams flat with your fingers or a low-heat iron. Use a press cloth to protect delicate fabrics and avoid flattening the cording itself.
Never press directly on the cord, which can collapse the puffiness. Instead, press the seam allowance open or to one side while keeping the cording rounded.
Check for Professional Details
Inspect the pillow for even cording around all edges, smooth corners without lumps, an invisible end join, and a secure closure with no stray threads.
Resew any loose sections. A well-made cording joint should feel smooth to the touch and look continuous from all angles.
Avoid Common Cording Mistakes
Fix Loose or Twisted Cording
If cording pulls out during sewing, you likely stitched too far from the cord. Always use a zipper or cording foot to sew within 1/8″ of the cord.
Twisting happens when fabric tension is uneven. Guide the cording with your left hand, keeping it taut but not stretched as you sew.
Prevent Bulky Corners
Lumpy corners come from unclipped cording fabric. Make 3/8″ to ½” snips every 3/8″ around corners, just enough to let the fabric bend without breaking the seam.
Do not cut into the stitching line. Clip only the cording’s fabric wrap, not the actual seam.
Troubleshoot Zipper Installation
With cording, the bulk can block the invisible zipper foot. The solution is to use a regular zipper foot on the cording side and the invisible foot on the flat side.
Always press zipper coils flat before sewing. Curled coils resist feeding through the machine.
Frequently Asked Questions About Sewing Cording into a Pillow
What is the best cording width for standard throw pillows?
1/4″ diameter cording works best for most standard throw pillows (14″ to 18″). It provides visible edge definition without overwhelming the design. Larger pillows can accommodate thicker cording, while delicate fabrics may need thinner trim.
Can I use regular thread for sewing cording?
Use polyester thread or cotton-wrapped polyester (like Dual Duty XP) for strength. These threads handle the extra thickness of cording without breaking. Avoid cotton thread alone, as it has less stretch and can snap under stress.
How do I join cording ends without creating a bump?
For fabric-covered cording, butt the cord ends together inside the fabric tube before stitching. For braided trim, overlap and flatten the strands within the seam allowance. Both methods prevent visible lumps at the join.
Do I need a special foot to sew cording?
Yes, a zipper foot or cording foot is essential. These feet have a groove that accommodates the cord, allowing you to sew close to it without hitting the bulk. A regular presser foot will not give you the close stitching needed.
How much extra cording should I buy?
Calculate the perimeter + 5 inches, then add 10% extra for mistakes, corners, and joining. This ensures you have enough material without running short mid-project.
Can I wash a pillow with cording?
Yes, but remove the pillow form before washing. Machine wash on delicate or hand wash delicate fabrics. Use colorfast thread and pre-washed fabric to prevent shrinkage. A well-made cording pillow can last 5+ years with proper care.
Key Takeaways for Sewing Cording into a Pillow
Sewing cording into a pillow is a skill that pays off in professional-looking results. The most critical steps are choosing between fabric-covered and pre-made cording, calculating the correct length, and mastering the end-join technique specific to your cording type.
Always start at the bottom center, use a zipper foot, and clip corners carefully to avoid bulk. For beginners, the envelope back closure offers the easiest path to success. For a high-end finish, invest time in learning the invisible zipper method.
With the right tools, careful joining, and attention to corners, your handmade pillows will rival store-bought designer versions. Start with a simple project, practice on scrap fabric, and advance to zippers and mitered corners as your confidence grows.



