
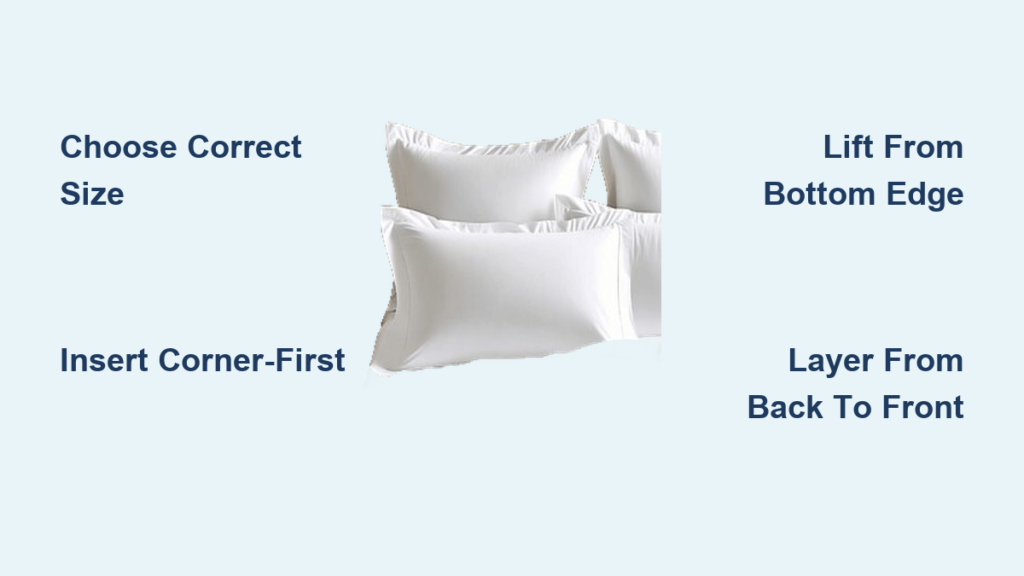
You’ve chosen the perfect bedding set, fluffed your pillows, and smoothed out the duvet, yet something feels missing. The bed looks flat, unfinished, or just off. The secret lies in knowing how to place pillow shams on bed correctly. These decorative covers are the final touch that elevates your sleep space from everyday to editorial, transforming a basic bed into a polished sanctuary. In this guide, you’ll discover exact steps to insert, style, and arrange shams for a hotel-worthy finish without requiring professional interior design skills.
Choose the Right Sham Size for Your Bed
Selecting the correct sham size ensures your shams sit snugly and look intentional. The three main types each serve a unique role in bed styling.
Match Sham to Pillow and Bed Dimensions
Using the appropriate size prevents bulges, sagging, and an overwhelming appearance. The most common sham types work best with specific bed sizes.
Standard shams measure 20 inches by 26 inches and fit standard pillows, making them ideal for queen or twin beds. King shams measure 20 inches by 36 inches and work best on king beds or when you want a long horizontal visual line. Euro shams measure 26 inches by 26 inches and feature a square shape used as a backdrop against the headboard.
Pro Tip: Use slightly oversized inserts, such as 21 inches by 27 inches, for a plump and full look. A tight fit prevents sagging and enhances structural appeal.
Avoid Common Sizing Mistakes
Several sizing errors can undermine your bed’s appearance. Avoid using king shams on a twin bed because they overwhelm the space and create visual imbalance. Never force a standard pillow into a Euro sham because this creates bulges and misshapen corners. On queen beds, limit to two to four shams to maintain proportional balance.
Insert Pillows into Shams Correctly

Proper insertion ensures the sham lies flat with crisp corners and an upright flange. Following the correct technique prevents the common problem of flopping edges.
Open the Back Closure
Locate the hidden seam or flap on the back of the sham where the pillow goes. Most shams feature one of three closure types.
Center slit closures offer a simple and classic look but may gape if overfilled. Envelope closures feature two overlapping panels that hide the insert well. Zipper closures provide the cleanest appearance and easiest removal for washing. Gently pull the opening apart without tugging too hard, which can stretch delicate fabrics.
Slide Pillow Inside Step by Step
Follow these sequential steps for proper insertion.
Align one corner of the pillow with a bottom corner of the sham. Push half the pillow inside and let it rest diagonally. Flip the sham over and push the remaining half through the opening. Ensure all corners are fully seated with no air pockets or soft spots remaining.
Visual Cue: The front of the sham should lie flat with crisp edges. If the flange flops, the insert has not been pushed all the way in.
Smooth and Shape the Sham
Once the pillow is inserted, complete the process by running your hands over the surface to eliminate wrinkles. Gently tug each corner outward for fullness. Check that the closure is completely hidden behind the pillow.
Pro Tip: Always lift the sham from the bottom edge rather than the top flange. Lifting by the top collapses the insert and causes the flange to droop.
Arrange Shams Behind Sleeping Pillows
The placement of shams relative to sleeping pillows significantly impacts the overall look. Understanding when and where to position them creates that professional appearance.
Position for Daytime Style
When the bed is made for display, shams go in front of sleeping pillows. They are not meant for nightly use unless made from ultra-soft fabric like sateen or organic cotton. Swap them out before bedtime for comfort.
Place shams upright, resting against the headboard or layered behind accent pillows. Keep the front panel visible and centered for maximum visual impact.
Remove at Night and Restore by Day
For hygiene and comfort purposes, take shams off before sleeping. Store them folded or on a bench during the night. Reinsert and reposition each morning for a fresh and styled appearance.
Hotel Hack: Keep extra sham inserts ready so you can quickly refresh the bed without re-fluffing old ones.
Layer Shams Like a Professional Stylist
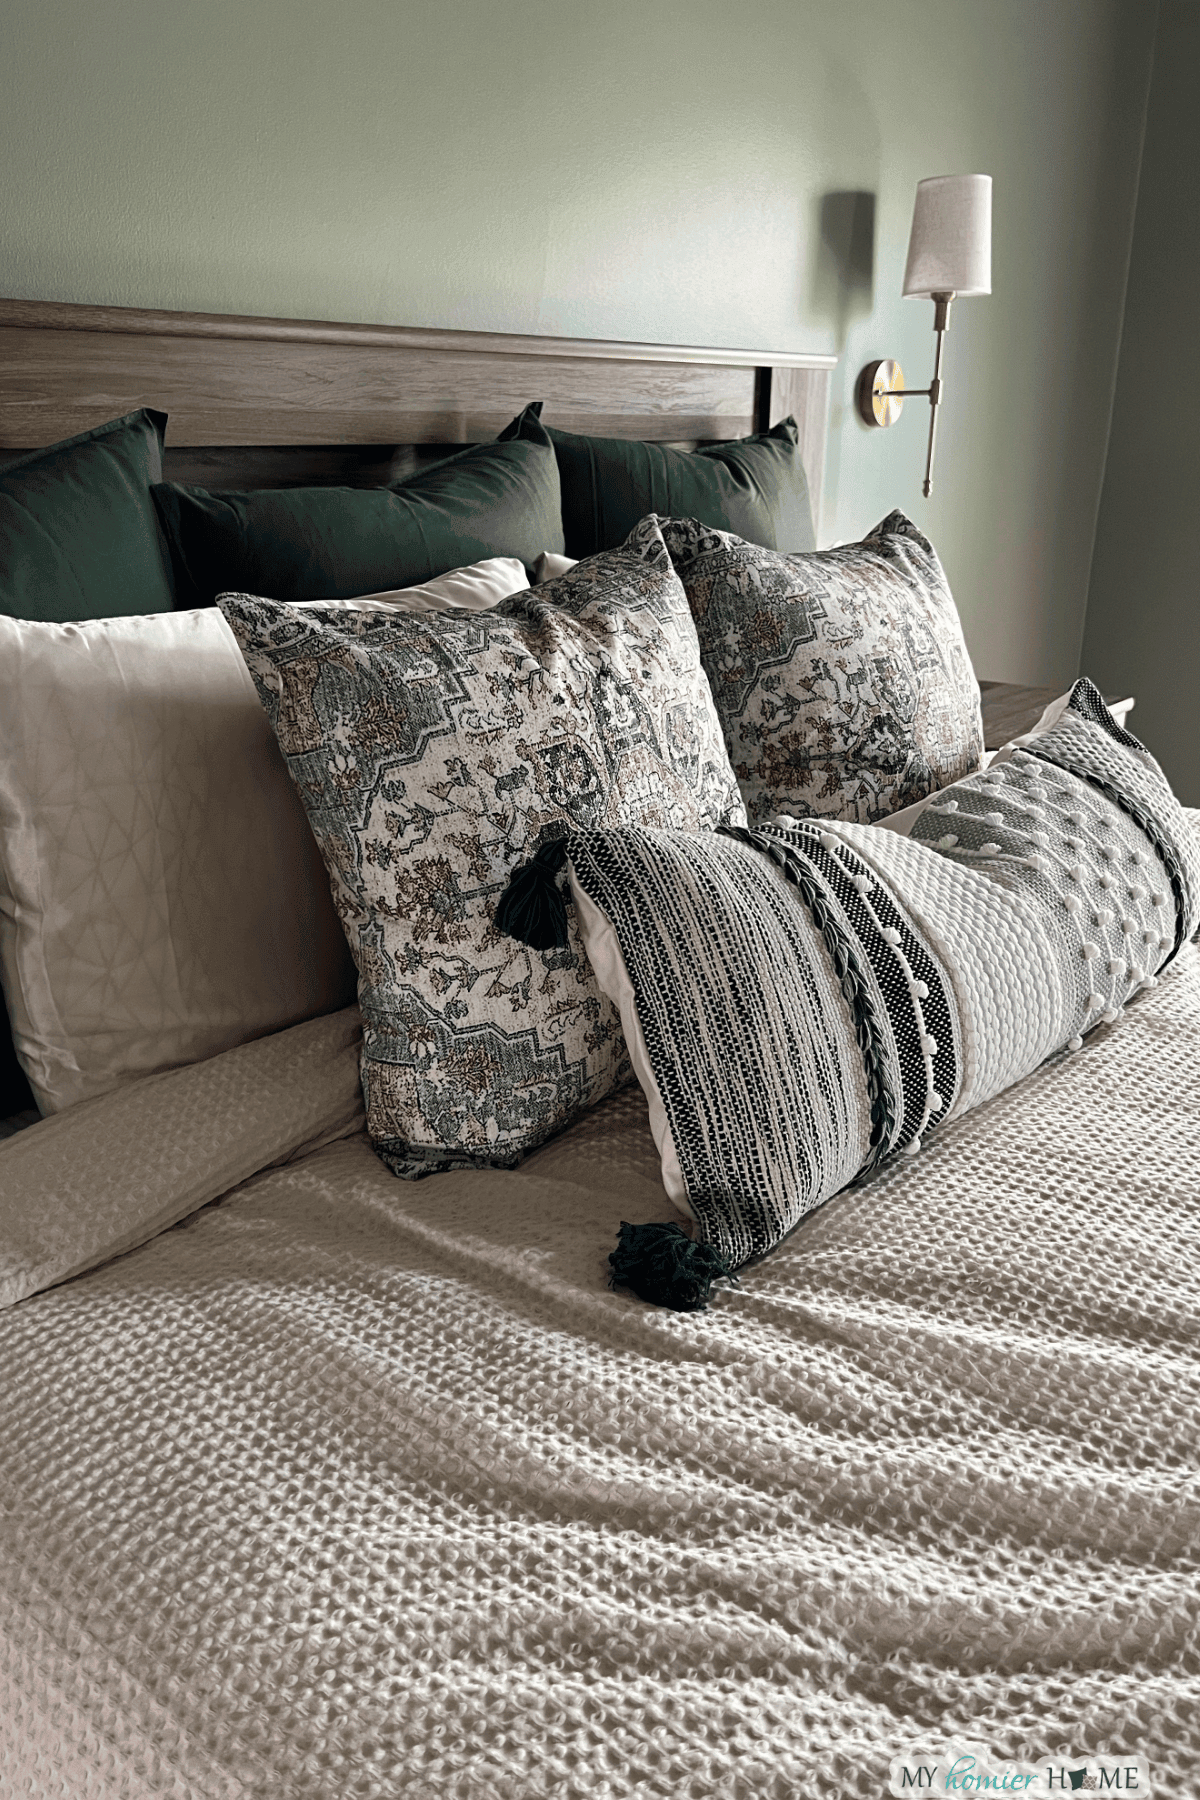
Layering creates depth and visual interest. The proper arrangement from back to front transforms an ordinary bed into a designer showcase.
Start with Euro Shams at the Back
Place Euro shams flat against the headboard as they serve as a bold backdrop. Use one to three Euro shams depending on bed width. On king beds, three Euro shams create a dramatic and symmetrical wall. On queen beds, two work best when centered or spaced evenly.
Design Tip: Use solid colors or subtle textures for this layer to anchor the arrangement visually.
Add King or Standard Shams in Front
Layer king or standard shams just in front of the Euro row. On king beds, use two king shams aligned parallel. On queen beds, use two standard shams centered or slightly angled. This mid-layer adds depth and transitions the eye forward.
Finish with Accent Pillows
Place throw or decorative pillows in front of the shams. Mix patterns, colors, and textures such as knit, velvet, or embroidery. Use an odd number of accent pillows, either one or three, for visual interest. Lean them slightly forward for a relaxed and lived-in feel.
Avoid Overcrowding: Too many pillows look messy. Stick to three to five total pieces on queen beds and five to seven on king beds.
Style Pillow Shams by Bed Size
Different bed sizes require different approaches to achieve balanced and proportional styling.
King Bed: Go Bold and Layered
For king beds, the high-to-low cascade option creates an elegant and tiered effect. Place three Euro shams at the back, two king shams in the middle, two standard shams at the front, and one bolster or lumbar pillow at the center.
The symmetrical stacked rows option creates a luxurious and balanced appearance ideal for large bedrooms. Place two king shams at the back, three Euro shams in the middle, two king shams at the front, and one textured accent at the center.
Pro Tip: Leave equal spacing on both sides of the bed for a clean and intentional look.
Queen Bed: Keep It Balanced
For queen beds, the minimalist twin rows option works well for modern and tidy spaces. Use two standard shams at the back and two matching or contrasting shams at the front with one bolster at the center.
The vertical backrest stack option maximizes support and style. Stack four standard pillows vertically as a backrest and place two accent pillows leaning forward at the front.
Design Note: On low-profile beds, avoid tall stacks that block the headboard from view.
Coordinate Colors and Textures
Creating visual harmony requires thoughtful coordination between shams and other bedding elements.
Create Visual Harmony
Match or contrast shams with other bedding components for desired effects. Match the duvet for a seamless and monochromatic look. Contrast with sheets for a pop of color or pattern. Use neutral shams in white, beige, or gray to ground busy duvets.
Example: A navy duvet pairs beautifully with white shams and gold-taupe accents.
Mix Fabrics for Depth
Combine different textures to add warmth and dimension to your bed. For winter months, use waffle weave, quilted, or flannel shams. For summer months, switch to linen, percale, or lightweight cotton shams.
Pro Tip: Pair a smooth sateen sham with a nubby knit throw for tactile contrast.
Maintain Shams for Longevity
Proper care extends the life of your shams and keeps them looking fresh and vibrant.
Rotate and Refresh Regularly
Swap shams weekly to prevent fading and uneven wear. Alternate between two to three sets to extend the overall lifespan.
Wash According to Care Labels
Most cotton and linen shams are machine washable. Use cold water and mild detergent. Air dry or tumble dry on low heat to prevent shrinkage.
Warning: High heat damages delicate weaves and causes puckering.
Store Off-Season Properly
Fold shams cleanly and store in breathable cotton bags. Avoid plastic bins because trapped moisture leads to yellowing. Add lavender sachets to deter pests and maintain a fresh scent.
Fix Common Sham Problems
Addressing typical issues keeps your bed looking polished and well-maintained.
Flange Keeps Flopping
The cause typically involves the pillow insert not being fully seated or lifting from the top. Fix this by repositioning the insert so it fills every corner. Always lift the sham from the bottom edge to prevent collapse.
Sham Looks Saggy or Flat
This problem results from an understuffed or old pillow insert. Fix it by replacing with an overstuffed down-alternative or feather insert. Choose inserts one to two inches larger than the sham for optimal fullness.
Closure Shows or Gapes
Wrong closure type or overstuffing causes this issue. Fix it by using zipper or envelope-back shams for a cleaner finish. Avoid over-packing because gentle fullness produces better results than bulging.
Final Styling Touches
Completing the look requires attention to alignment, symmetry, and lighting.
Align with Headboard Height
Tall headboards exceeding three feet benefit from stacking two to three layers for dramatic effect. Low headboards work best with shams kept low to preserve visibility. Ornate headboards require fewer pillows to showcase their design.
Balance Symmetry and Flow
Mirror sham placement on both sides of the bed. Center odd-numbered groupings like a single bolster. Angle accent pillows slightly for softness and visual appeal.
Light It Right
Natural light enhances texture and color. Position your bed near a window or use soft ambient lighting to highlight sham details at night.
Frequently Asked Questions About Placing Pillow Shams
What is the difference between a pillow sham and a pillowcase?
A pillowcase opens along the side and is designed for sleeping. A pillow sham features a back opening with a concealed closure and serves primarily as a decorative element for styling the bed.
How do I know what size sham to buy?
Match the sham size to your pillow dimensions. Standard shams fit 20-inch by 26-inch pillows, king shams fit 20-inch by 36-inch pillows, and Euro shams fit 26-inch by 26-inch pillows.
Can you sleep on pillow shams?
Most shams are not intended for nightly sleep use, though some high-quality shams made from ultra-soft fabrics like sateen or organic cotton can be used for sleeping.
How many shams should go on a queen bed?
Queen beds typically accommodate two to four shams to maintain balance without overcrowding the space.
Do shams go in front or behind sleeping pillows?
Shams are placed in front of sleeping pillows when the bed is made for display. They are removed at night to access sleeping pillows for comfort.
How do I keep my sham flanges standing upright?
Use a slightly oversized pillow insert and always lift the sham from the bottom edge rather than the top after insertion. This prevents the insert from collapsing and causing the flange to droop.
Key Takeaways for Perfect Pillow Sham Placement
Mastering how to place pillow shams on bed transforms your sleep space with minimal effort and maximum visual impact. Choose the correct sham size based on your pillow and bed dimensions, using standard, king, or Euro sizes appropriately. Always use a slightly oversized insert for a plump and luxurious appearance. Insert pillows corner-first, pushing completely through the back opening, then smooth out wrinkles and pull corners for fullness. Lift shams from the bottom edge to preserve the flange structure. Place shams in front of sleeping pillows when styling the bed and remove them at night for comfort. Layer from back to front, starting with Euro shams against the headboard, then king or standard shams, and finish with accent pillows. Coordinate colors and textures for visual harmony, and maintain shams by rotating, washing properly, and storing correctly off-season. A well-styled bed isn’t about having the most pillows; it’s about intentional placement, quality materials, and consistent technique. Start today and transform your bed into a designer-worthy sanctuary.



